


What if your makeup routine felt as natural as your smile?
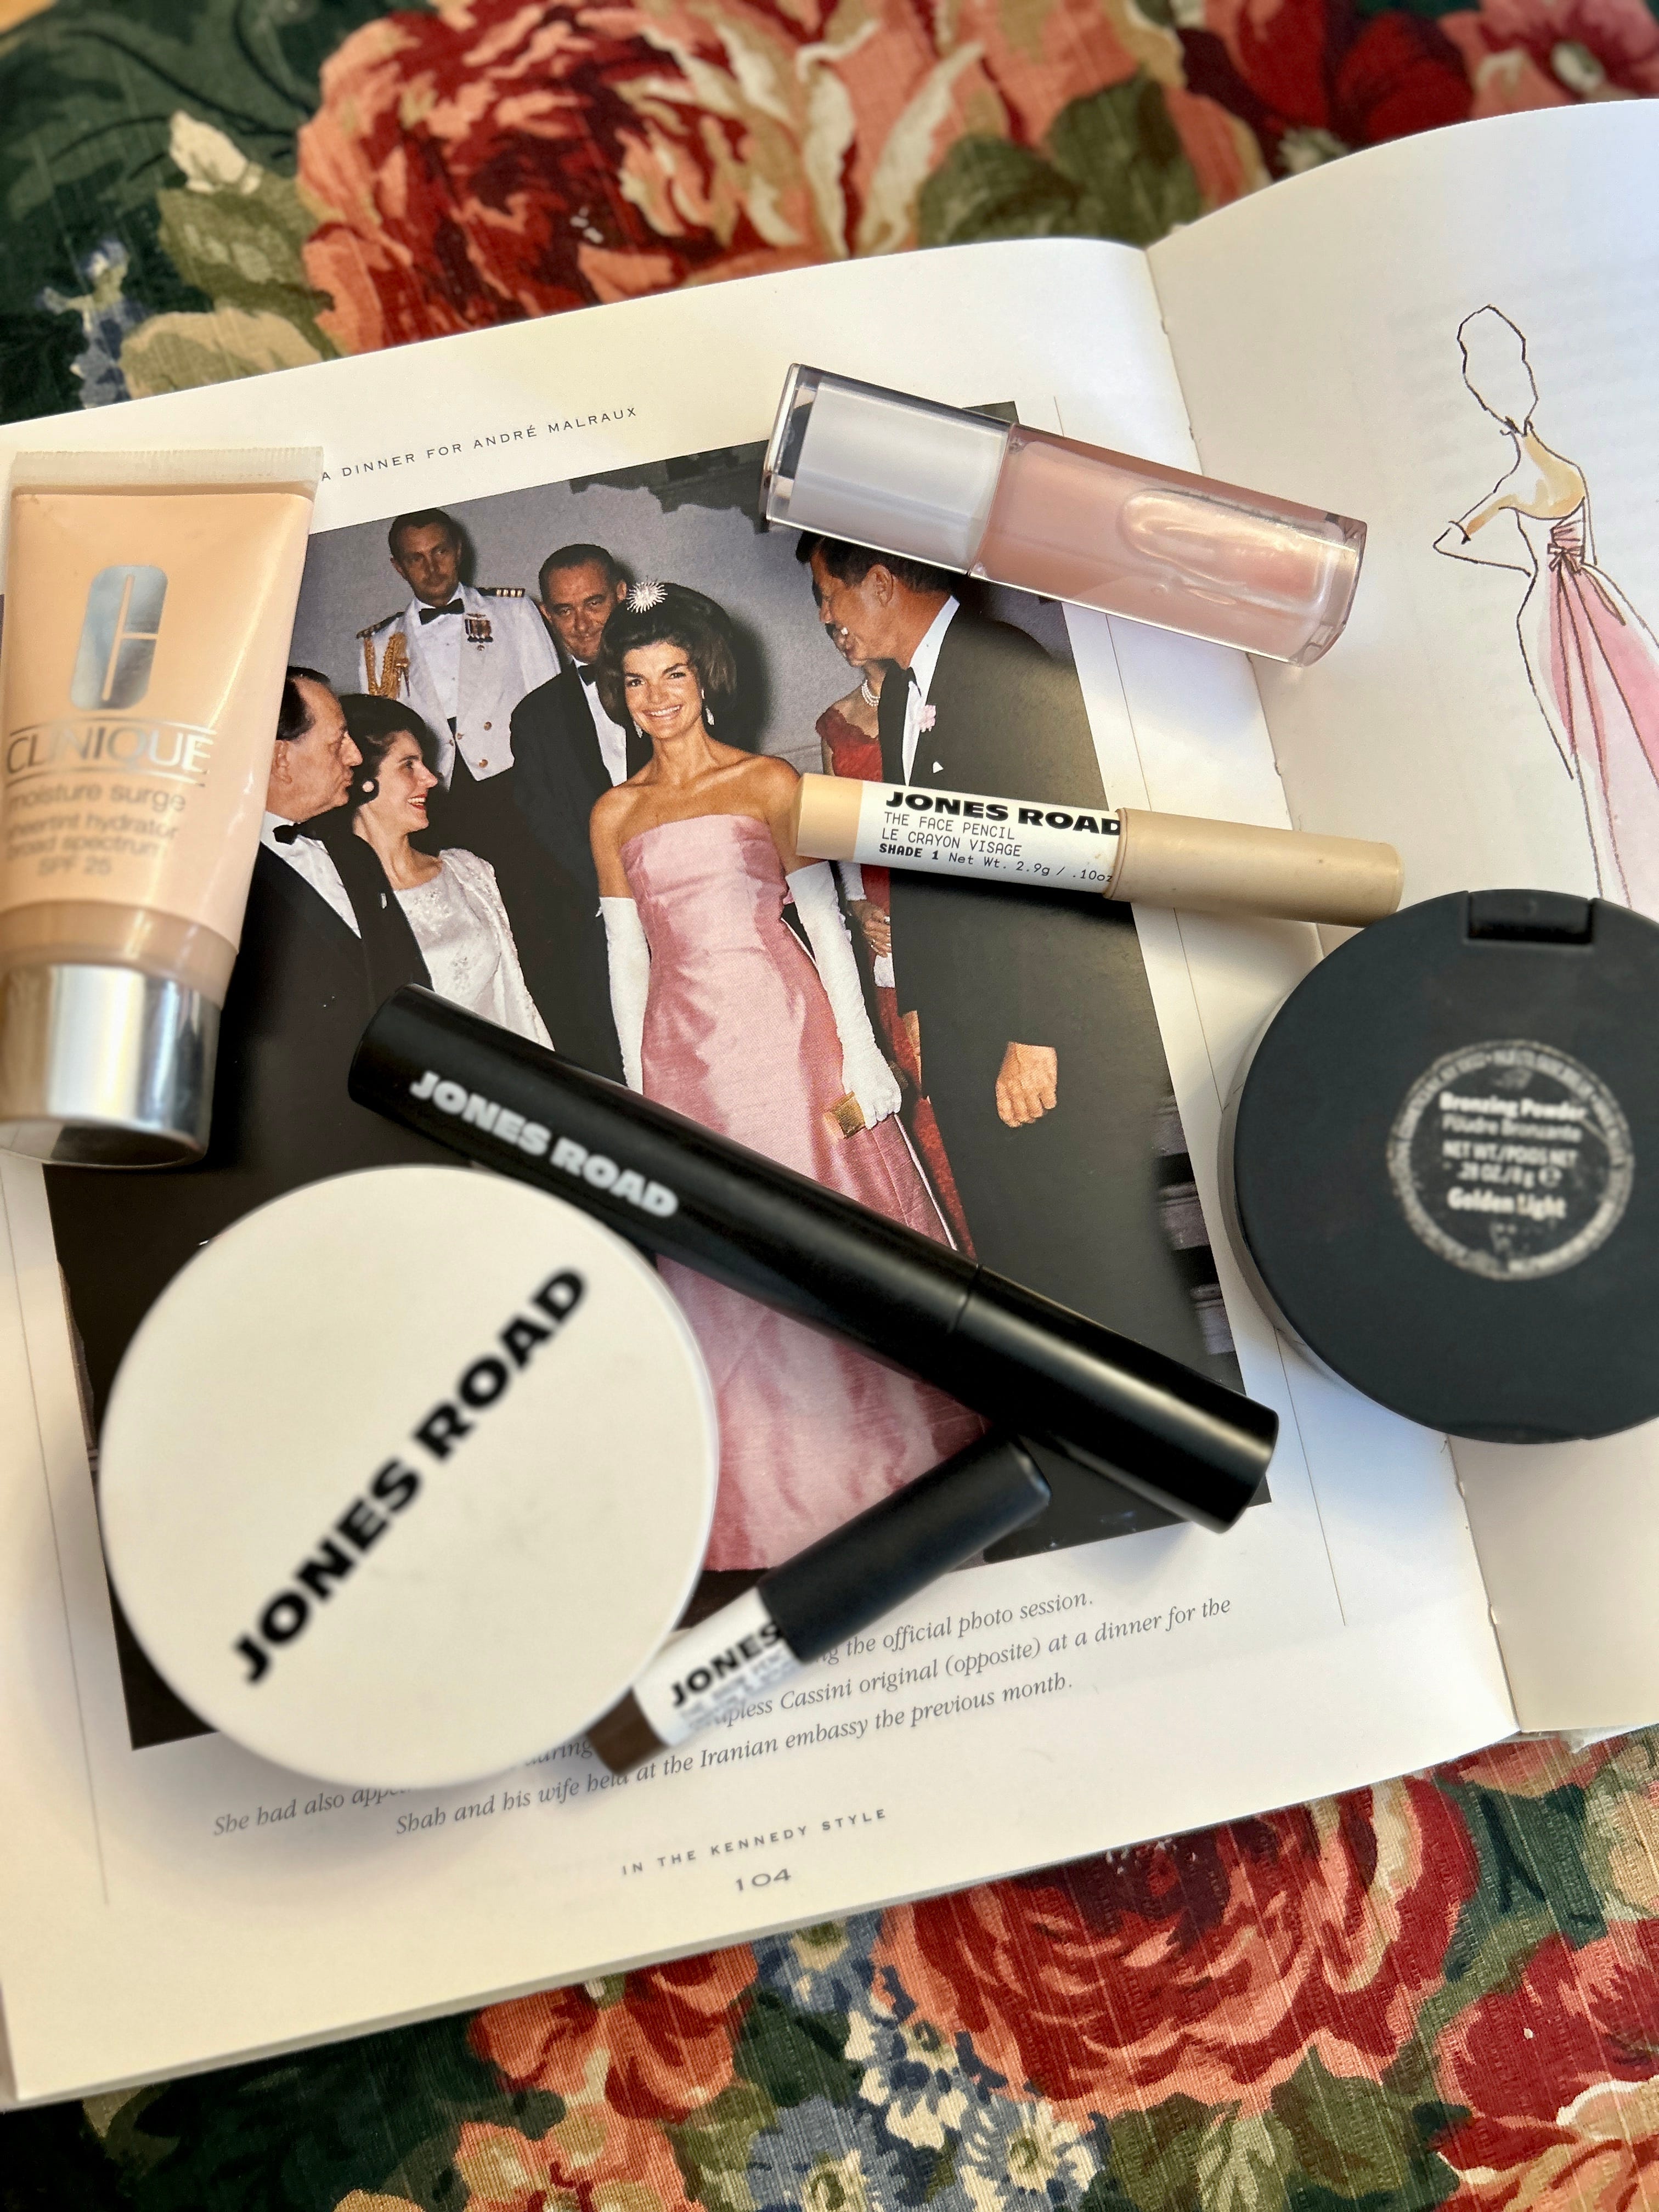
So many of you have asked and I’m finally sharing the MVPs of my makeup bag. No gimmicks, no contouring and no quick fixes—just real products that deliver on their promise that I stand behind wholeheartedly.


When it comes to skincare and makeup, I’m all about simplicity, effectiveness, and, most of all, feeling my best. Over the years, I’ve found a few products that have truly earned their place in my daily routine—items I always reach for because they work and make me feel like the best version of myself. These are products I’ve loved and consistently used for years, chosen for their quality and performance.
Oh and the best part? A little bit goes a long way with each and every one of these products.
So here’s to celebrating who you are, enhancing YOUR beauty and always putting your best face forward. It really does make all the difference.
All products used can be found linked below and here

Before you Begin: Great makeup begins with great skin. Make sure you have a skincare routine that works for Y-O-U. You can wear the most luxurious makeup on the planet but if you do not have a good base/skin care routine, you might as well light the money you spent on said makeup on fire.
Step #1: Lip Balm
Medicated Blistex with SPF 15 has been my go-to for as long as I can remember. I love the smell and SPF benefits. I always apply this first to ensure it can soak into and moisturize my lips before I apply any lip color at the end of my routine.

Step #2: Tinted Moisturizer with SPF
I have tried SO MANY foundations, BB and CC creams, serums and tinted moisturizers etc over the years and this Clinique Moisture Surge Tinted Moisturizer SPF 15 has been exactly what my skin has needed over the past few years and now, 9 months pregnant. I like to apply a little bit with my hands.
Tip: The warmth of your hands will help whatever you are applying look more natural.

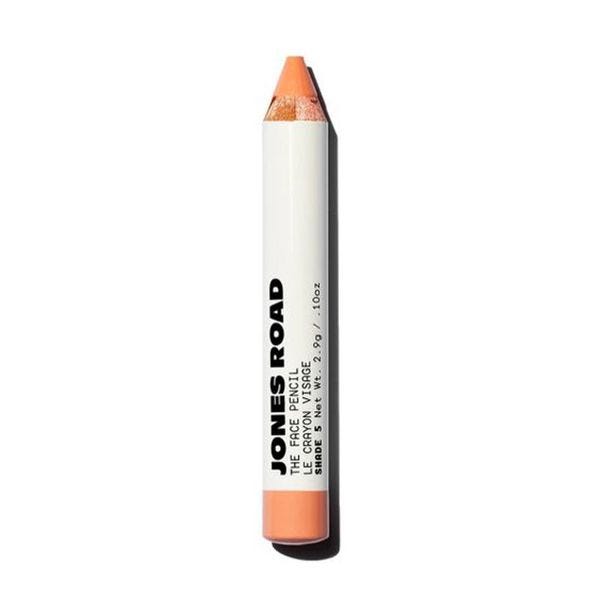
Step #3: Conceal & Correct
So much of what I learned about beauty came from
so when she started her new makeup line, Jones Road Beauty, I couldn’t wait to get my hands on their products. I use their Face Pencil in Shade #2 under my eyes and around my nose and mouth where I tend to get more red.Tip: Use the Jones Road shade finder on their website (linked here) to find your skin shade. This is what I used and highly recommend.
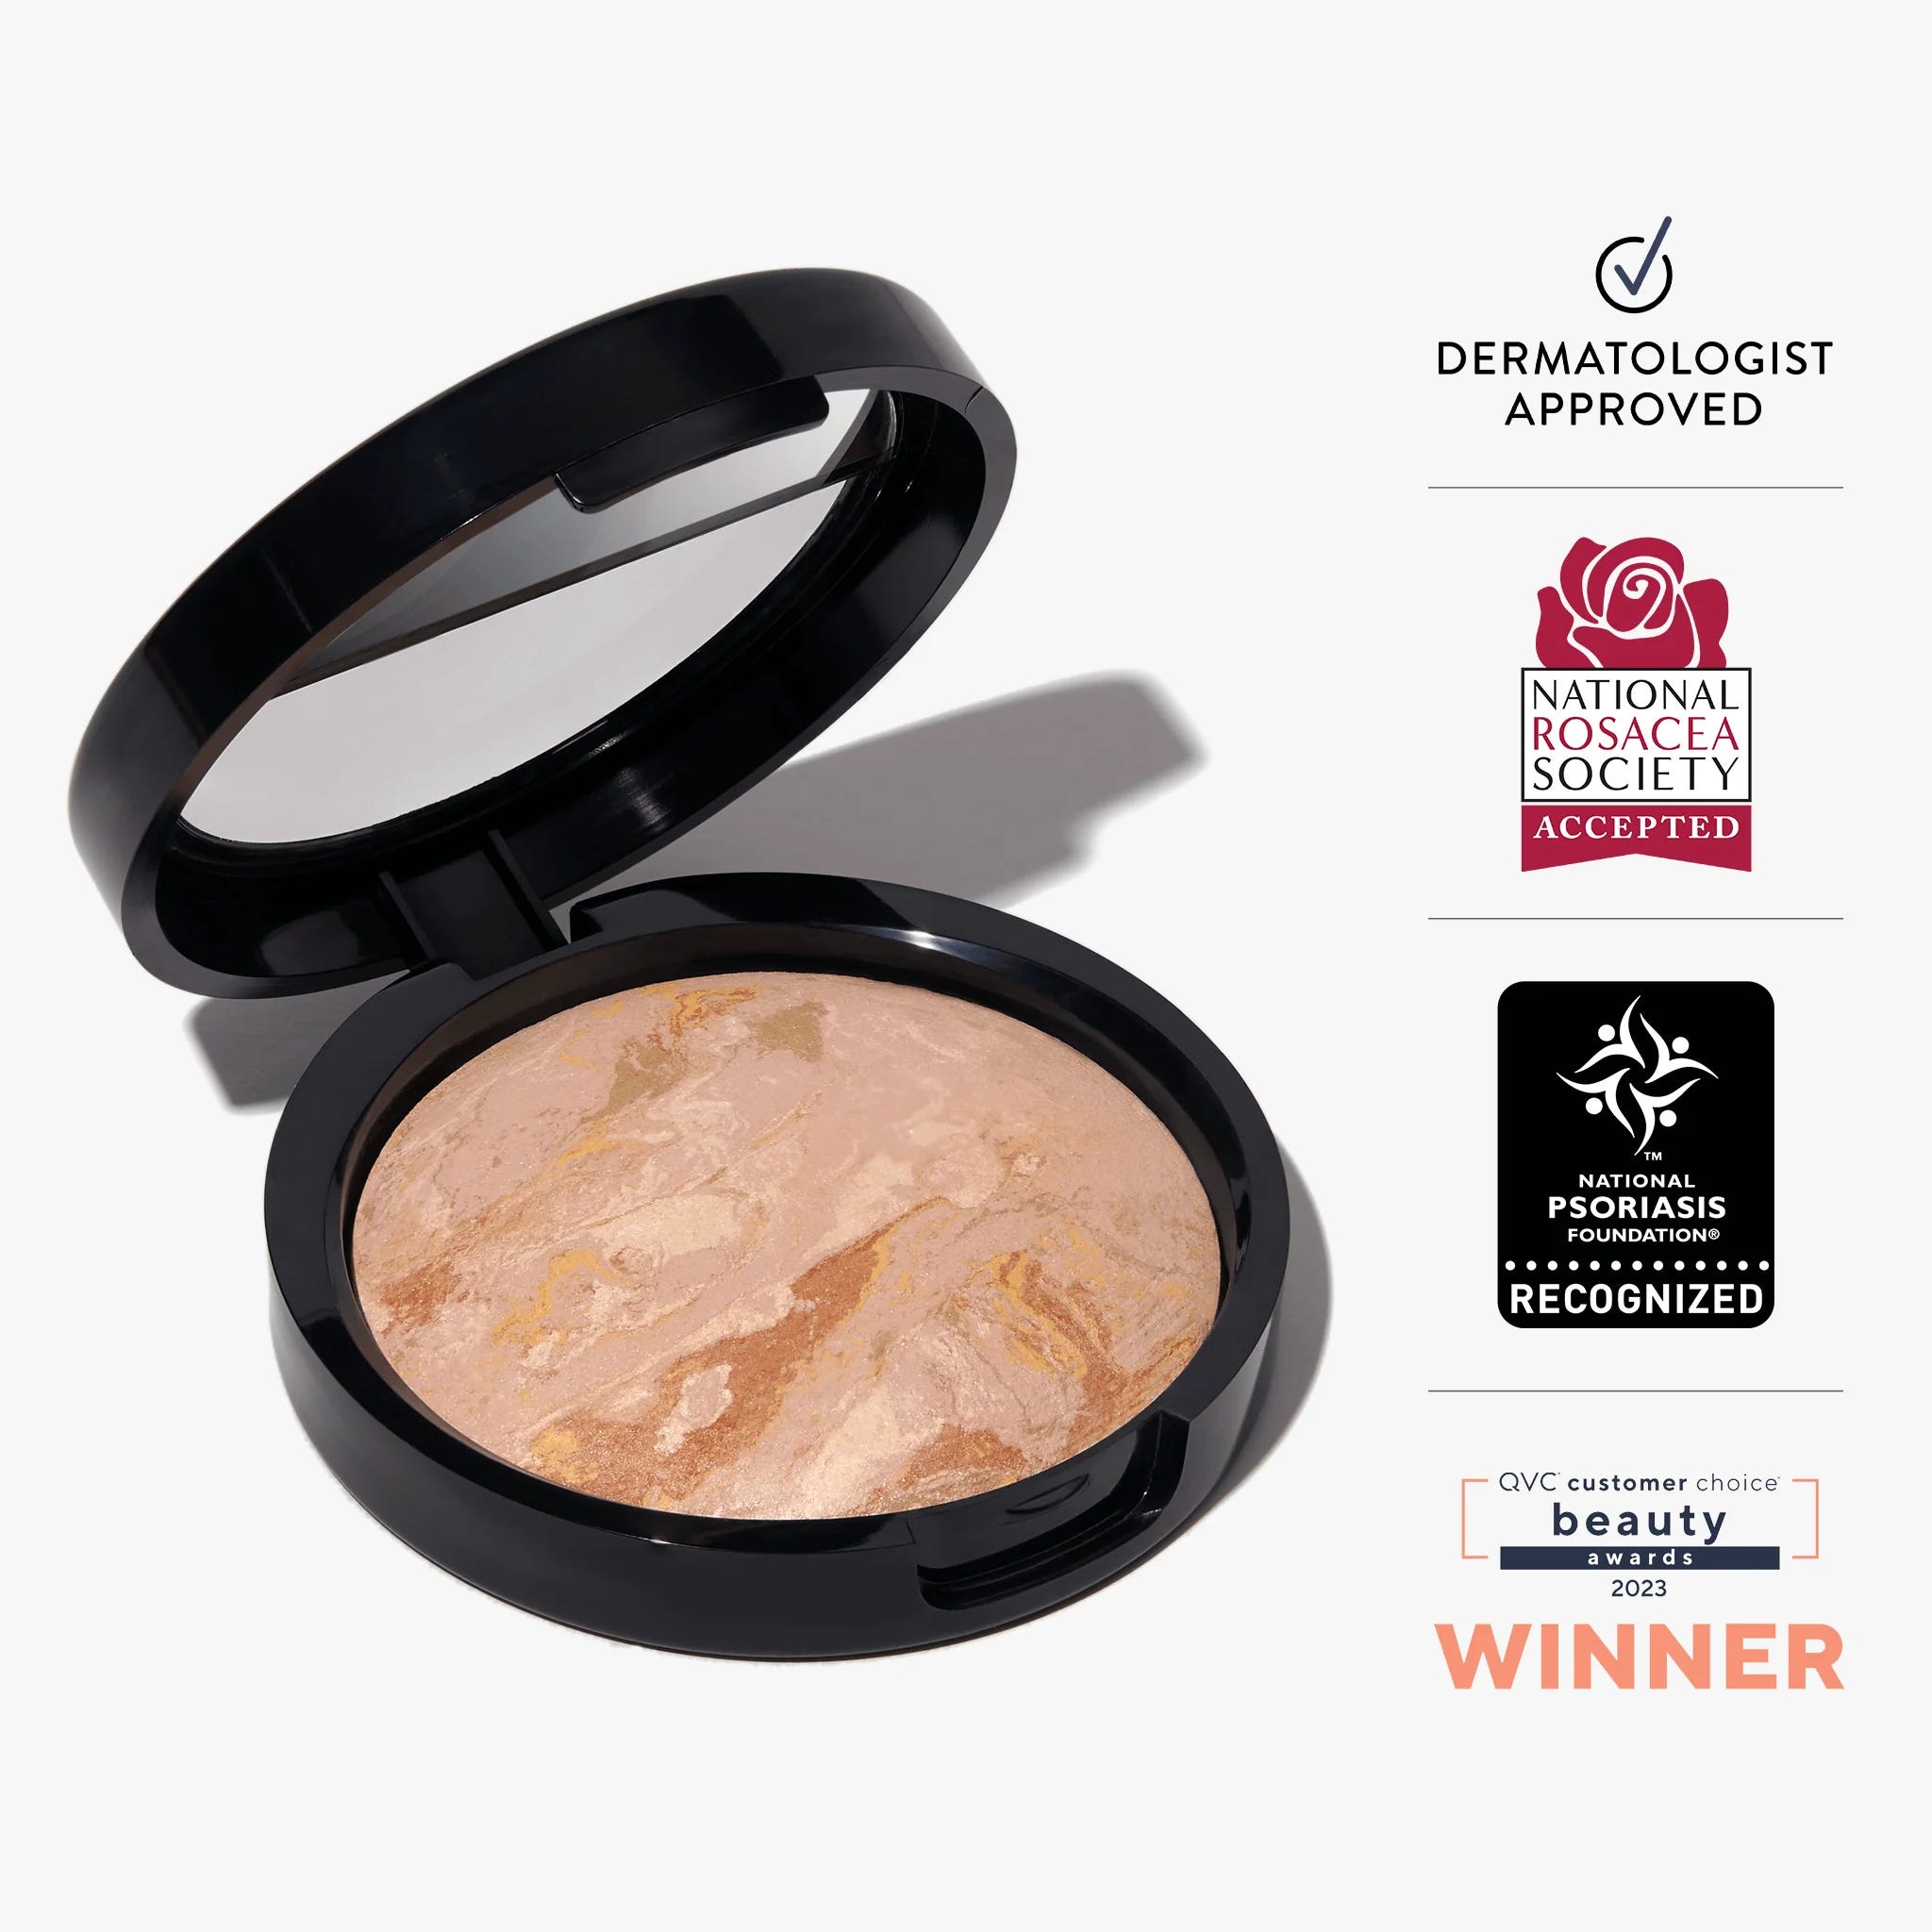
Step #4: Setting Powder
Set it and forget it. I always dust a small amount of color correct powder to balance the moisture level and shine in my skin. I am currently using Baked Balance-n-Glow Color Correcting Foundation (currently 50% off) to set my t zone (which always gets shiny) and under my eyes to set my face pencil.
Tip: Always gently tap excess powder from your brush before applying to your face.
Step #5: Bronzer
Confession: I wear bronzer year round, as someone with fair and uneven skin tone. I use one application, tap off the excess and lightly dust/blend the high points of my face where the sun would naturally hit (and then bring down onto my neck to ensure evenness).
Using a tone correct & shimmer-free bronzer like this one actually helps tone correct my skin and makes me look and feel healthier. The key here is to blend. A bronzer brush like the one below is perfect for applying natural looking bronzer. I have had mine for over a decade.


Step #6: Miracle Balm in “Dusty Rose”
The name says it all. I use this year-round, but especially in the winter. It adds the perfect amount of luminosity to my skin. I apply a little bit to the apples of my cheeks to get a “I just came back from a brisk walk” look. Again, highly recommend using the Jones Road Shade Finder here as well.
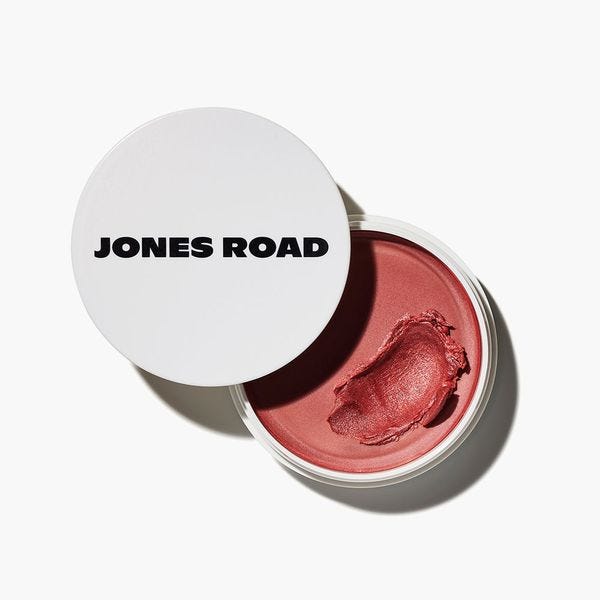
Tip: I love to apply a little to my lips for soft, luminous color once my makeup is complete & along my decollete
Step #6: Frame Your Face
My brows are incredibly thin (see also: me overplucking my brows in high school) and the Jones Road Eyebrow Pencil is perfect for filling in all the gaps. It gives my eyes definition without looking “sculpted”. The key here is short strokes and then brushing through with a spooly brush to even things out.


For my thicker brow girls, a brow gel will yield a similar, polished definition.
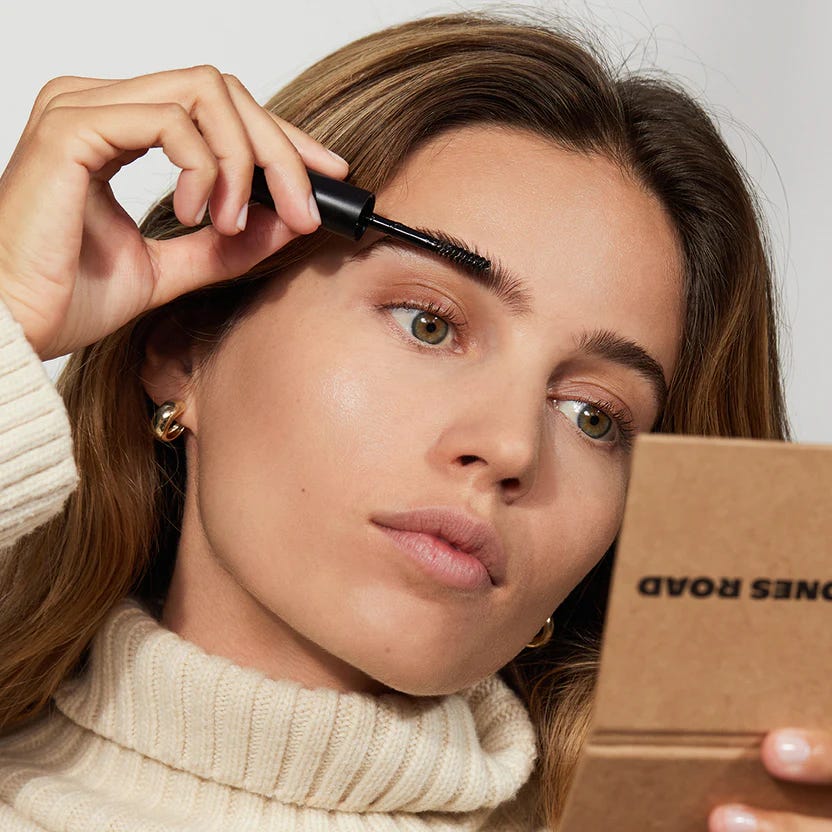
Tip: Remember, your eyebrows should look like sisters not twins
Step #7: Pucker Up…
I always dab some miracle balm on my lips and out the door I go! I look and feel like myself, just a bit more polished and confident in the day ahead. Best face forward….


Now for those times when I am wanting to add a little more *somethin’ somethin’* to my look (ex: IG Live), here is what I do next:
(Do all above steps & then add in the following:)
Step #8: Eye Love You
Apply a bone white eye shadow (not too white) all over the eye area (lid to brow) to even things out. Next, apply *slightly* deeper shade to the eyelid area only. This will add a little definition without looking too heavy.
Tip: Start light, layer and blend


Step #9: Eye Liner
I have always struggled with eye liner looking too heavy on my eyes and this is my favorite application technique - it gives amazing definition and can easily be played up to look more smokey. It is also very easy to blend and correct if needed.


How To: Using my eyeliner brush:
Wet eyeliner brush tip under running water
Blend brush into dark eye shadow shade (I love an espresso brown shade)
Line as close to the lash line as possible in small strokes making sure to go the full length of your eyes. This will yield a lifted look (and not tired).


Super Side Note: I do not line my lower lashes as it makes me look tired, but you can certainly apply this same technique here
Step #10: A Dash of Powder Blush
The Miracle Balm I already applied serves as a beautiful natural base that gives a lift-from-within glow while a little powder blush makes me look a bit more alive and refreshed.
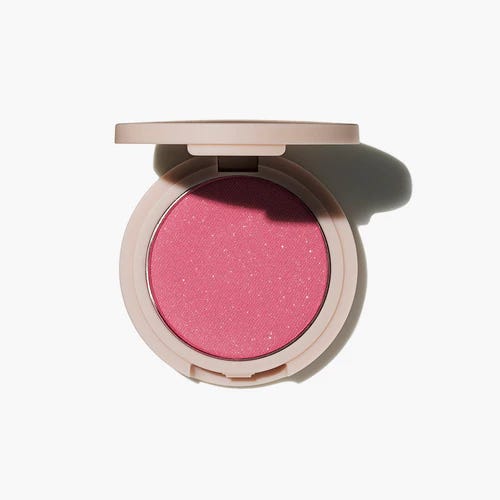
Tip: To find the apples of your cheeks SMILE. Once found, apply blush UP and Back towards your hairline for a natural flush.
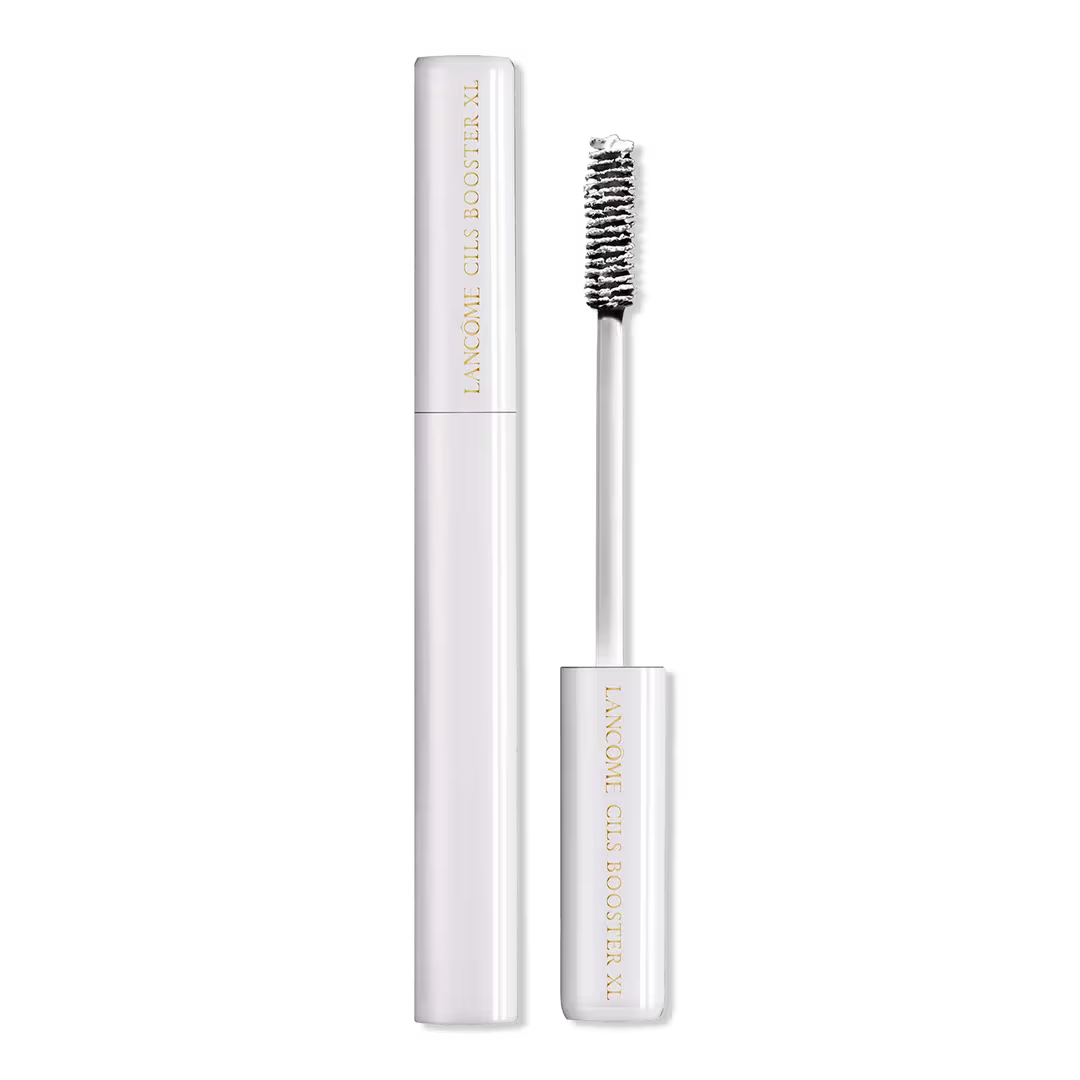
Step #11: My Ride-or-Die Combo
Primer: For almost two decades I have used this primer from Lancome (comes in a travel size also if you want to test it out first). It separates and conditions my extra fair lashes and makes my mascara adhere 100x better. The best part? Using this primer before means I only need 1 (maybe 2 if I am feeling dramatic) coats of mascara. Yup. That’s it. #invisiblesavings
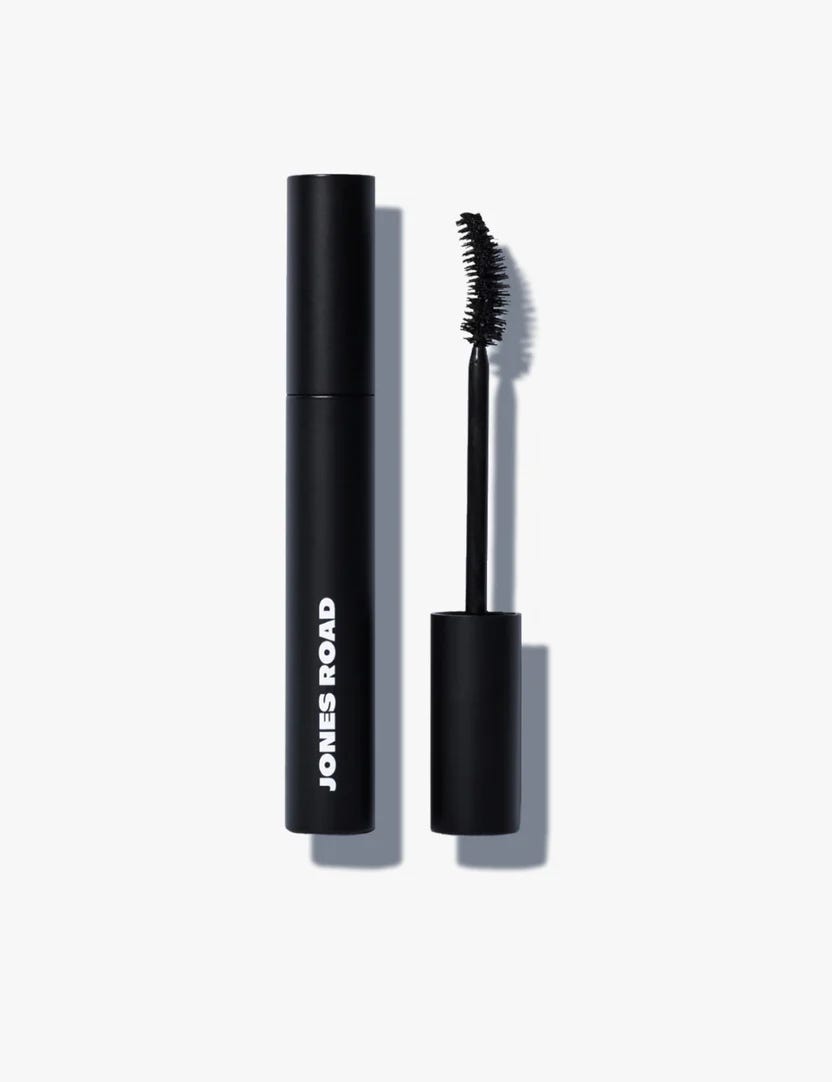
Upper Lashes: This Jones Road Mascara is probably the BEST I have ever used. This separates, lifts and volumizes even the finest of lashes (see: mine), plus it’s the perfect inky-pigment that’s #clean and cruelty free.
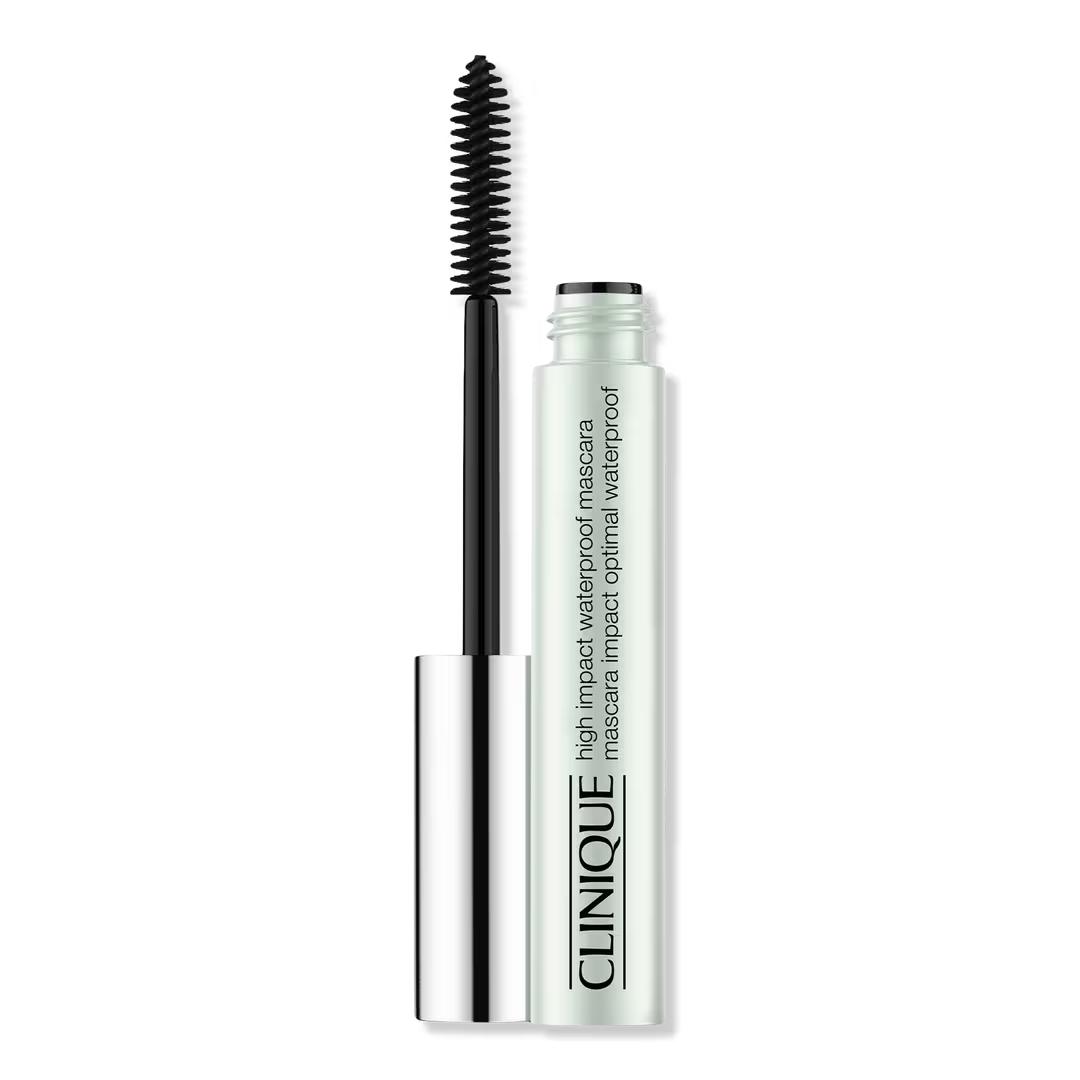
Lower Lashes: I lightly apply this waterproof mascara which helps prevent the mascara on my lower lashes from transferring to my under-eye area. Adding mascara to your lower lashes also helps your eyes to look open and refreshed.
Tip : Using your finger, bend it in an arched shape, gently press against your lashes and hold for a few seconds. The warmth of your finger will actually “curl” your lashes without an actual lash curler.
Step #12: Lipstick - the finishing touch!
I apply a swipe of my favorite lipstick and the look is instantly pulled together. If I am feeling extra sassy I will apply a little gloss on the center of my upper and lower lips for a fuller look.


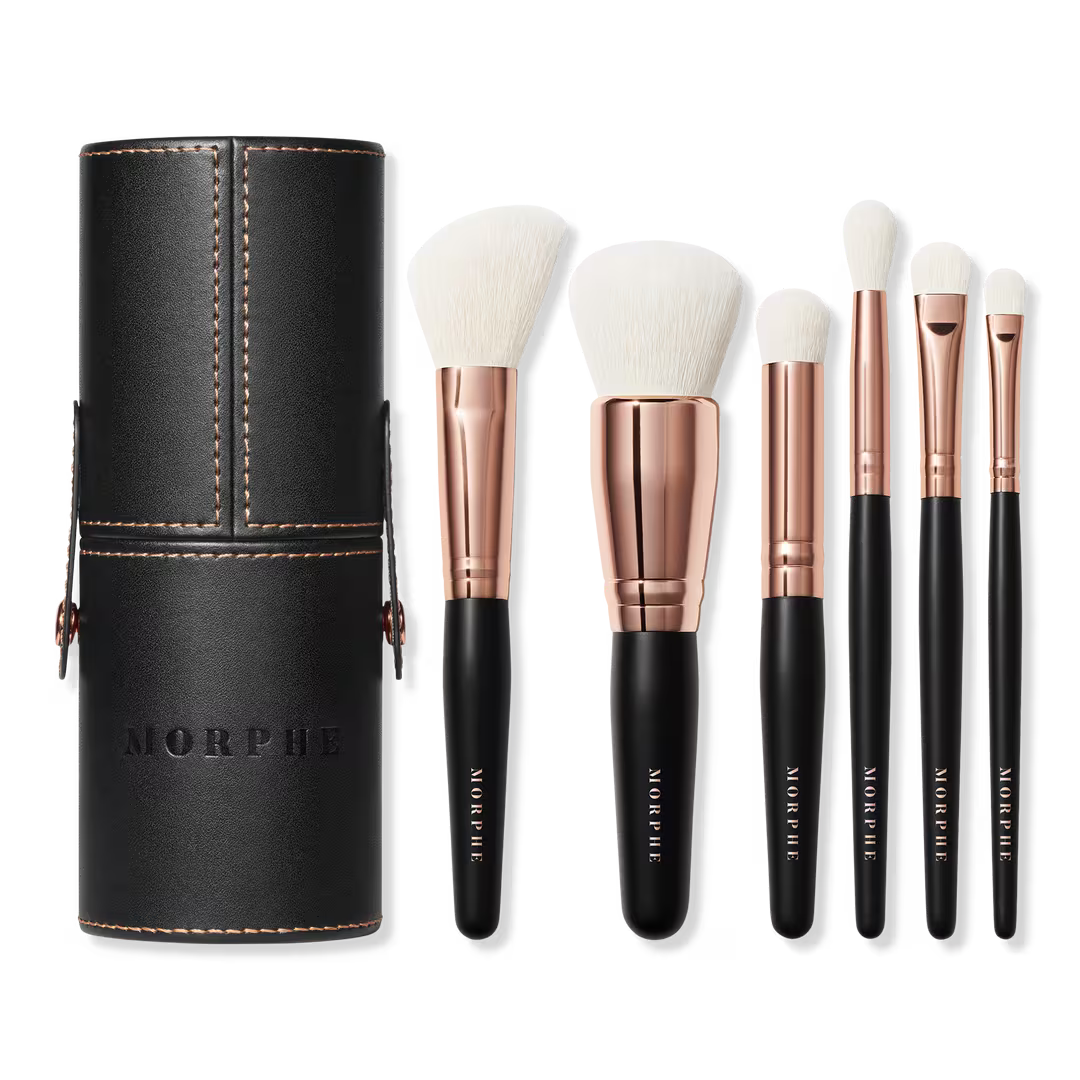
A Note on Brushes: Linked here are the brushes I have used for years. They are an investment but they stand the test of time and the quality is superb. If you are looking for a quick refresh of brushes that won’t break the bank, these are perfect and compact!
And always remember, makeup should enchance the beauty you already possess (and yes you are more beautiful than you give yourself credit for), not mask it!
Questions? Comments? I would love to hear from you!

❤️ Thank you for being here and for supporting my readership. This publication may contain affiliate links from which I receive a small commission - this is what allows me to keep this publication 100% free.

Share this post