


Lesson Two: The Birthday Belt
Stitched for the King of Sharks (and my heart) ❣️

My husband has several profound passions, and one that tops his charts is the summer ritual that is “Shark Week”. From hosting week-long viewing parties, fundraisers for shark research and preservation, and (of course) Landshark Lagers a-plenty; Shark Week is a pretty big deal in our household.
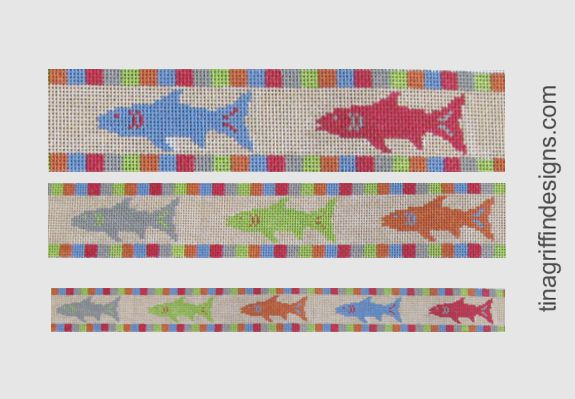
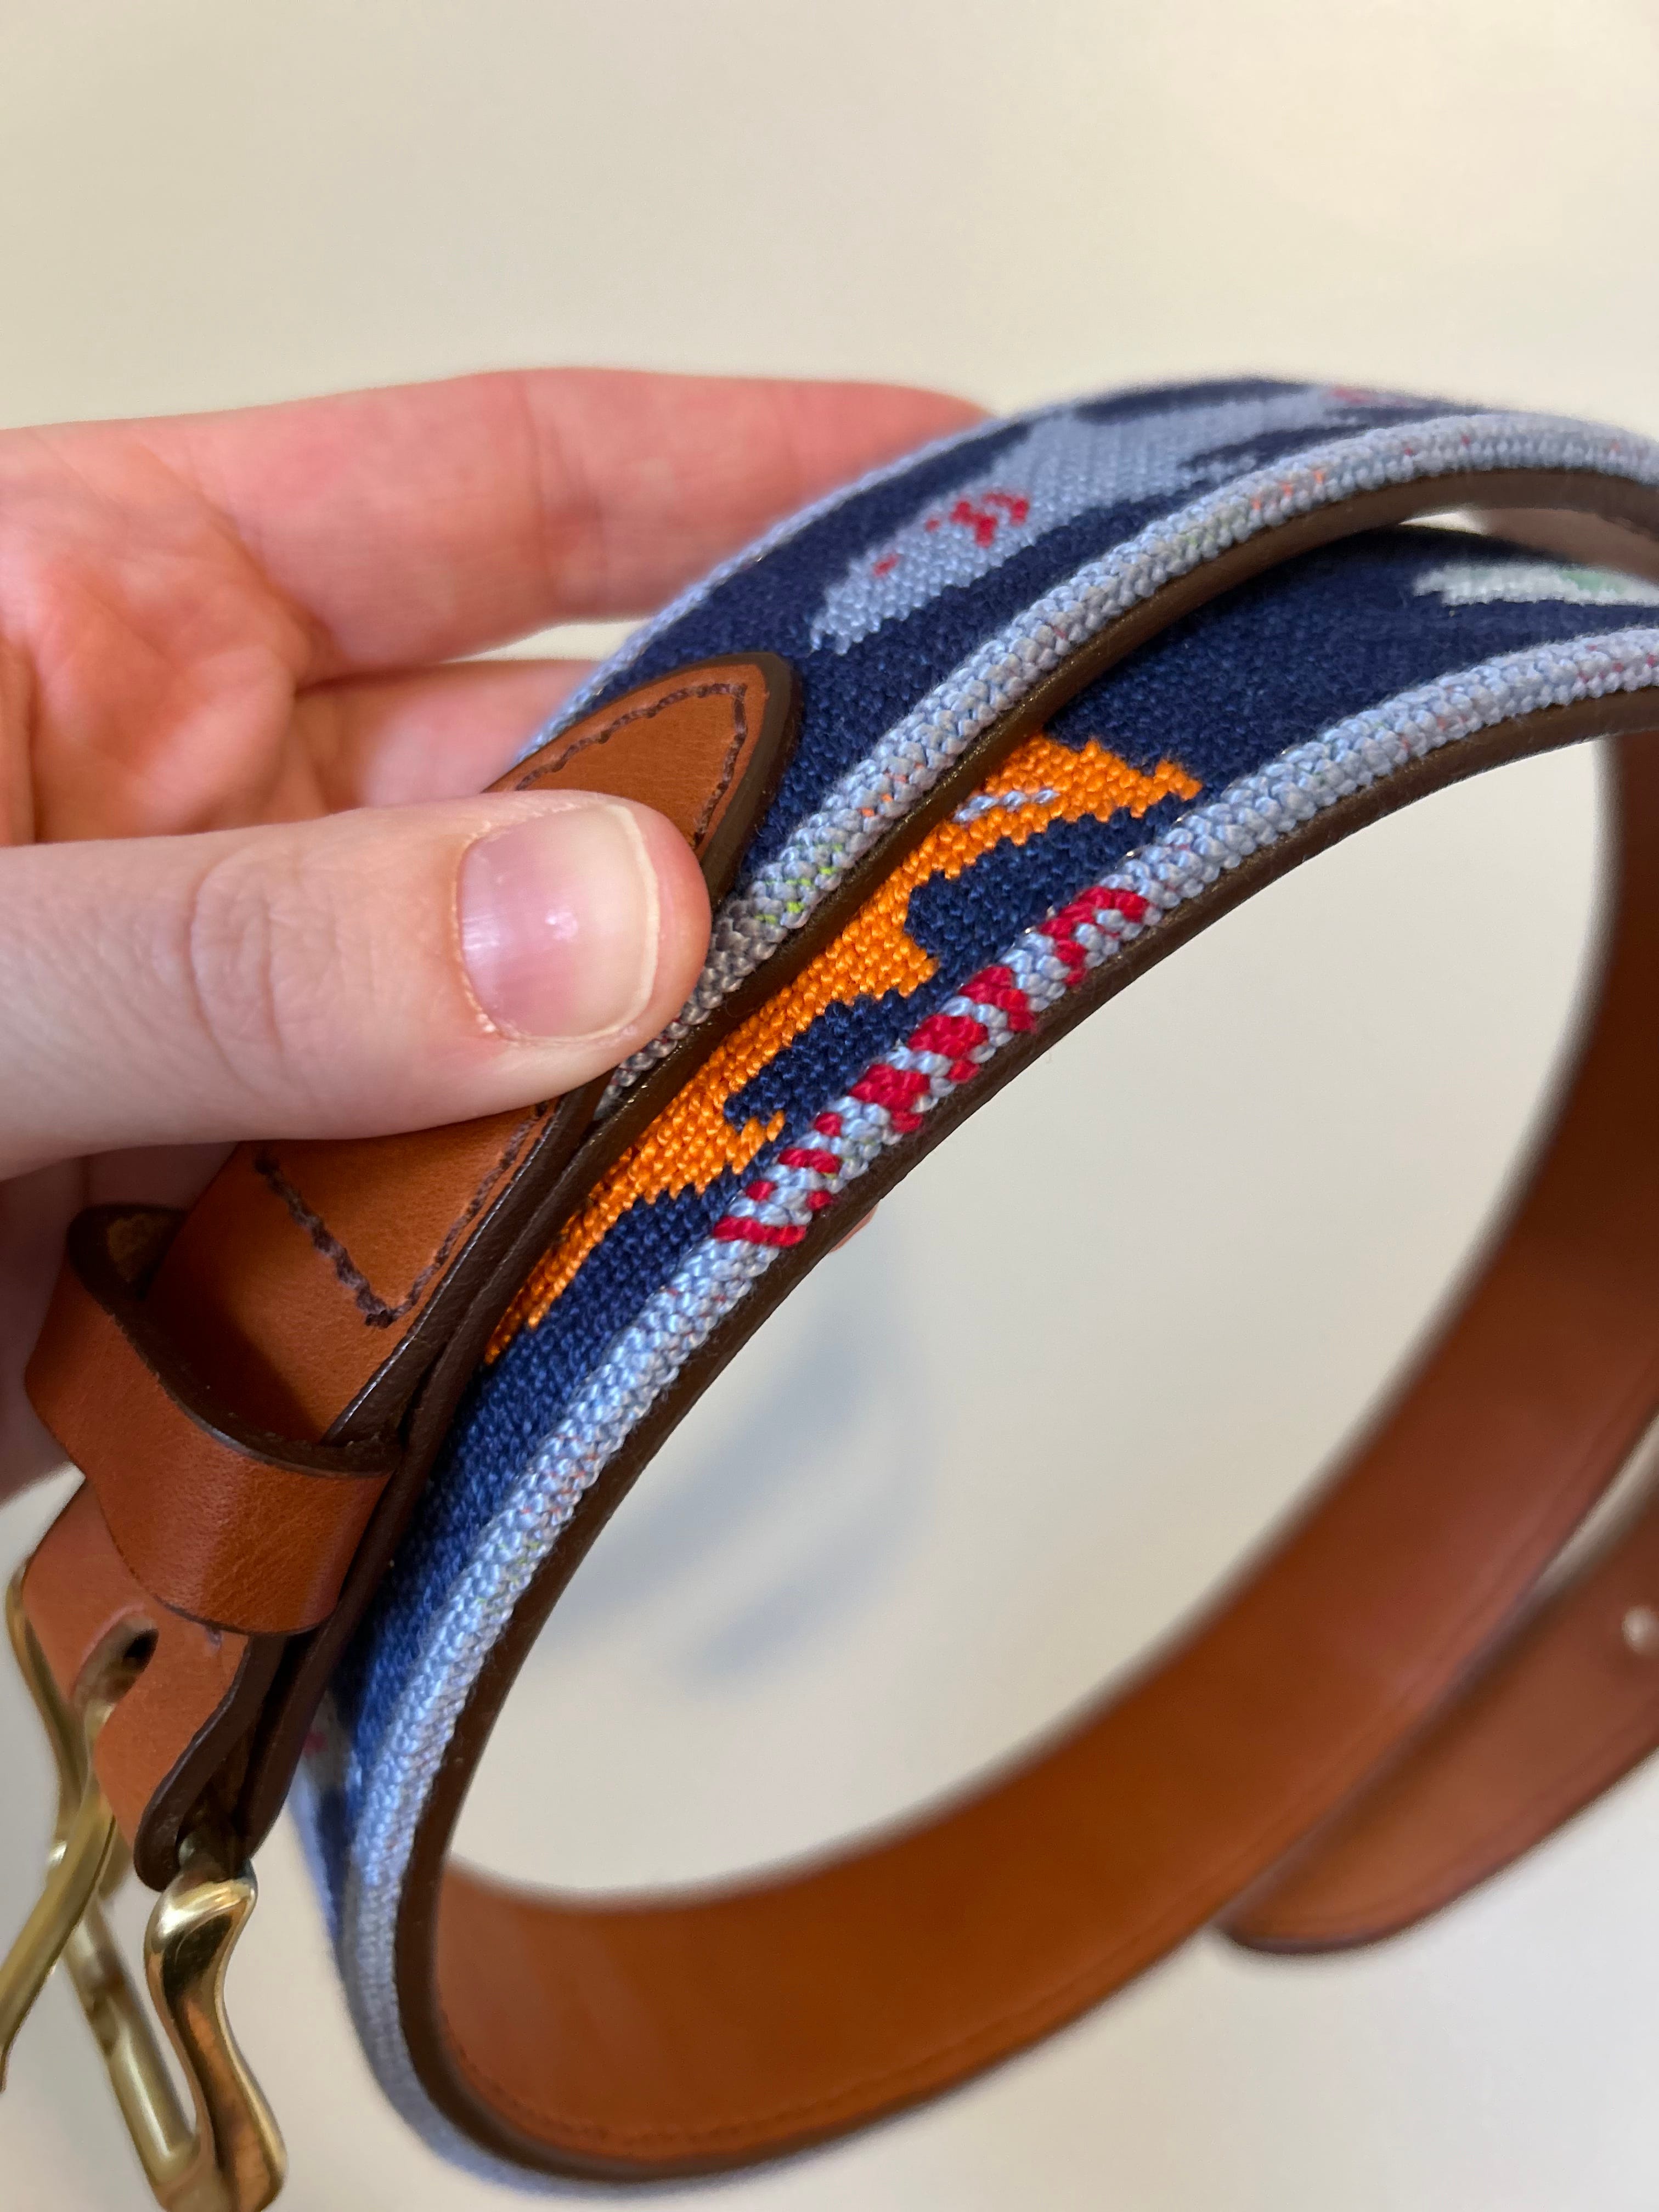
You can imagine how thrilled I was when I spotted what I *thought* was a Shark Belt canvas (turns out it is actually called “Rainbow Fish” lol) hanging on the background wall in one of Lycette’s Instagram stories. Like any decent needlepointer, I immediately reached out to the store to see if what I saw was accurate. Turns out it was and I knew I had to stitch it for my husband.
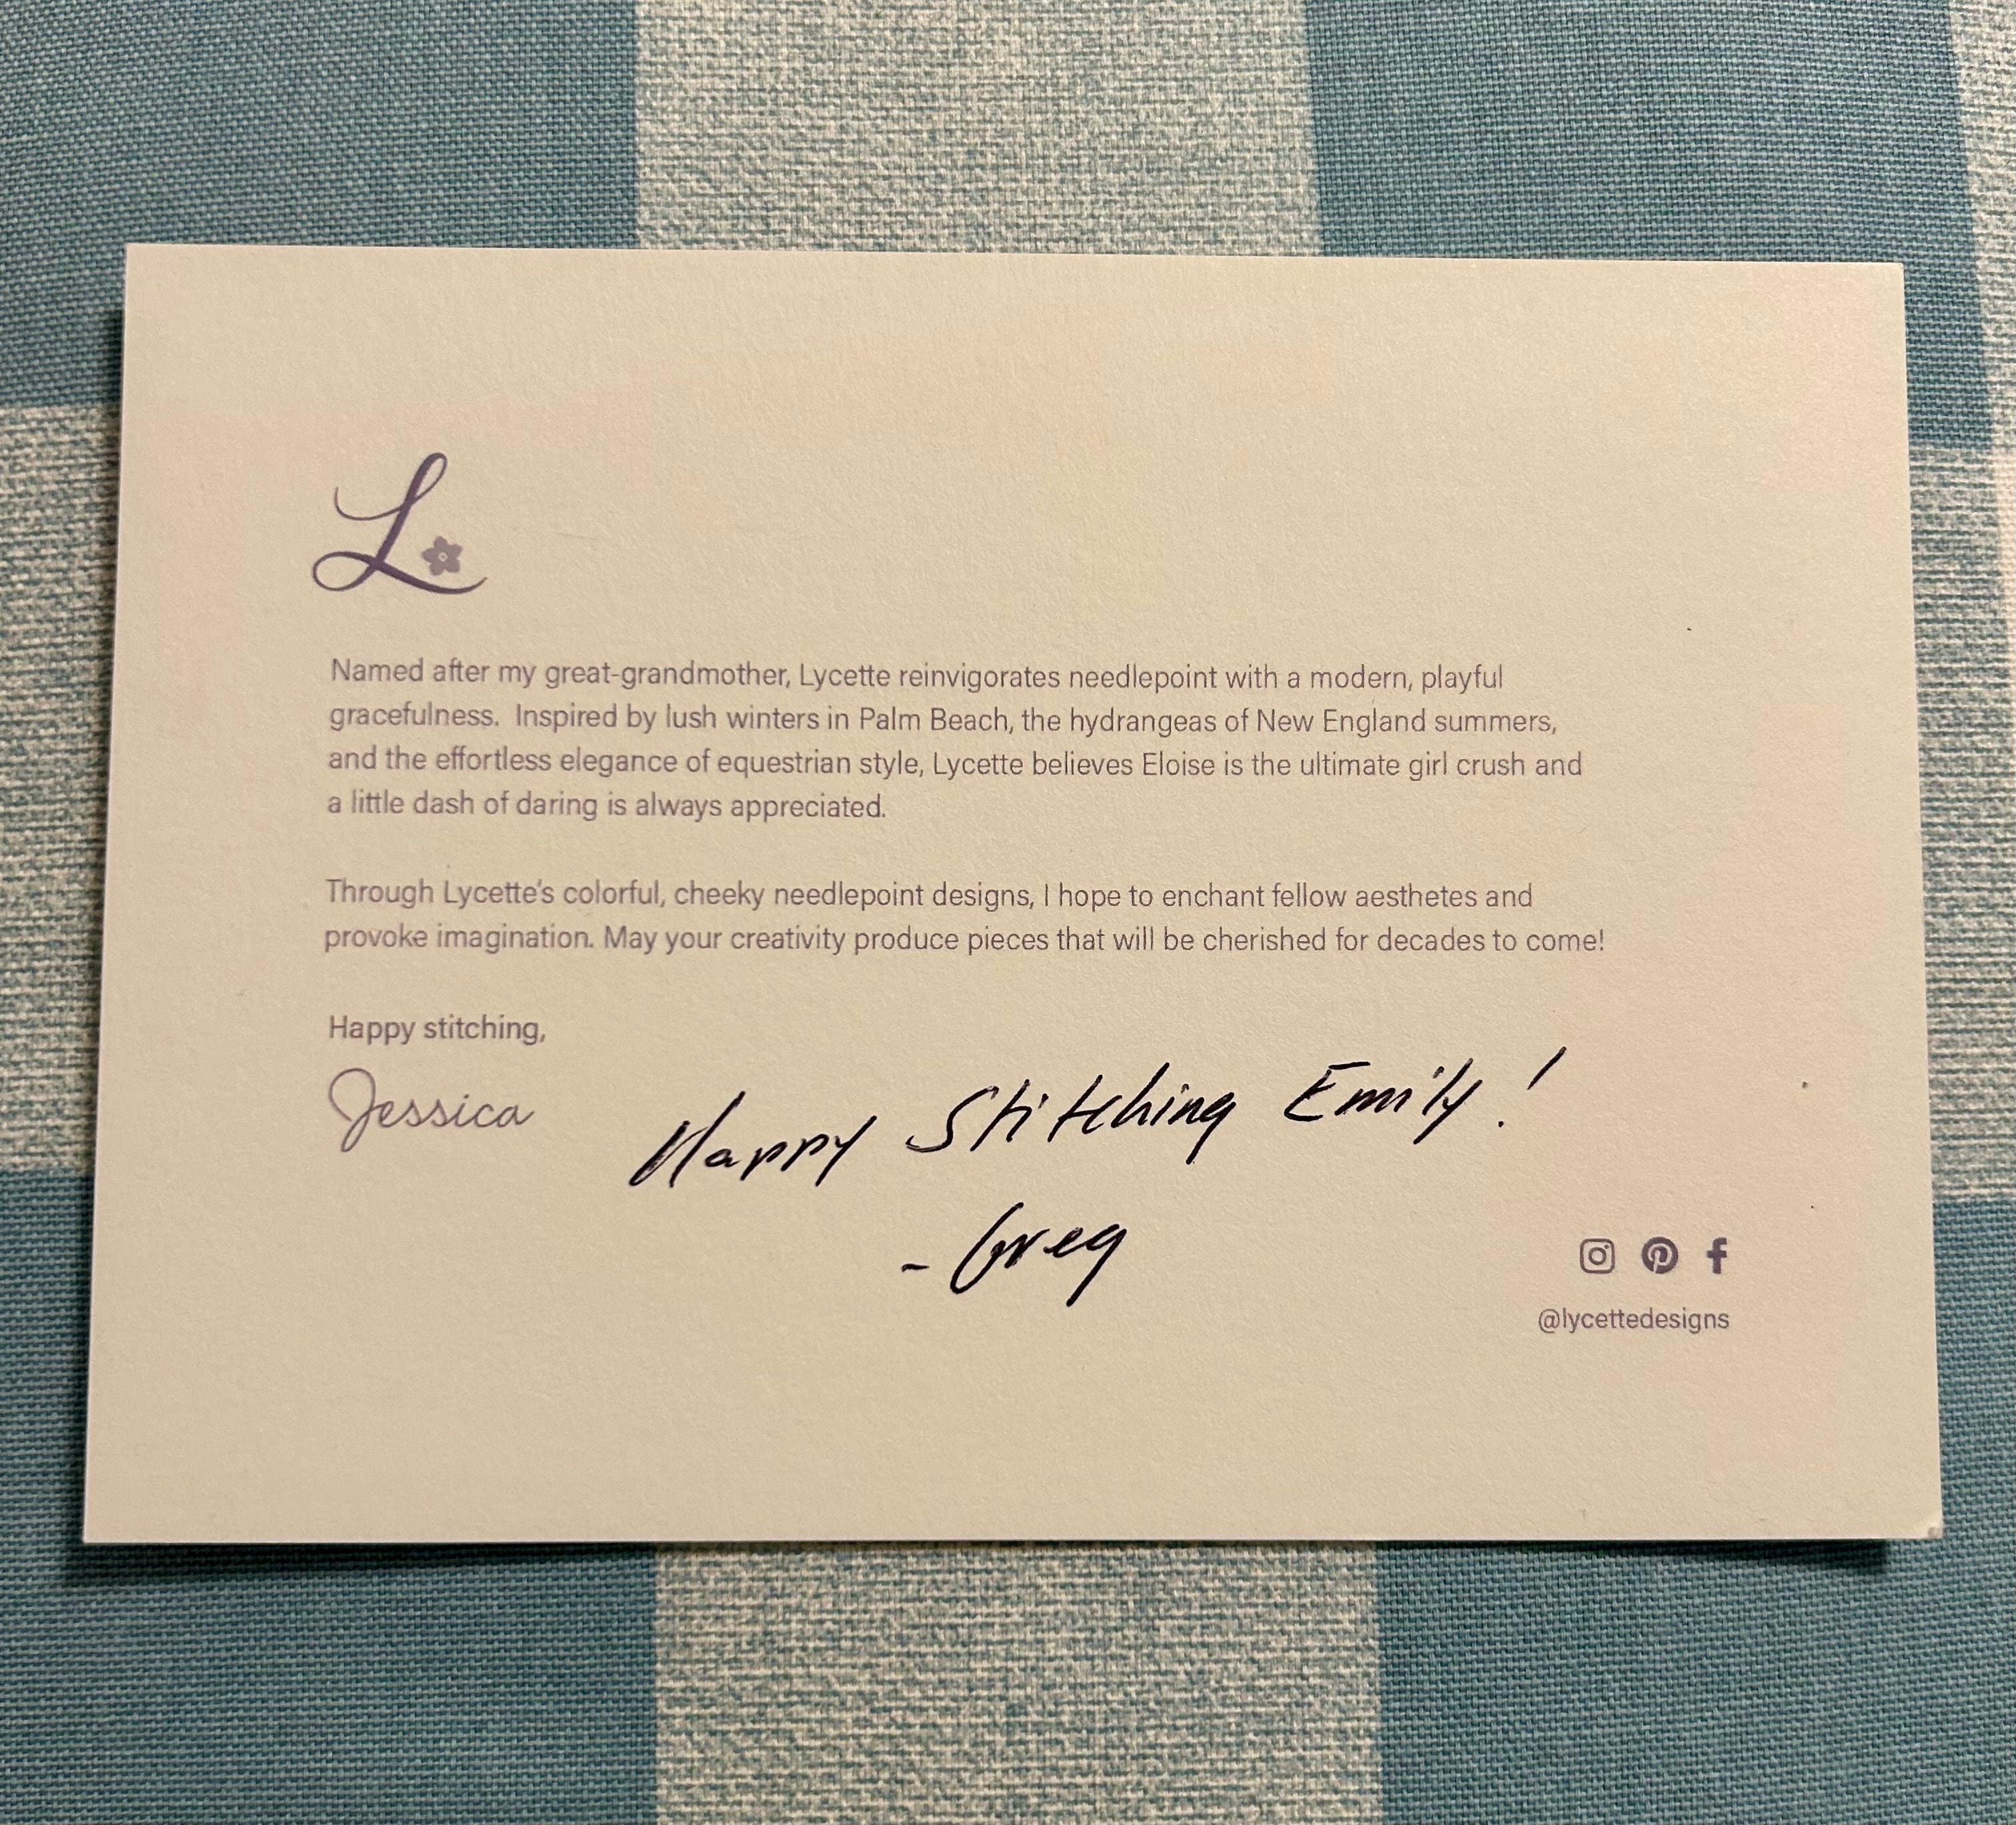
As fate would have it, Greg (aka “Mr. Needlepoint”) intercepted my call and not only secured the belt for me, but color swapped and kitted the entire project for me over the phone. I could hear the busyness of the buzzing shop in the background and not once did I feel rushed.
Greg could not have been more helpful and patient. I told him this was only my 2nd needlepoint project and he assured me I had nothing to worry about, that I could absolutely do it. Encouraging words that I pass along to you, dear reader!
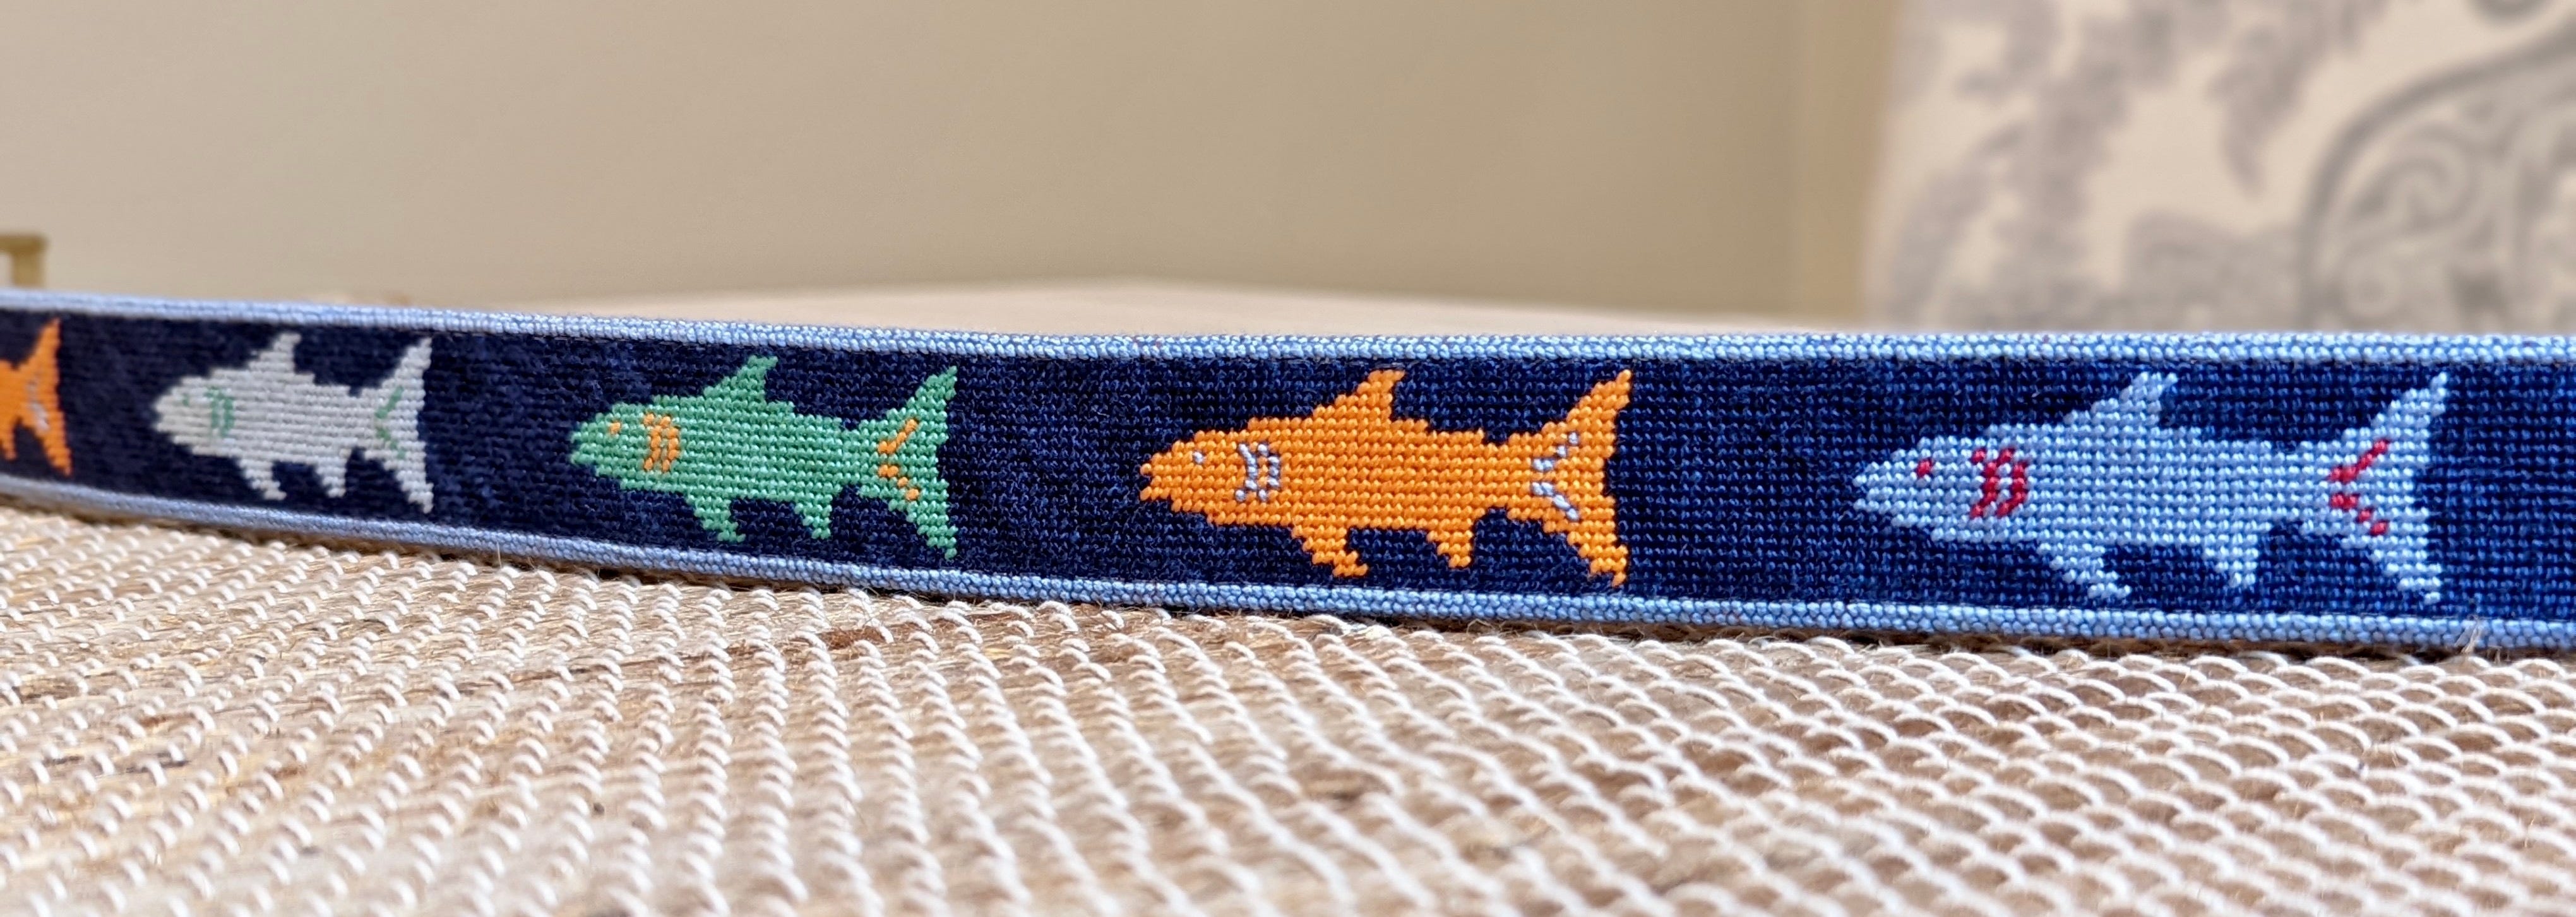
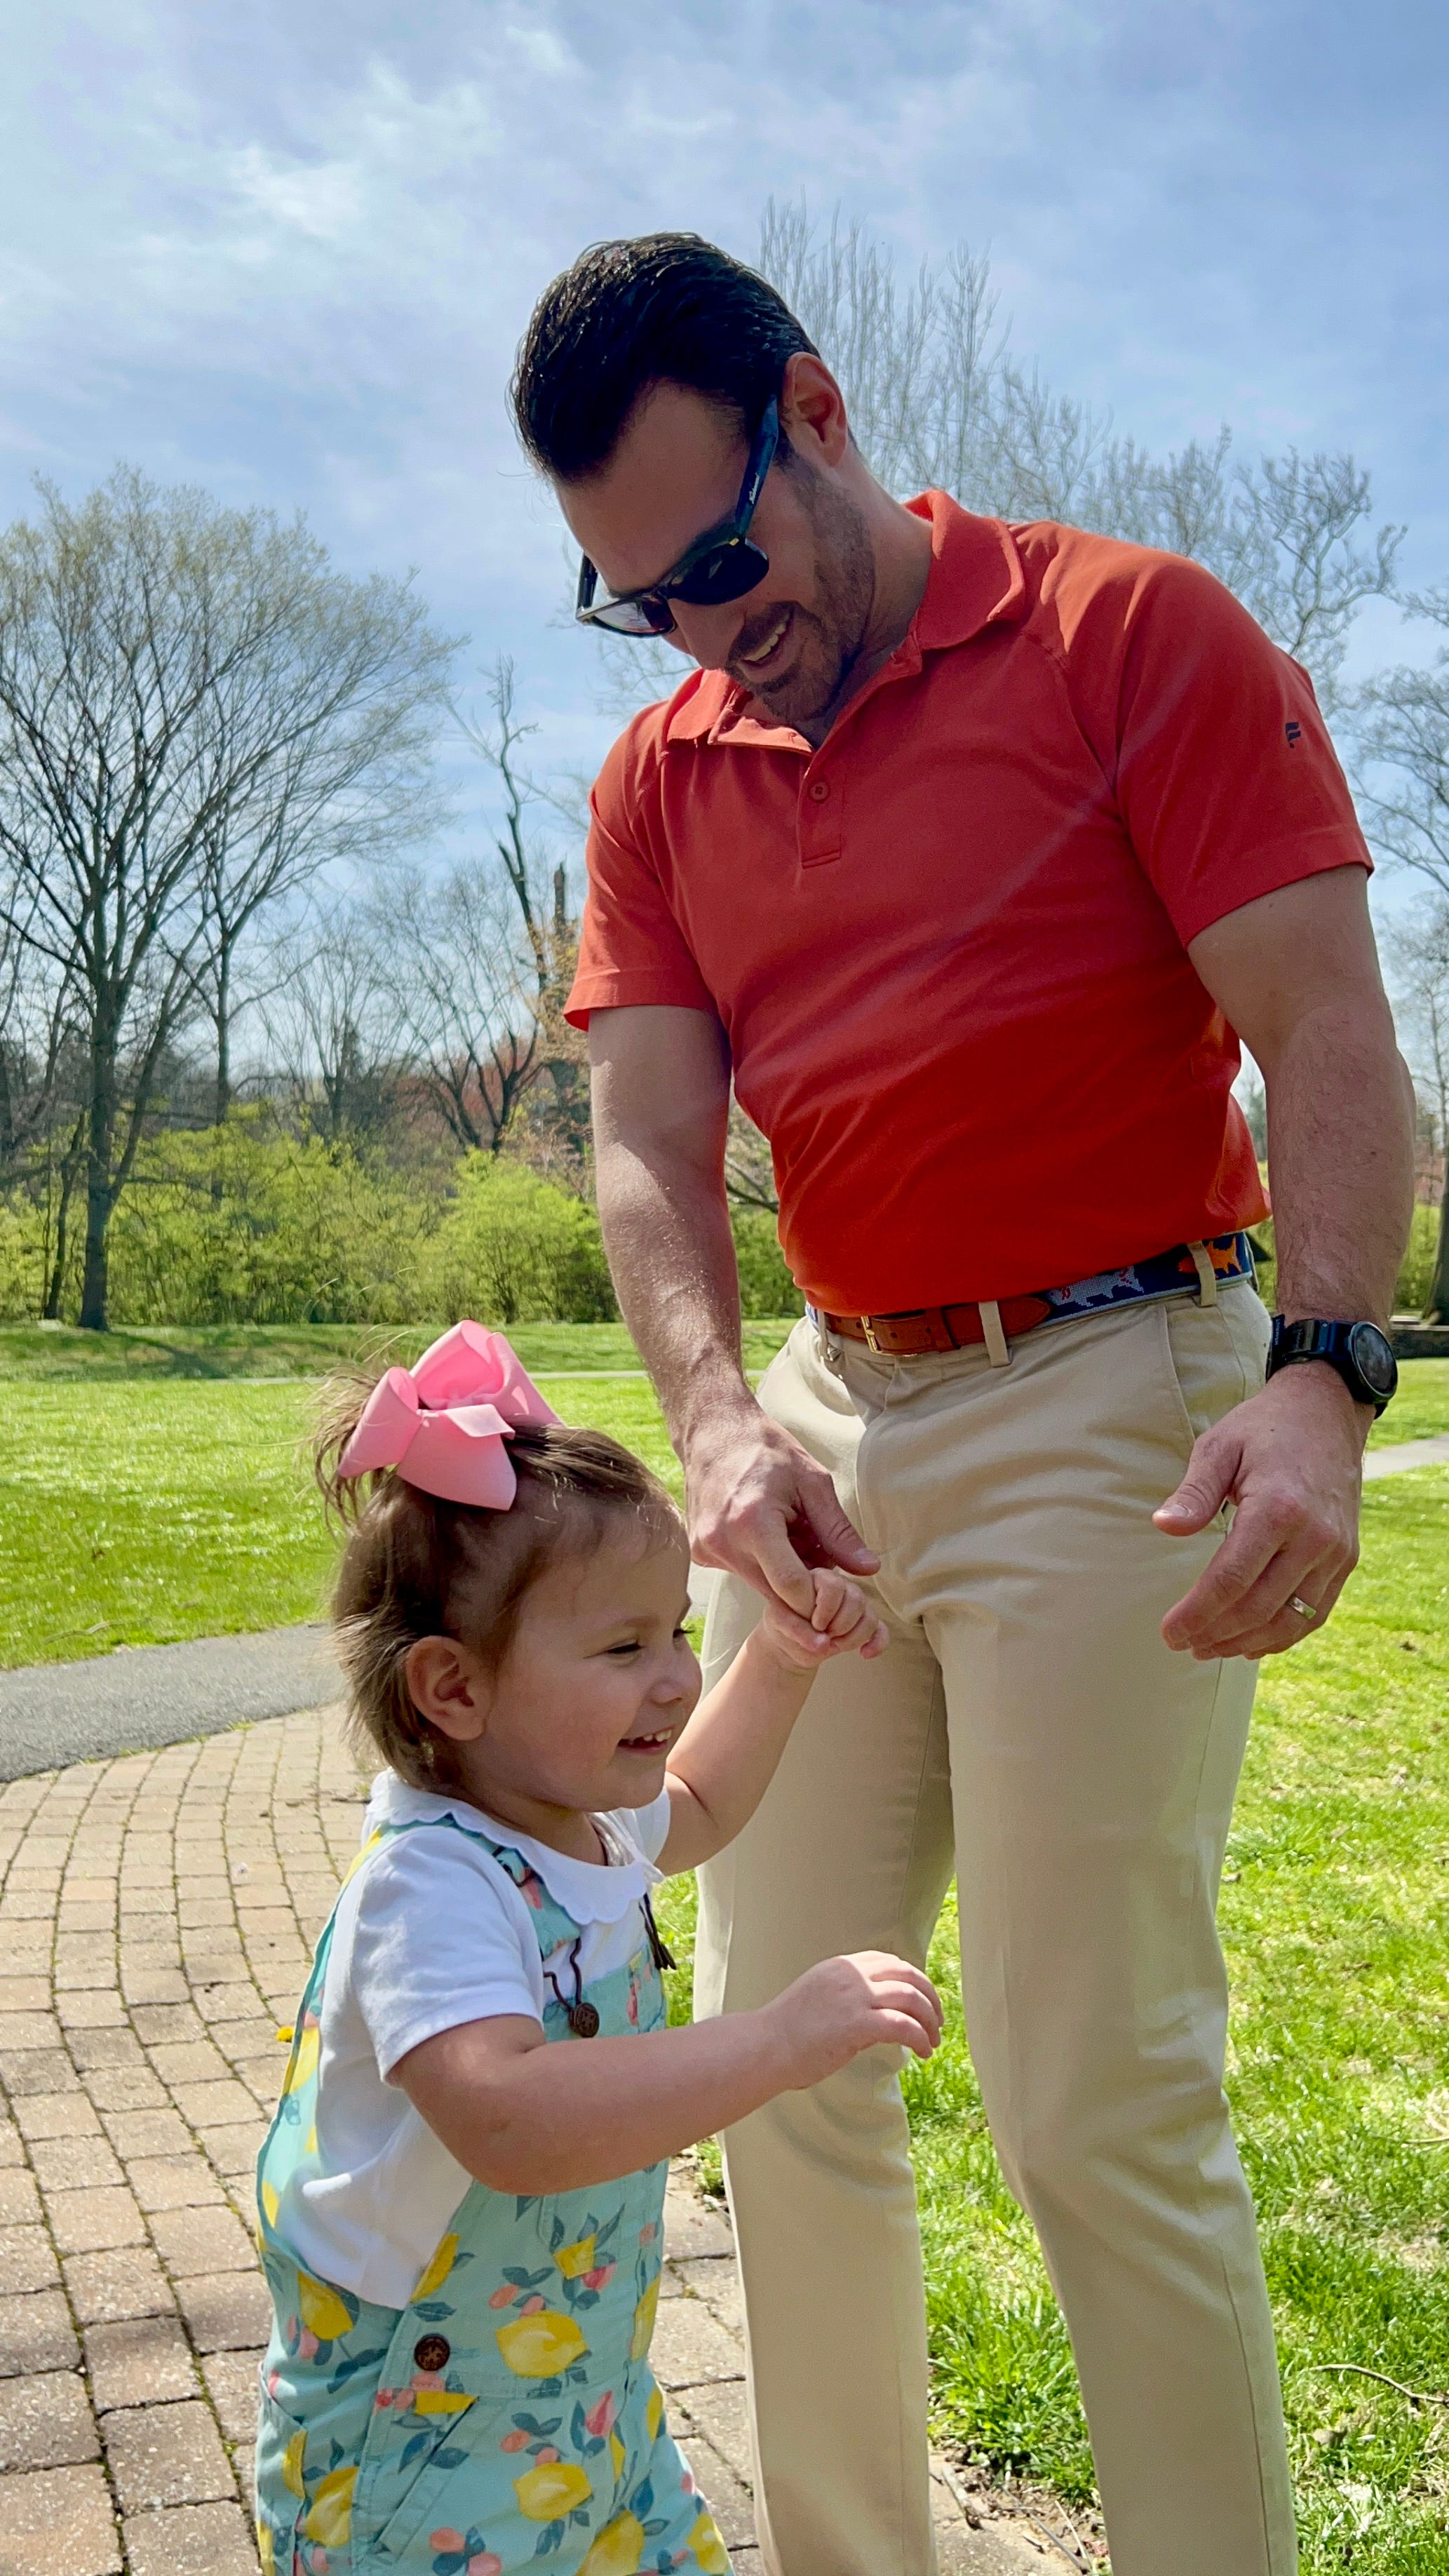
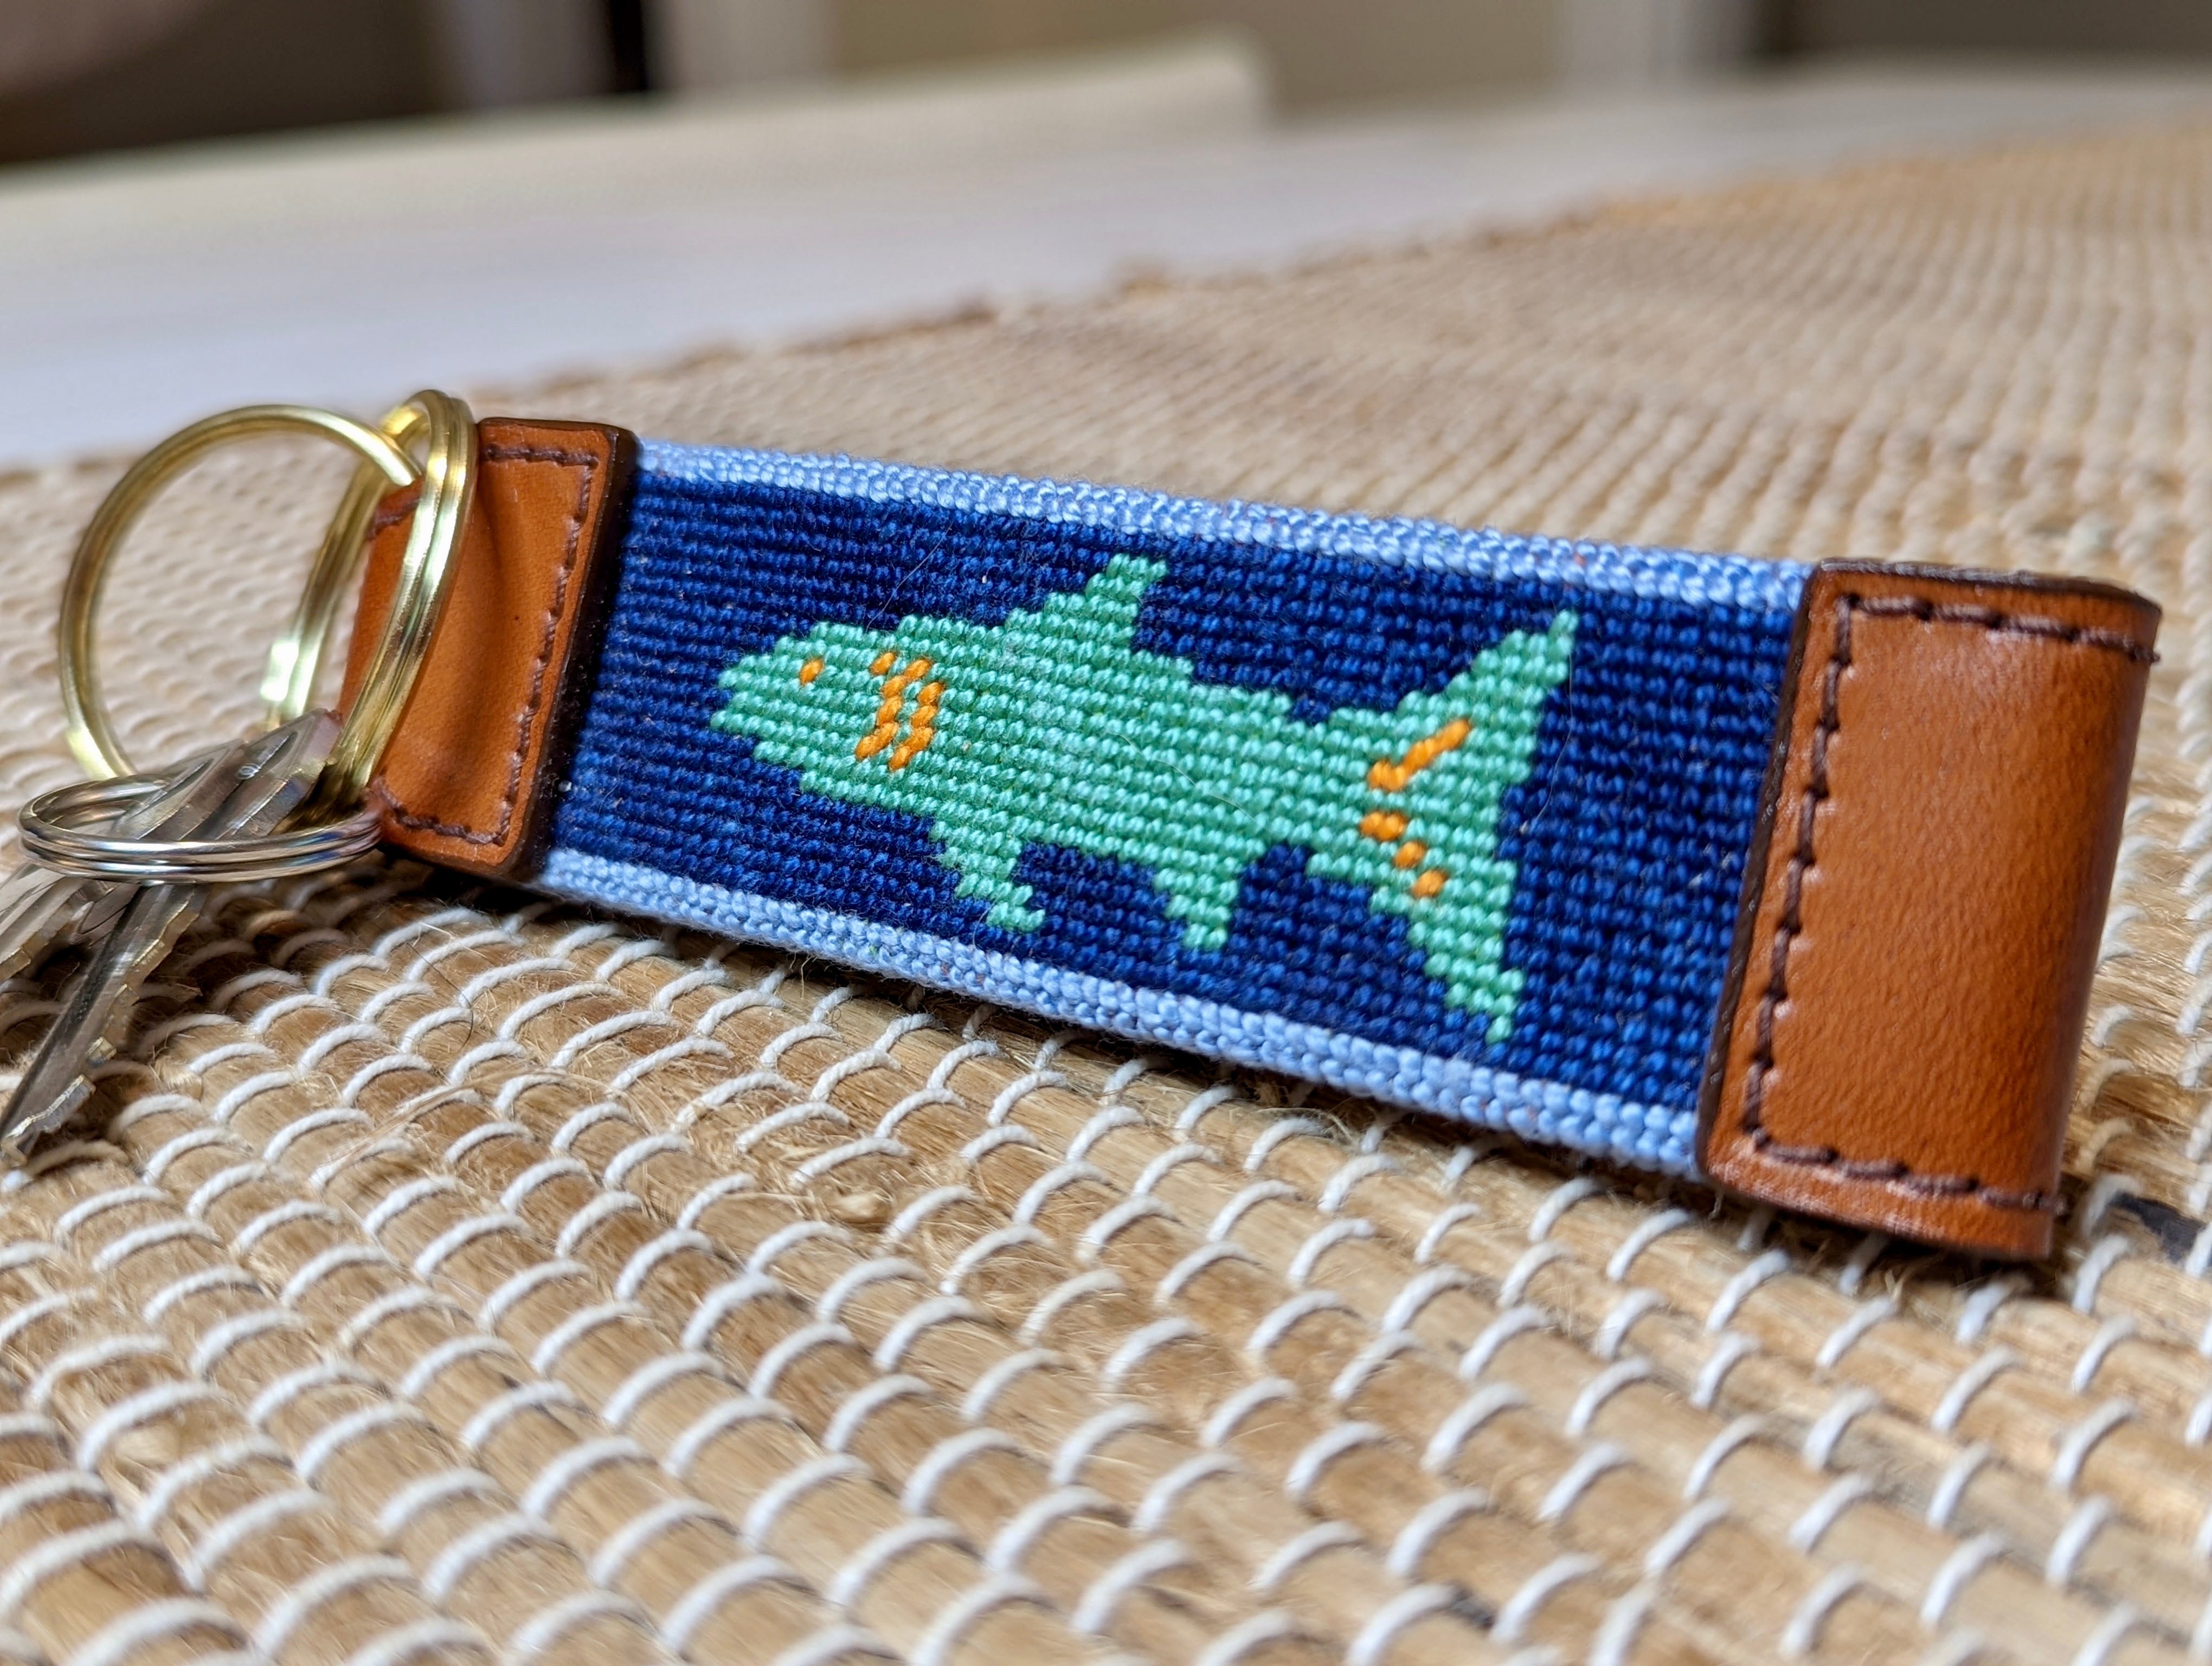
Whenever I see my husband wearing this belt, or when I see the matching keyfob on his set of keys (we’ll get to that part), I am reminded of so many things: stitching in secrecy for MONTHS to ensure the #birthdaybelt surprise, the many painful mistakes I made (and learned from), Mr. Needlepoint’s kindness, and of course, the look on my husband’s face when he opened this belt on his birthday. I have never felt so connected with anything I have ever made for somebody.
The gift of spreading the joy of needlepoint with someone you love is truly one of the most precious feelings.
Before we get into the details behind this special belt, if you are considering stitching a belt - go for it! Stitching belts has become one of my favorite types of projects . However, I will caution there is a lot of superstition that surrounds needlepoint belts. If you have not already, head on over to Lycette’s Instagram highlight called “Break Up Belt” or here for all the very juicy details.
In tandem with the above, I would like the record to show that I did not start needlepointing until I was 2 years into my marriage (and we are still very happily married).
Ok let’s dive in…
Canvas: “Rainbow Fish” by Griffin Designs via Lycette (sold out but here is a fun one I have on my radar)
Fibers:
Mr. Needlepoint was kind enough to color swap and kit this entire belt for me over the phone. All fibers were from Lycette
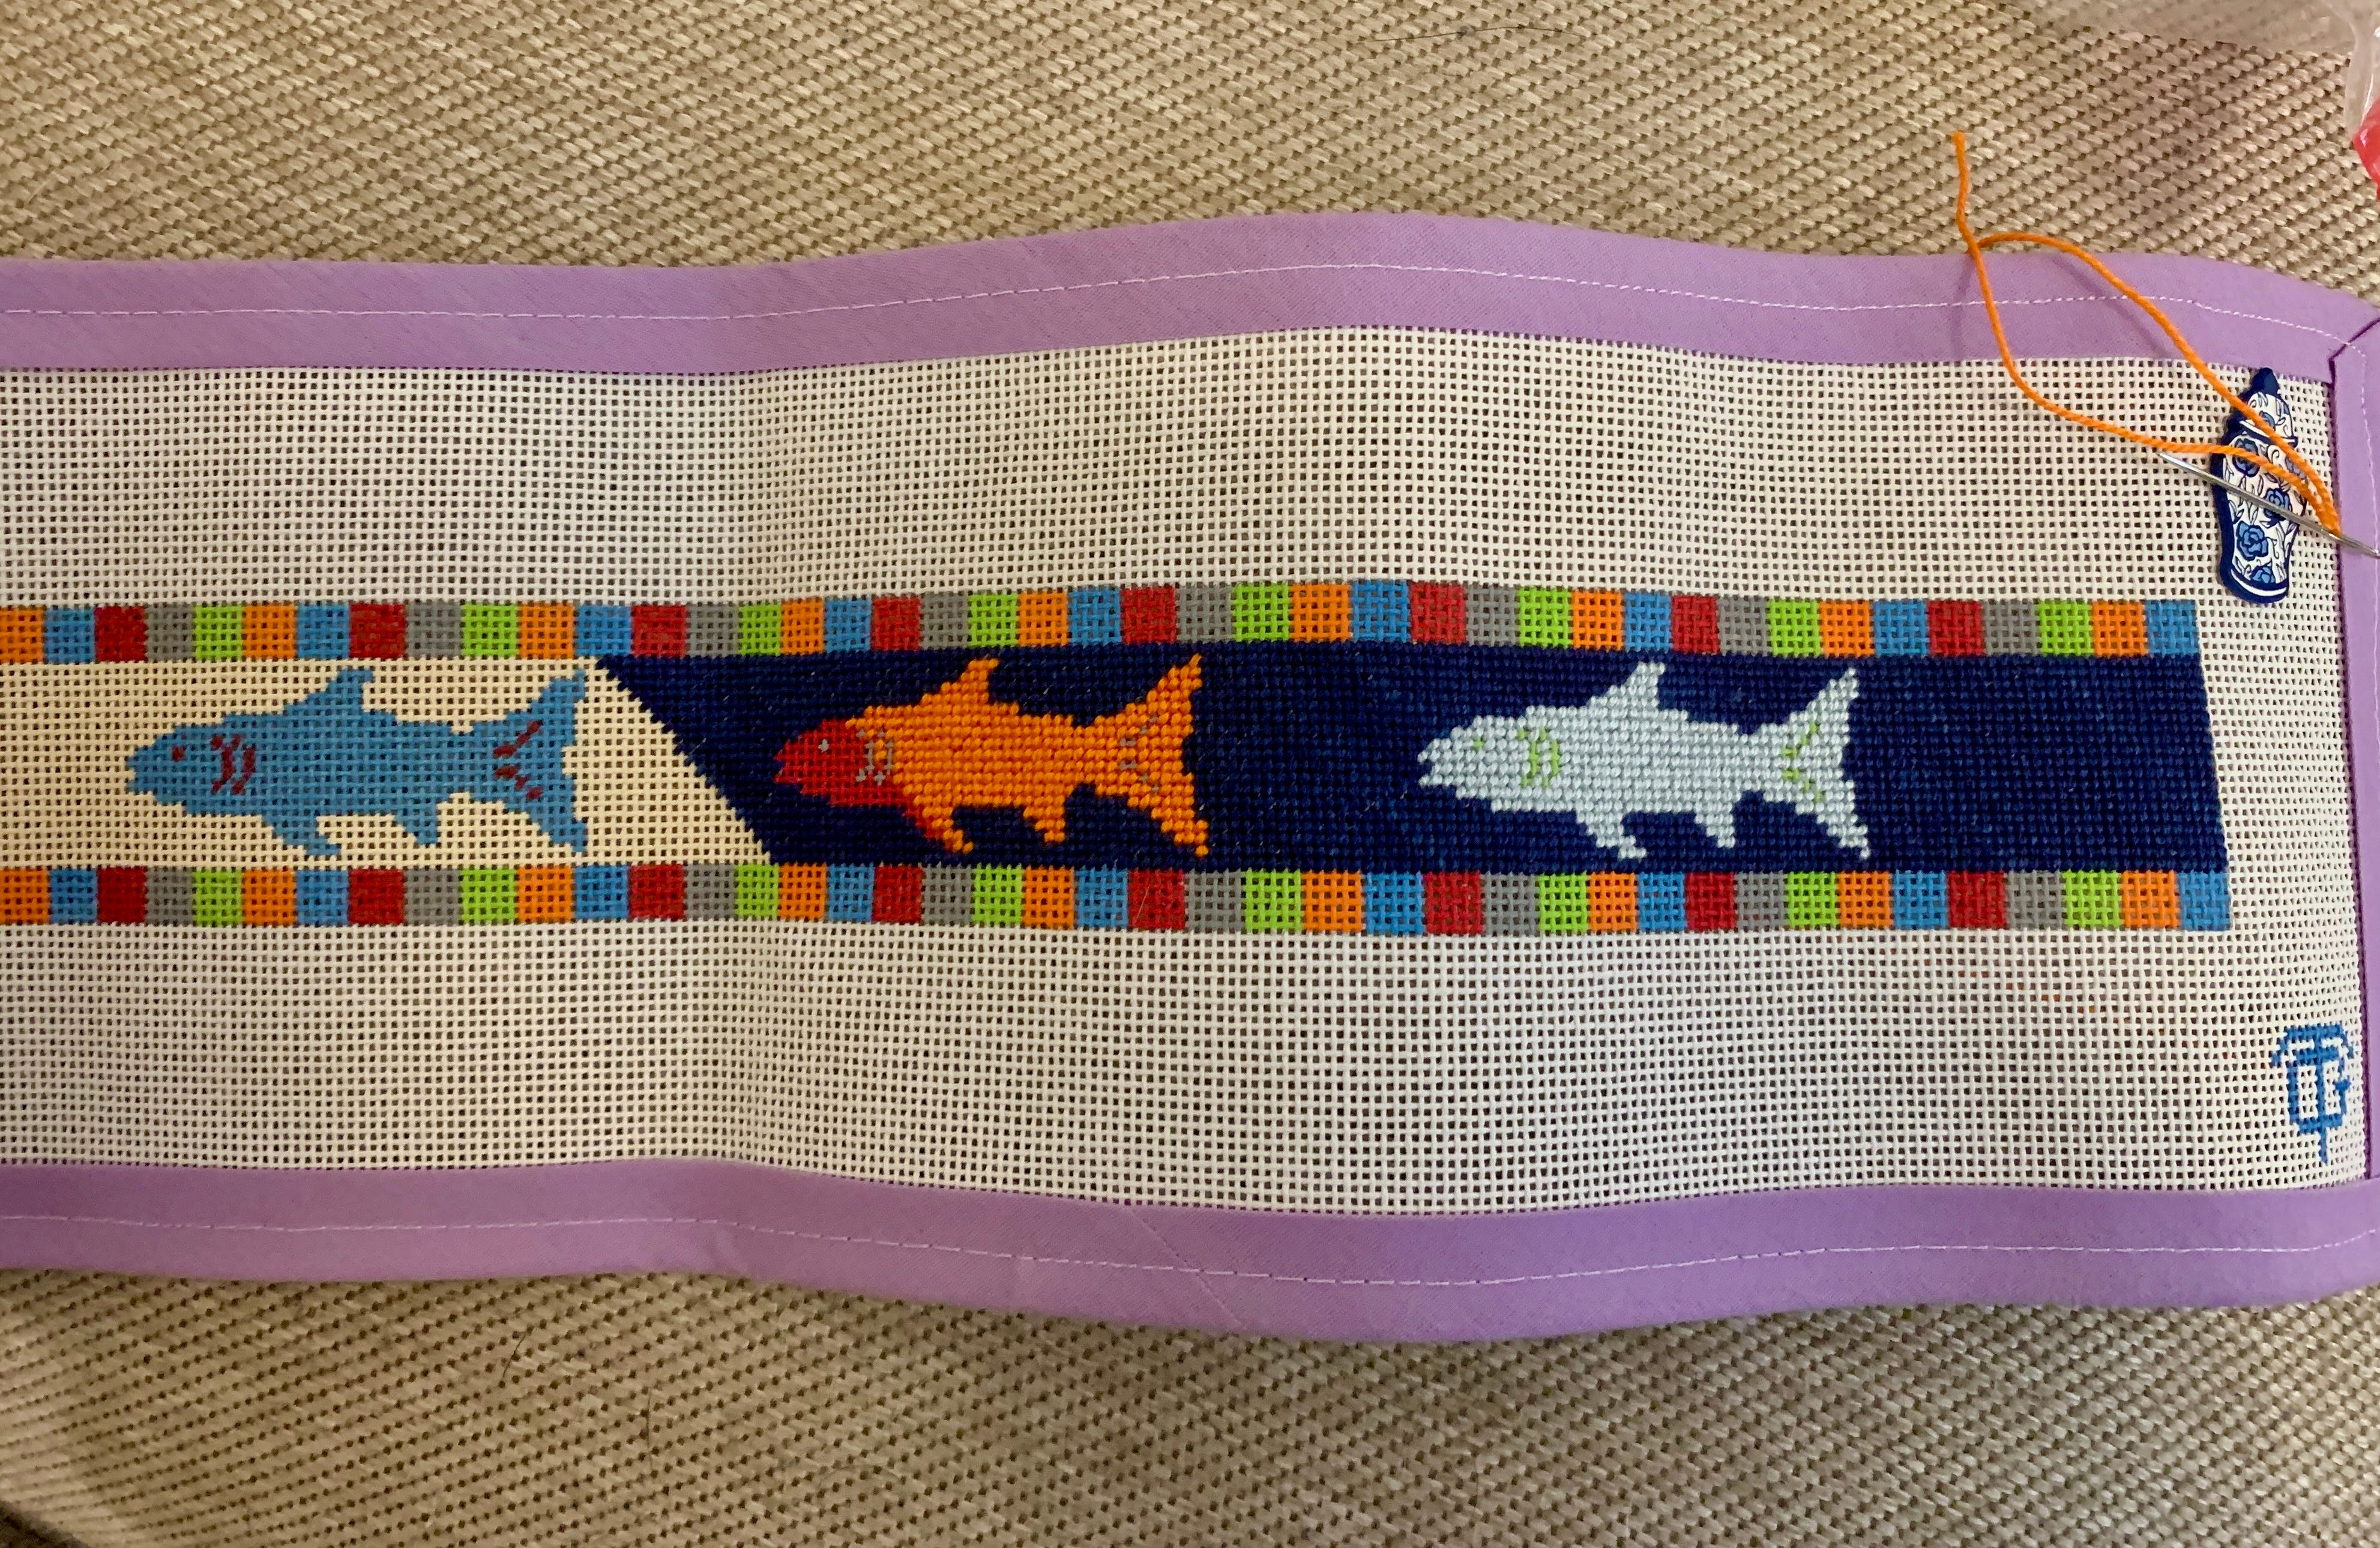
DMC Pearl Cotton 5: 336 Indigo Blue (belt background; used about 3.5 skeins)
DMC Pearl Cotton 5: 341 Hydrangea Blue (belt border & shark; used 2 skeins)
DMC Pearl Cotton 5: 828 Sea Air (shark & details; used 1 skein)
DMC Pearl Cotton 5: 701 Grass (shark & details; used 1 skein)
DMC Pearl Cotton 5: 740 Orange Papaya (shark & details; used 1 skein)
DMC Pearl Cotton 5: 321 Metallic Carmine Red (shark & details; used 1 skein)
I cannot recommend utilizing the expertise of your Local Needlepoint Shop (or calling one like I did here) for help with kitting to ensure you have more than enough fiber to complete your project. This has always proven so helpful for me.
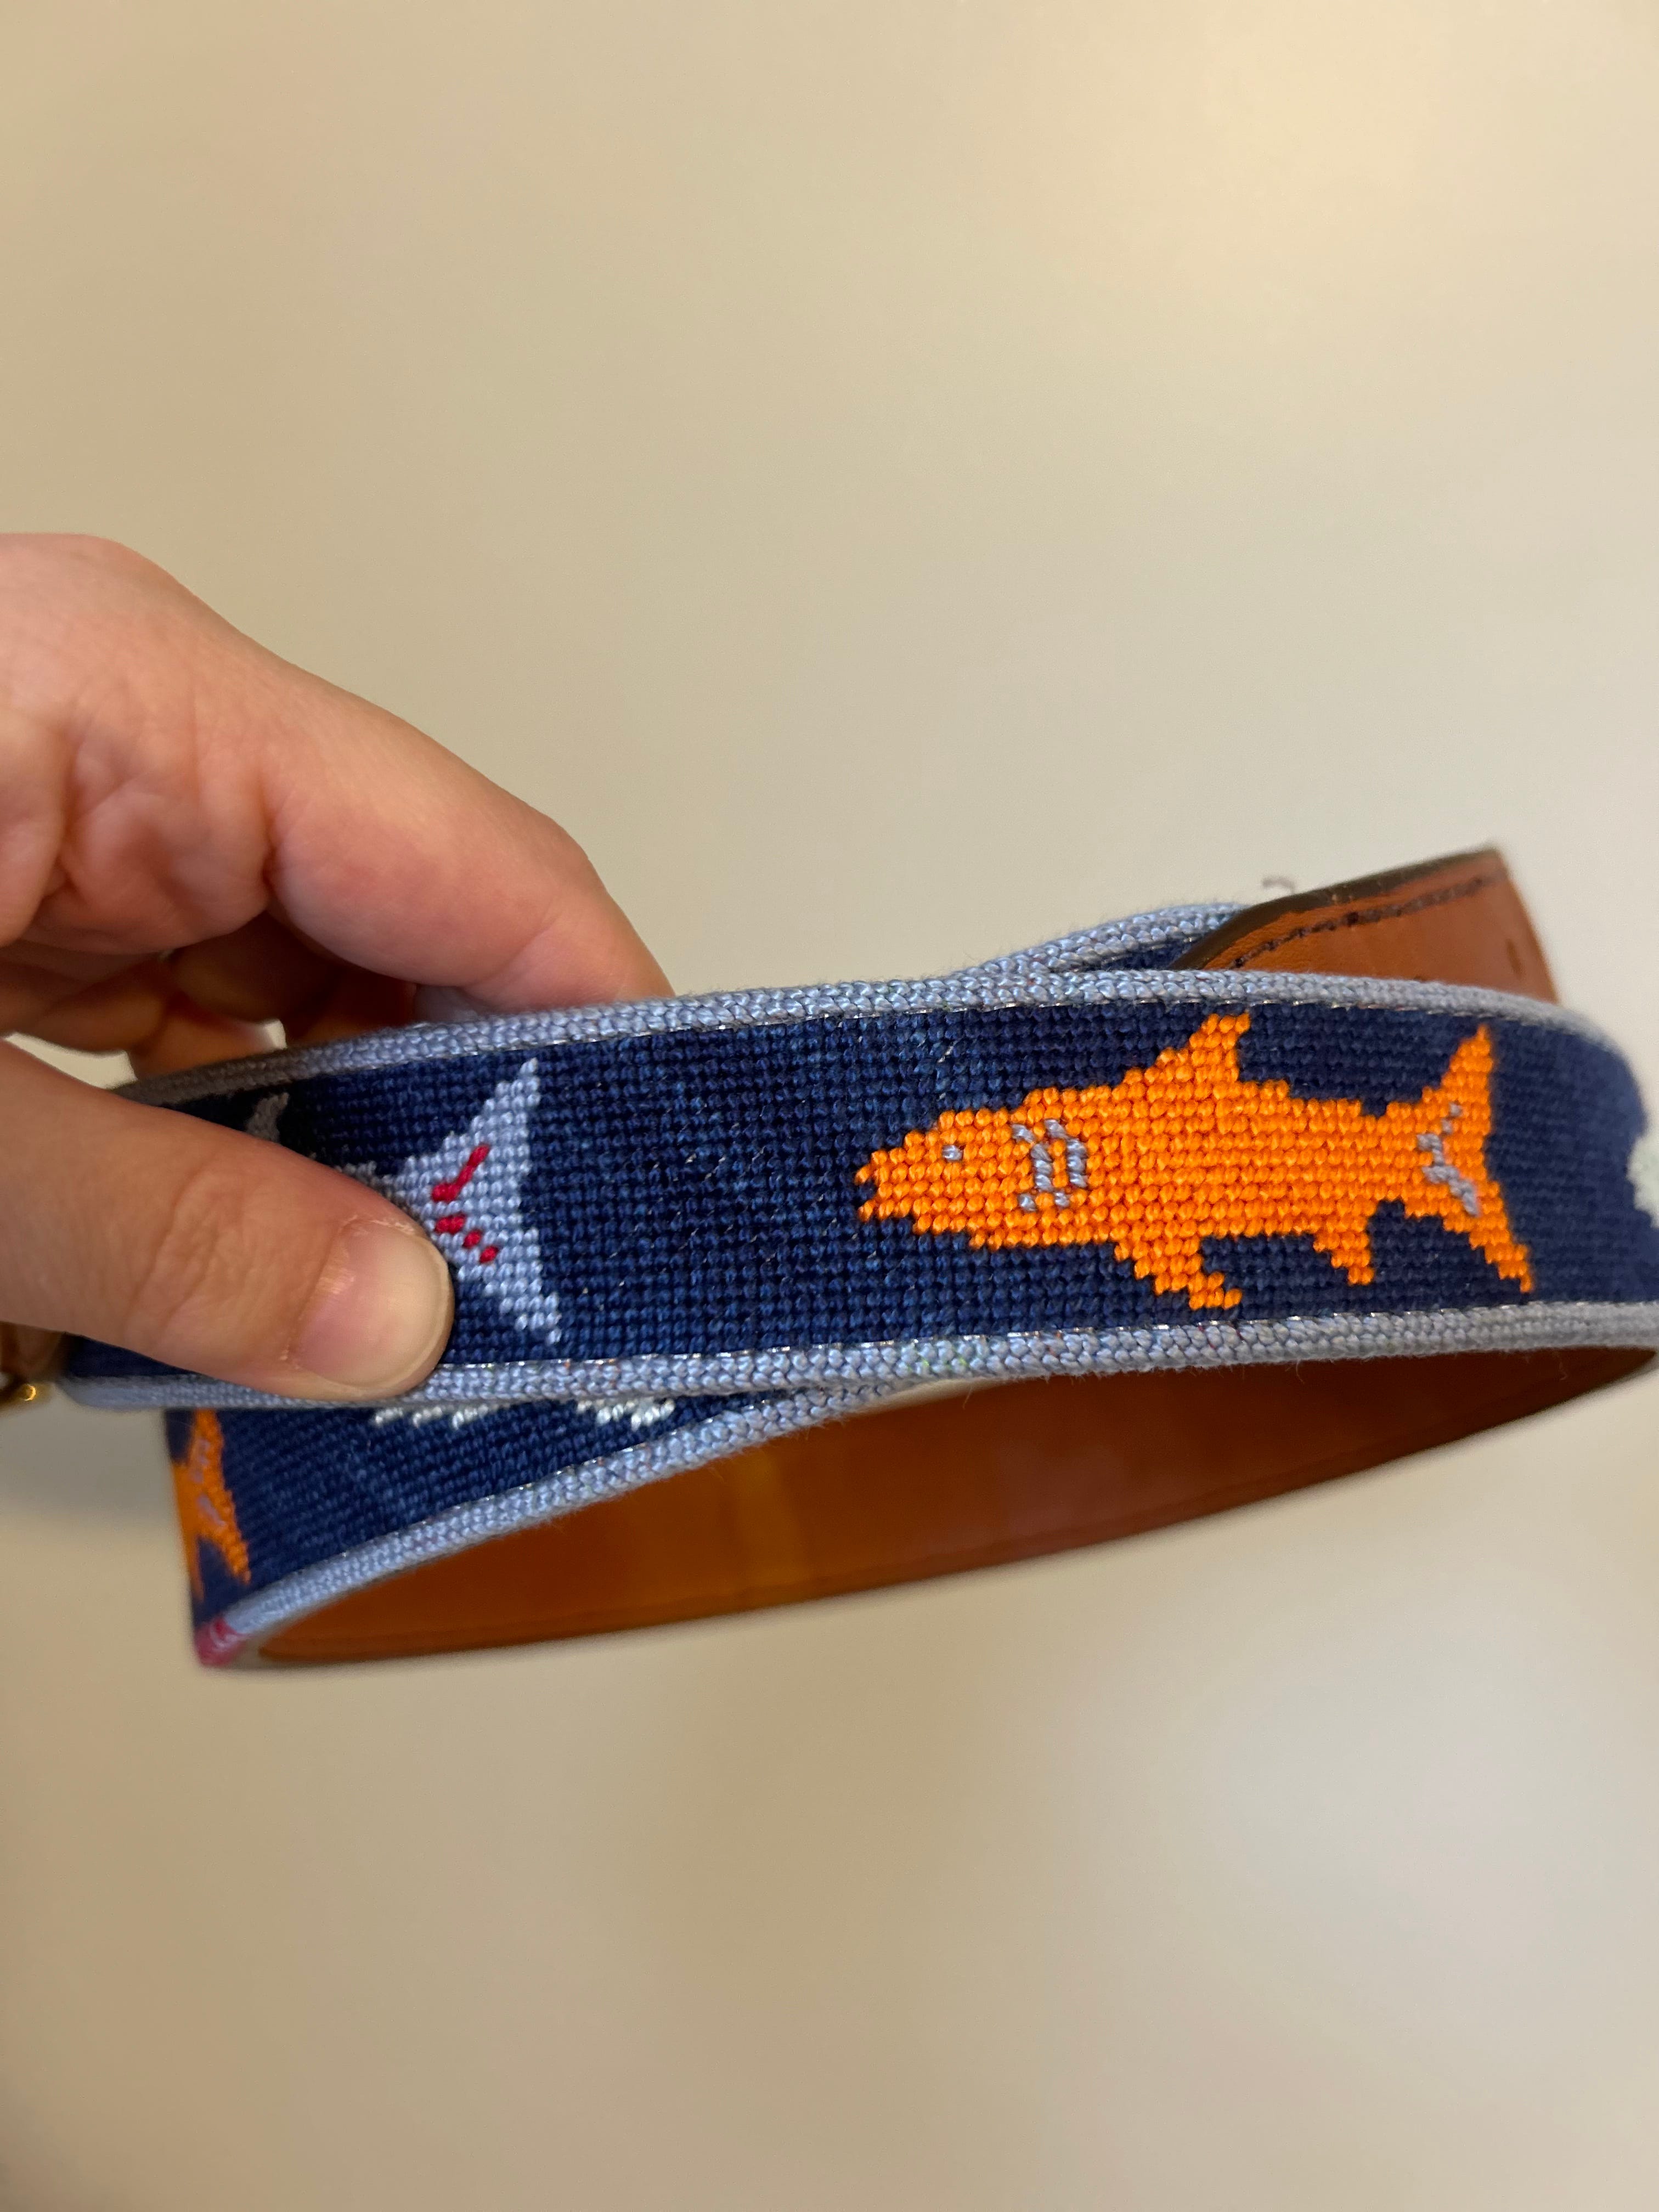
A note on using DMC for the belt background, I did feel like the navy tended to be a bit more variegated than I would have liked but overall I was very pleased with the finished product.
Stitches Used: Basketweave (and some Continental for the shark details)
Finish Type: Men’s Belt and matching Key Fob
Finishing By: Stitch Haus Wayne, PA
*See more in “Notes to Self”


Project Started: January 2021
Project Completed: December 2021
Notes to Self:
If “ignorance is bliss”, then this is hands-down the most blissful needlepoint project I have done to date. I’ll admit, stitching a belt as my 2nd needlepoint project was a bit bold, and I made a litany of mistakes, but truth be told, when I reflect on this project I remember each of these “mistakes” fondly. Let’s break them down shall we?
1.) Timeline: Finishing (aka turning your stitched canvas into a belt), takes quite a bit of time. Some places are 6+ months for finishing alone in addition the time it will take you to stitch the belt. Plan your project around when you want to have the belt by and do a backwards timeline from there. I was unaware of this and fortunately Stitch Haus was able to quickly turn my belt around so I had it in time to gift to my husband for his birthday.
2.) Length: Another key piece I was completely naive to. I stitched the entire length of the belt…the entire thing. Spoiler alert, you typically do not need to stitch the whole canvas length. So you can imagine the look on my face when during my finishing consultation the employee at Stitch Haus informed me I had stitched too much (relative to my husband’s belt length, which I had also brought with me). I think she saw every ounce of blood drain from my face when I realized about 7”+ of my stitching would be cut off. She very kindly suggested I turn the excess into a key fob so as to not waste all of that precious stitching and I’m so thankful she did!
3.) Extra Rows / Binding Stitch: Thankfully I called Stitch Haus before bringing my belt in for the finishing consultation. It was during this phone call, I discovered you need to either stitch 2-3 additional rows to both side of your canvas OR add a binding stitch to both sides for finishing. When a belt is finished, these extra rows are usually rolled under and thus will alter the look (and desired width) of the belt if you do not add them. After I hung up the phone, it was a full on BLITZ to get the extra rows added so I could have it finished in time.
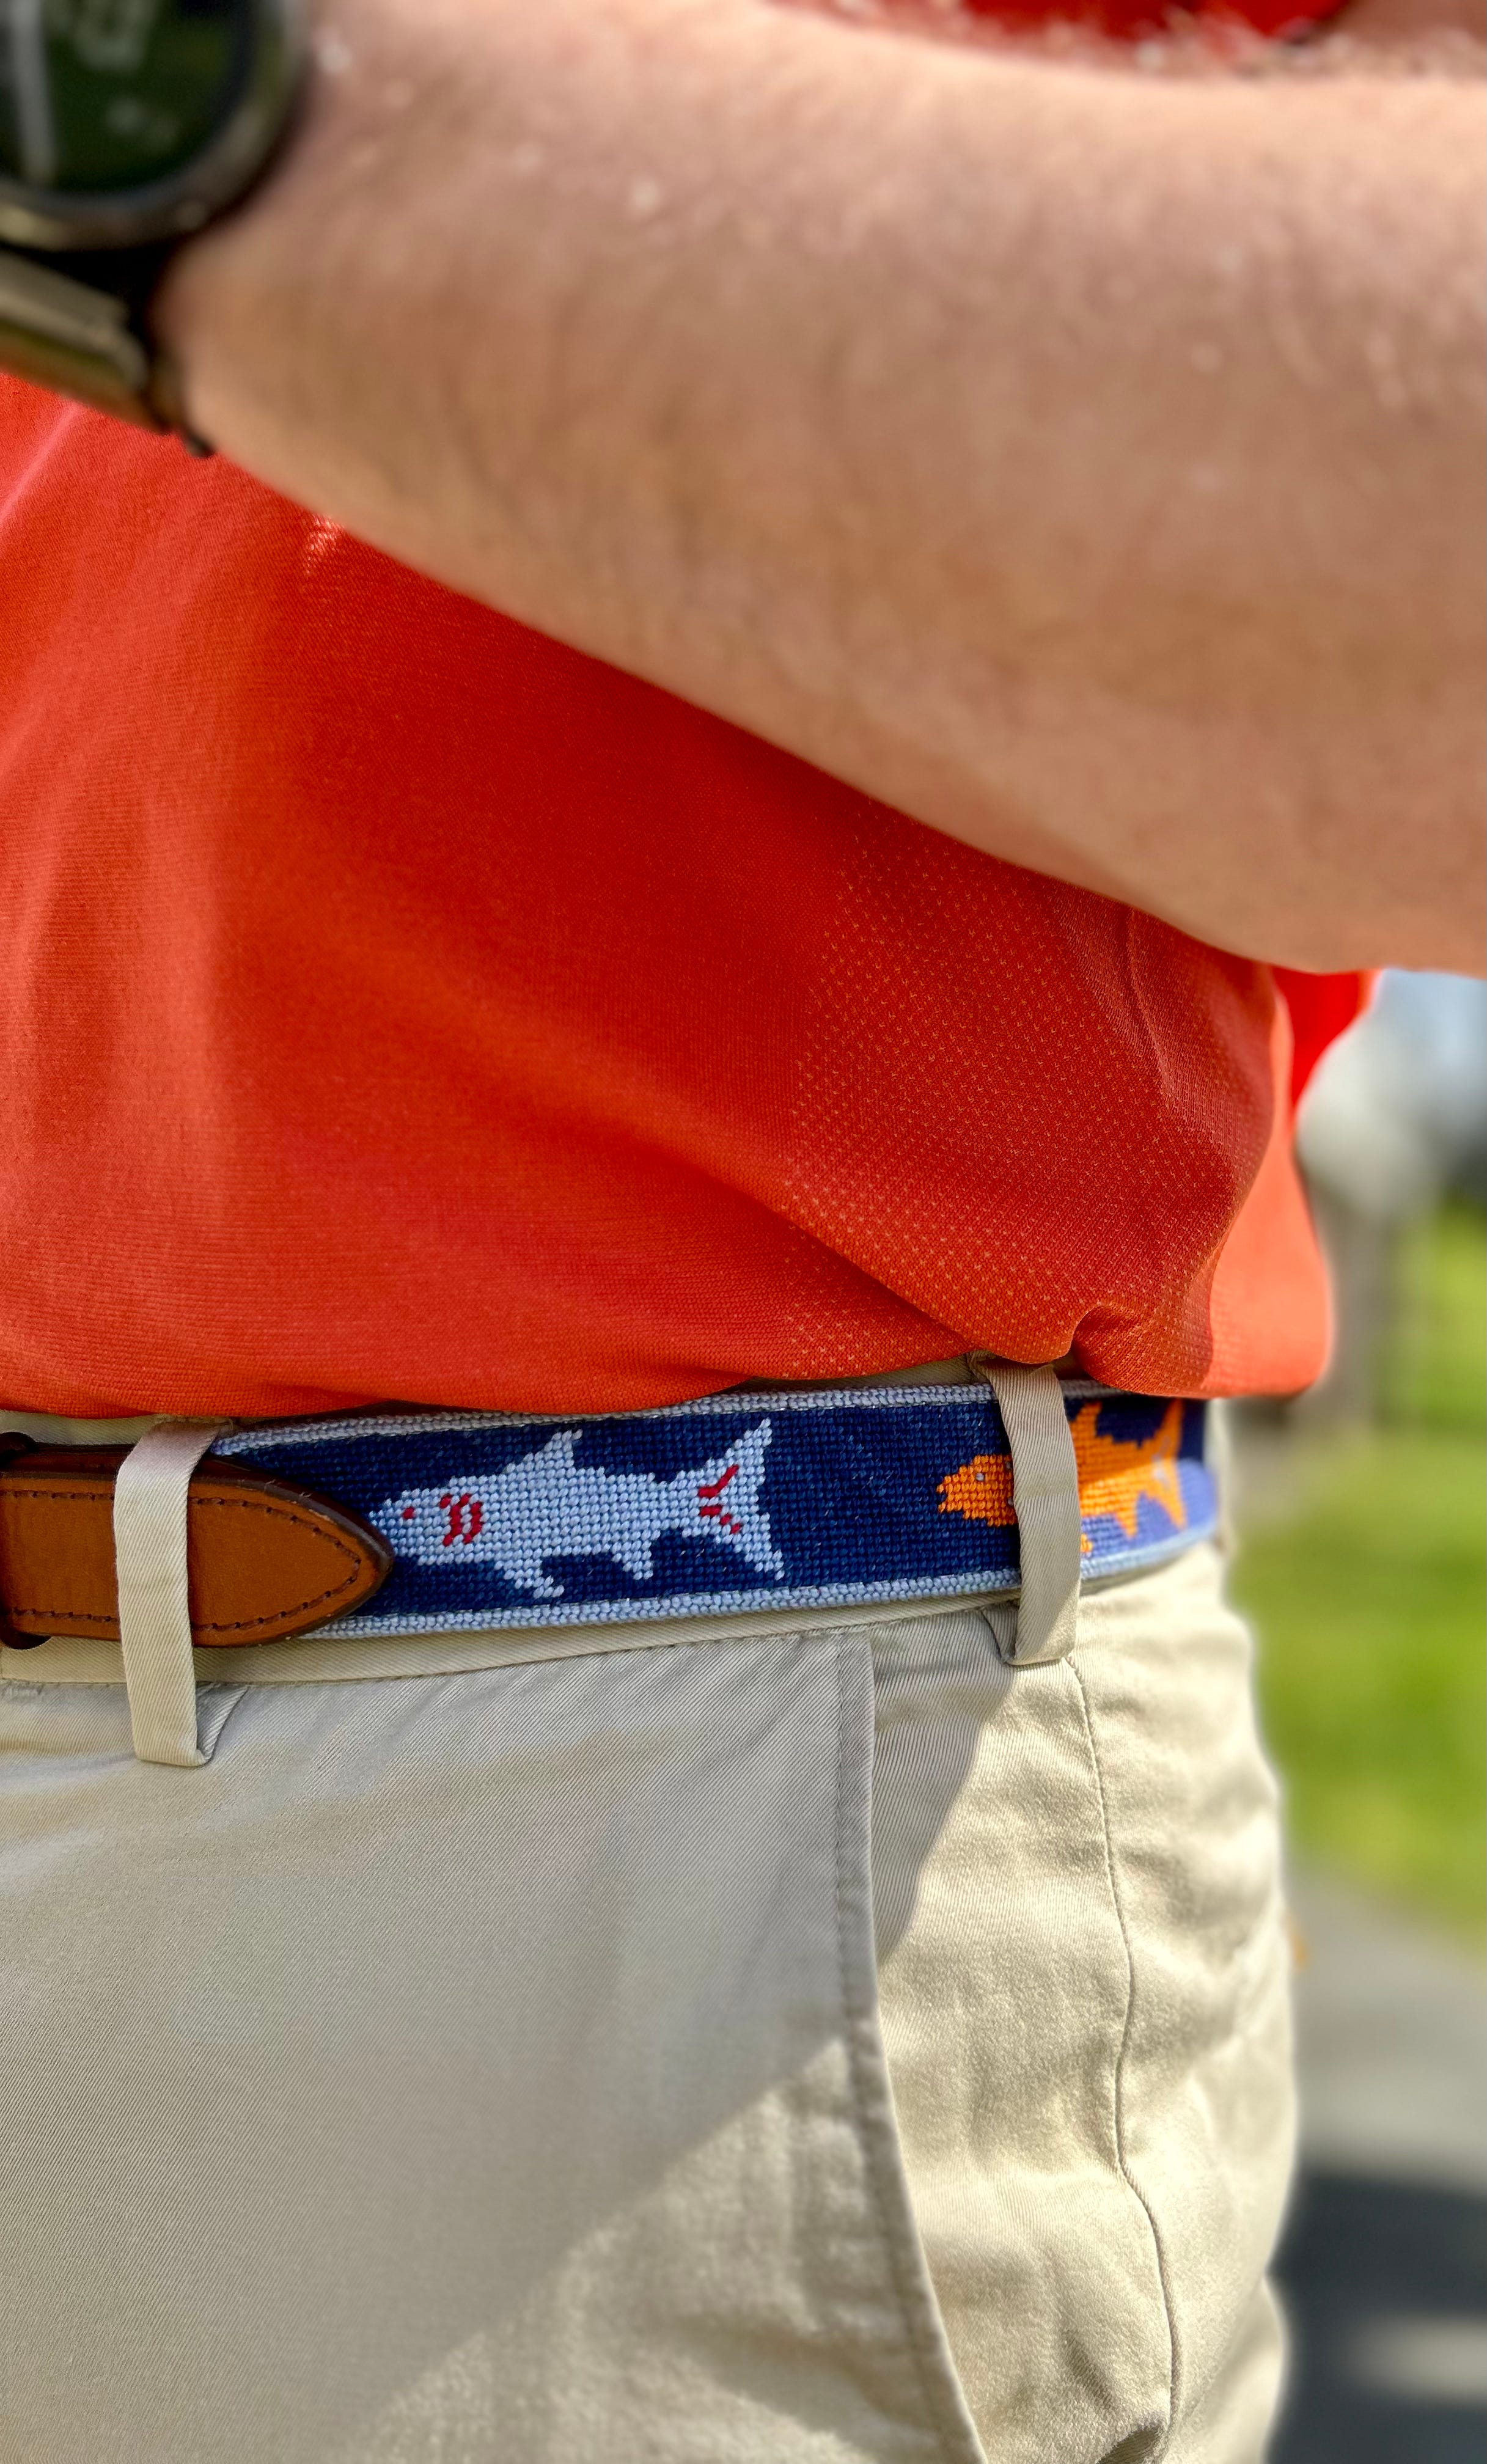
4.) Initials: More naivety compounded on this point. I used a charted alphabet to add my husband’s initials to the belt and the charting was not the problem – the placement was. I added them too low on the belt and they were totally lost in the finishing process.
Have you stitched a belt? If you have, I’d love to hear all about it! Let me know in the comment section below or on Instagram.
As always, thank you for being here and for allowing me to share my story with you. If you know someone who may find this publication interesting or helpful, I’d be honored if you shared it with them.
Until next time….
xoxo,
Emily
I would love to stitch belts for my sons but need to do more research as I thought I would stitch a belt to fit their waist! No?
It turned out great! Love the colors you swapped too. 💕