

Super Simple: How To Chart A Needlepoint Canvas🪄
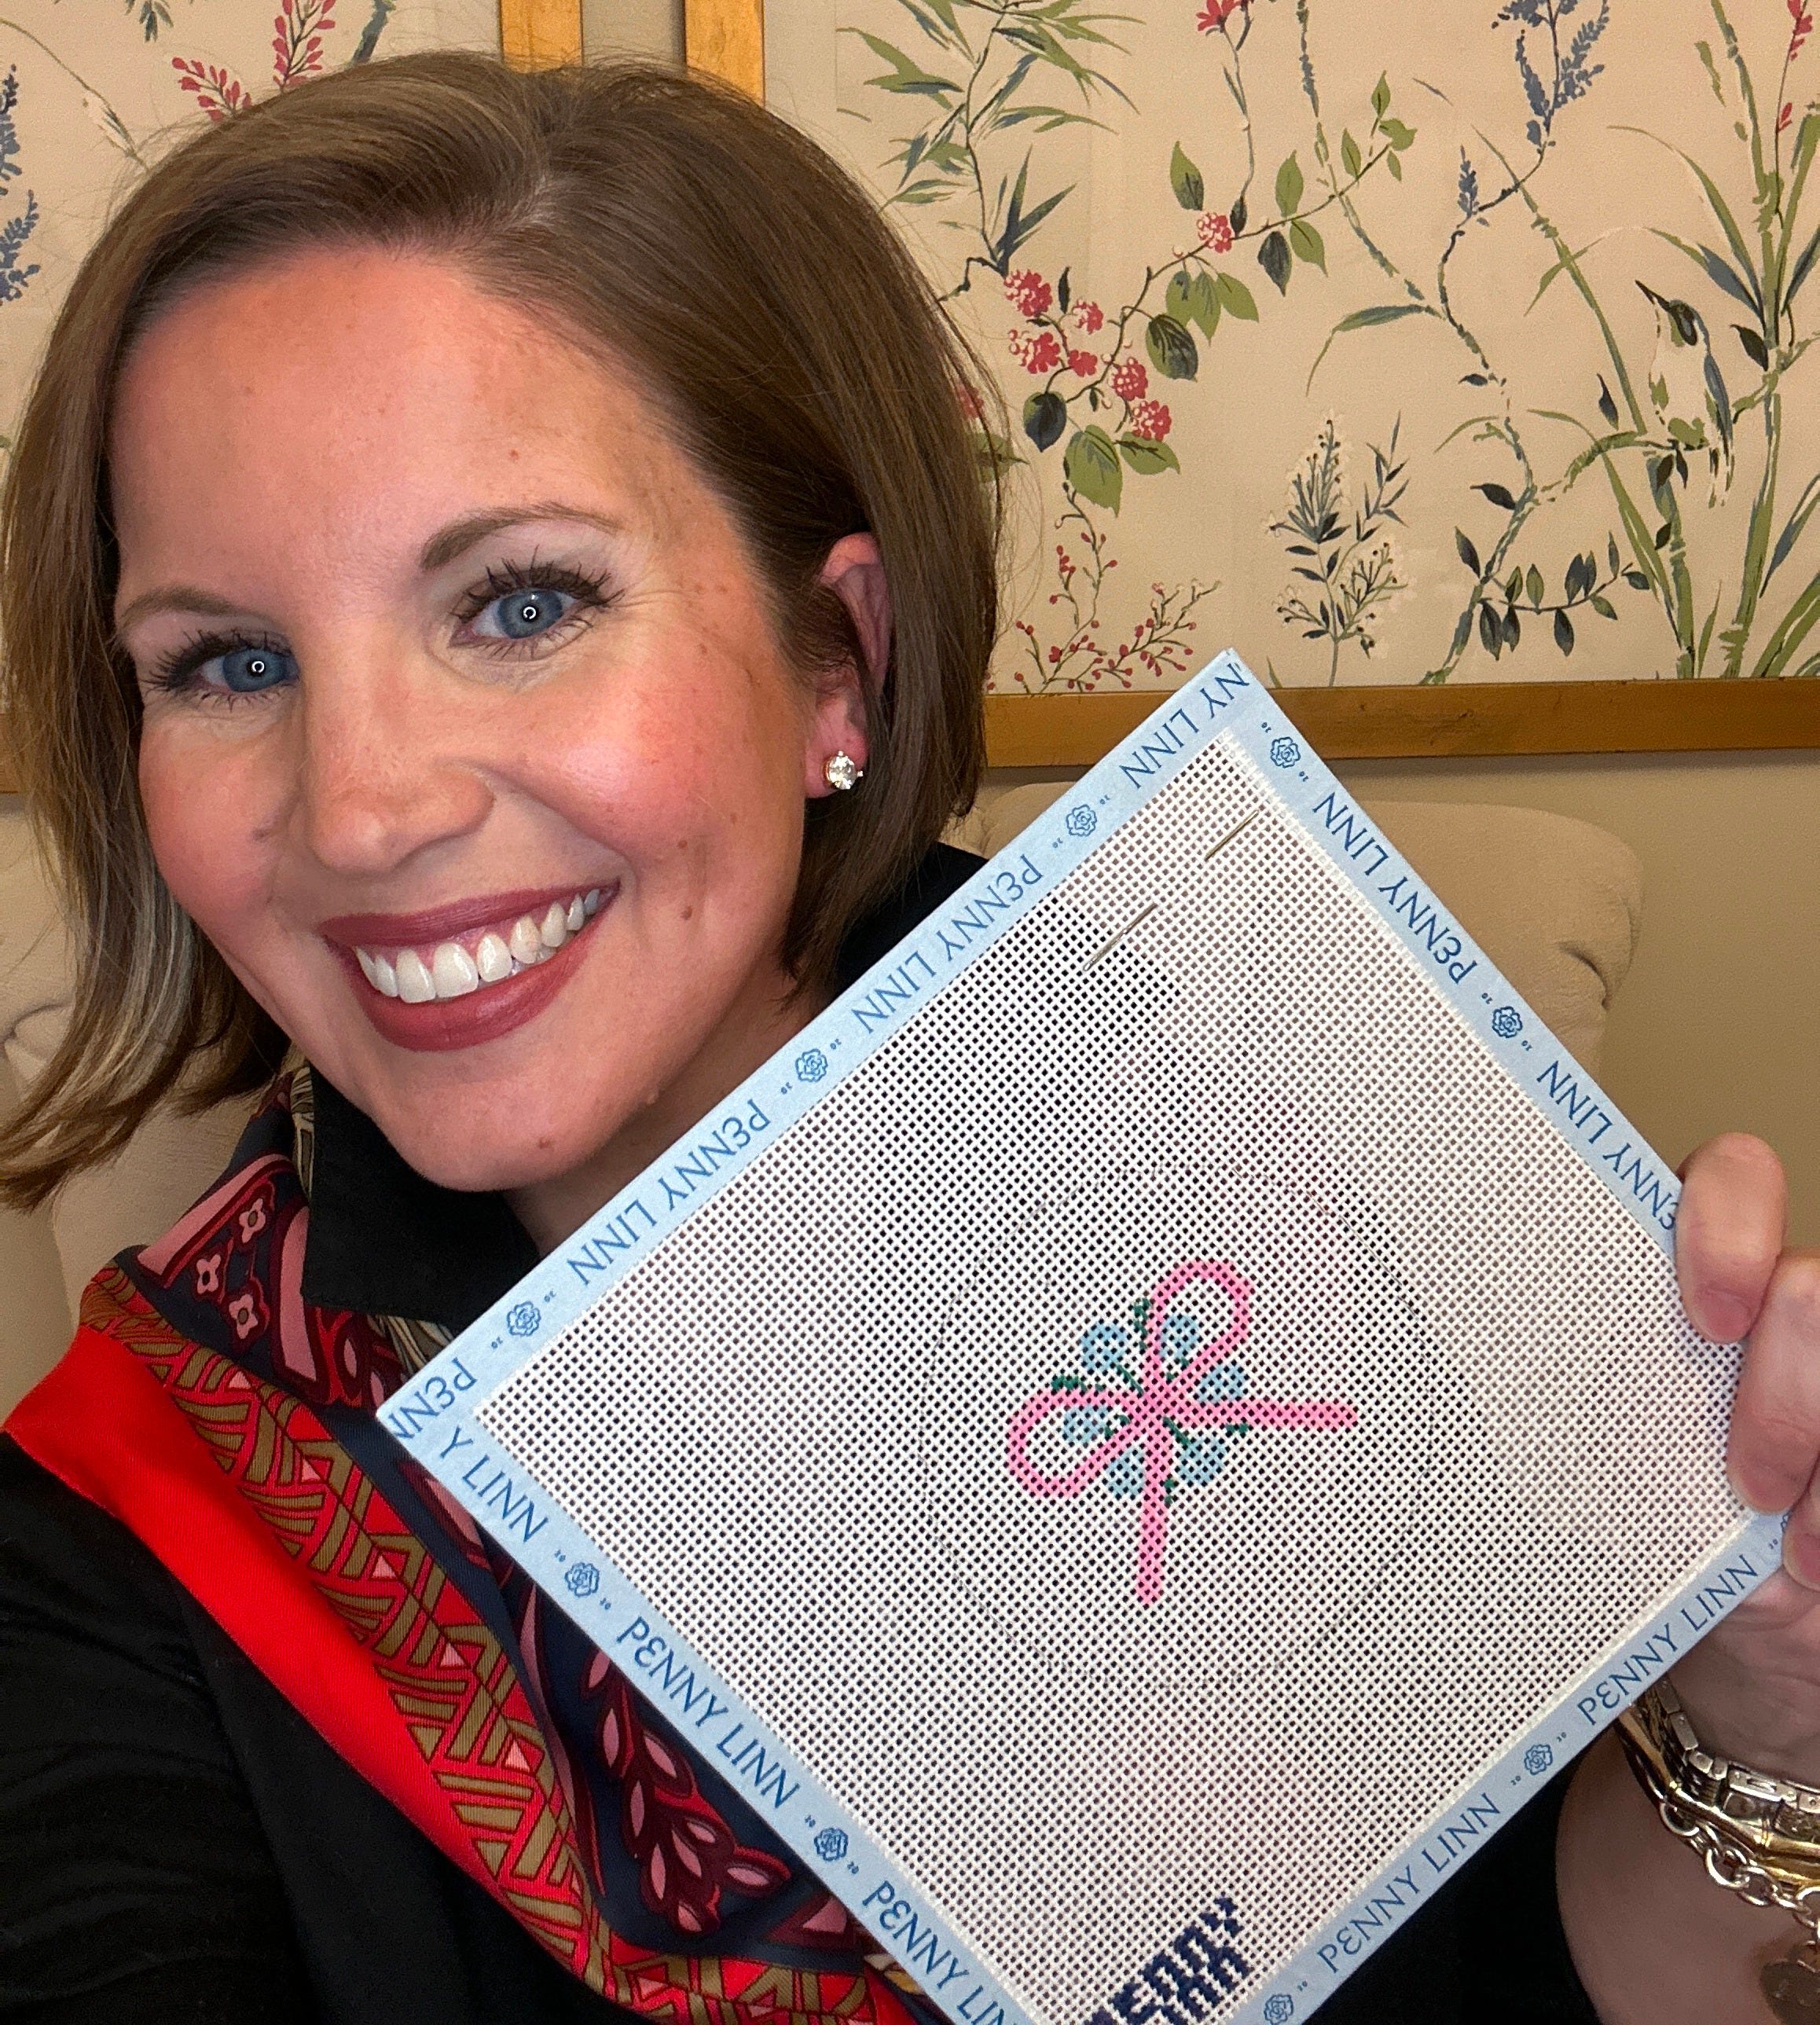
Featuring the exclusive Everyday Natalie Jane x The Finishing School Blog canvas

Raise your hand if you have a digital needlepoint chart you got for whatever reason and it is just sitting in your inbox (on on your desktop)….months/years later.
Same.
Recently on “The Head Stitch In Charge” I featured my dear friend Everyday Natalie Jane whose accidental purchase of a charted canvas led her to designing her own. A woman of many talents, her real superpower (in my opinion), is encouraging others to try their hand at something new (like charting a canvas).
Natalie was gracious enough to design and offer an exclusive needlepoint chart to all of The Finishing School Blog followers (free of charge) which you can access below. This post is a super simple outline for how to take this chart from a digital PDF and transform it into a keepsake that will last a lifetime.
*For those that may not be as familiar with the world of needlepoint, the canvases you purchase to stitch come with the design already painted on them. This post shows how to put your own design on a blank canvas and make it completely your own.*
Download your exclusive The Finishing School Blog canvas chart by clicking below ⬇️ !
Super Side Note: I did this as a *complete* beginner and I was blown away by how simple it was to follow along with. Trust me when I say, you can totally do this.
Super (duper) Side Note: Let the record show, however, that Natalie (just like any other designer) did the real heavy lifting - not me. If you are a designer or artist reading this, please know that although many of us may not know exactly how much work you pour into your designs, please know we appreciate it more than we can say! You are the real MVPs.
P.S. You can watch our whole Instagram Live here (I highly recommend listening to it with your favorite warm beverage and WIP in hand)

About the Everyday Natalie Jane x The Finishing School Blog Chart:
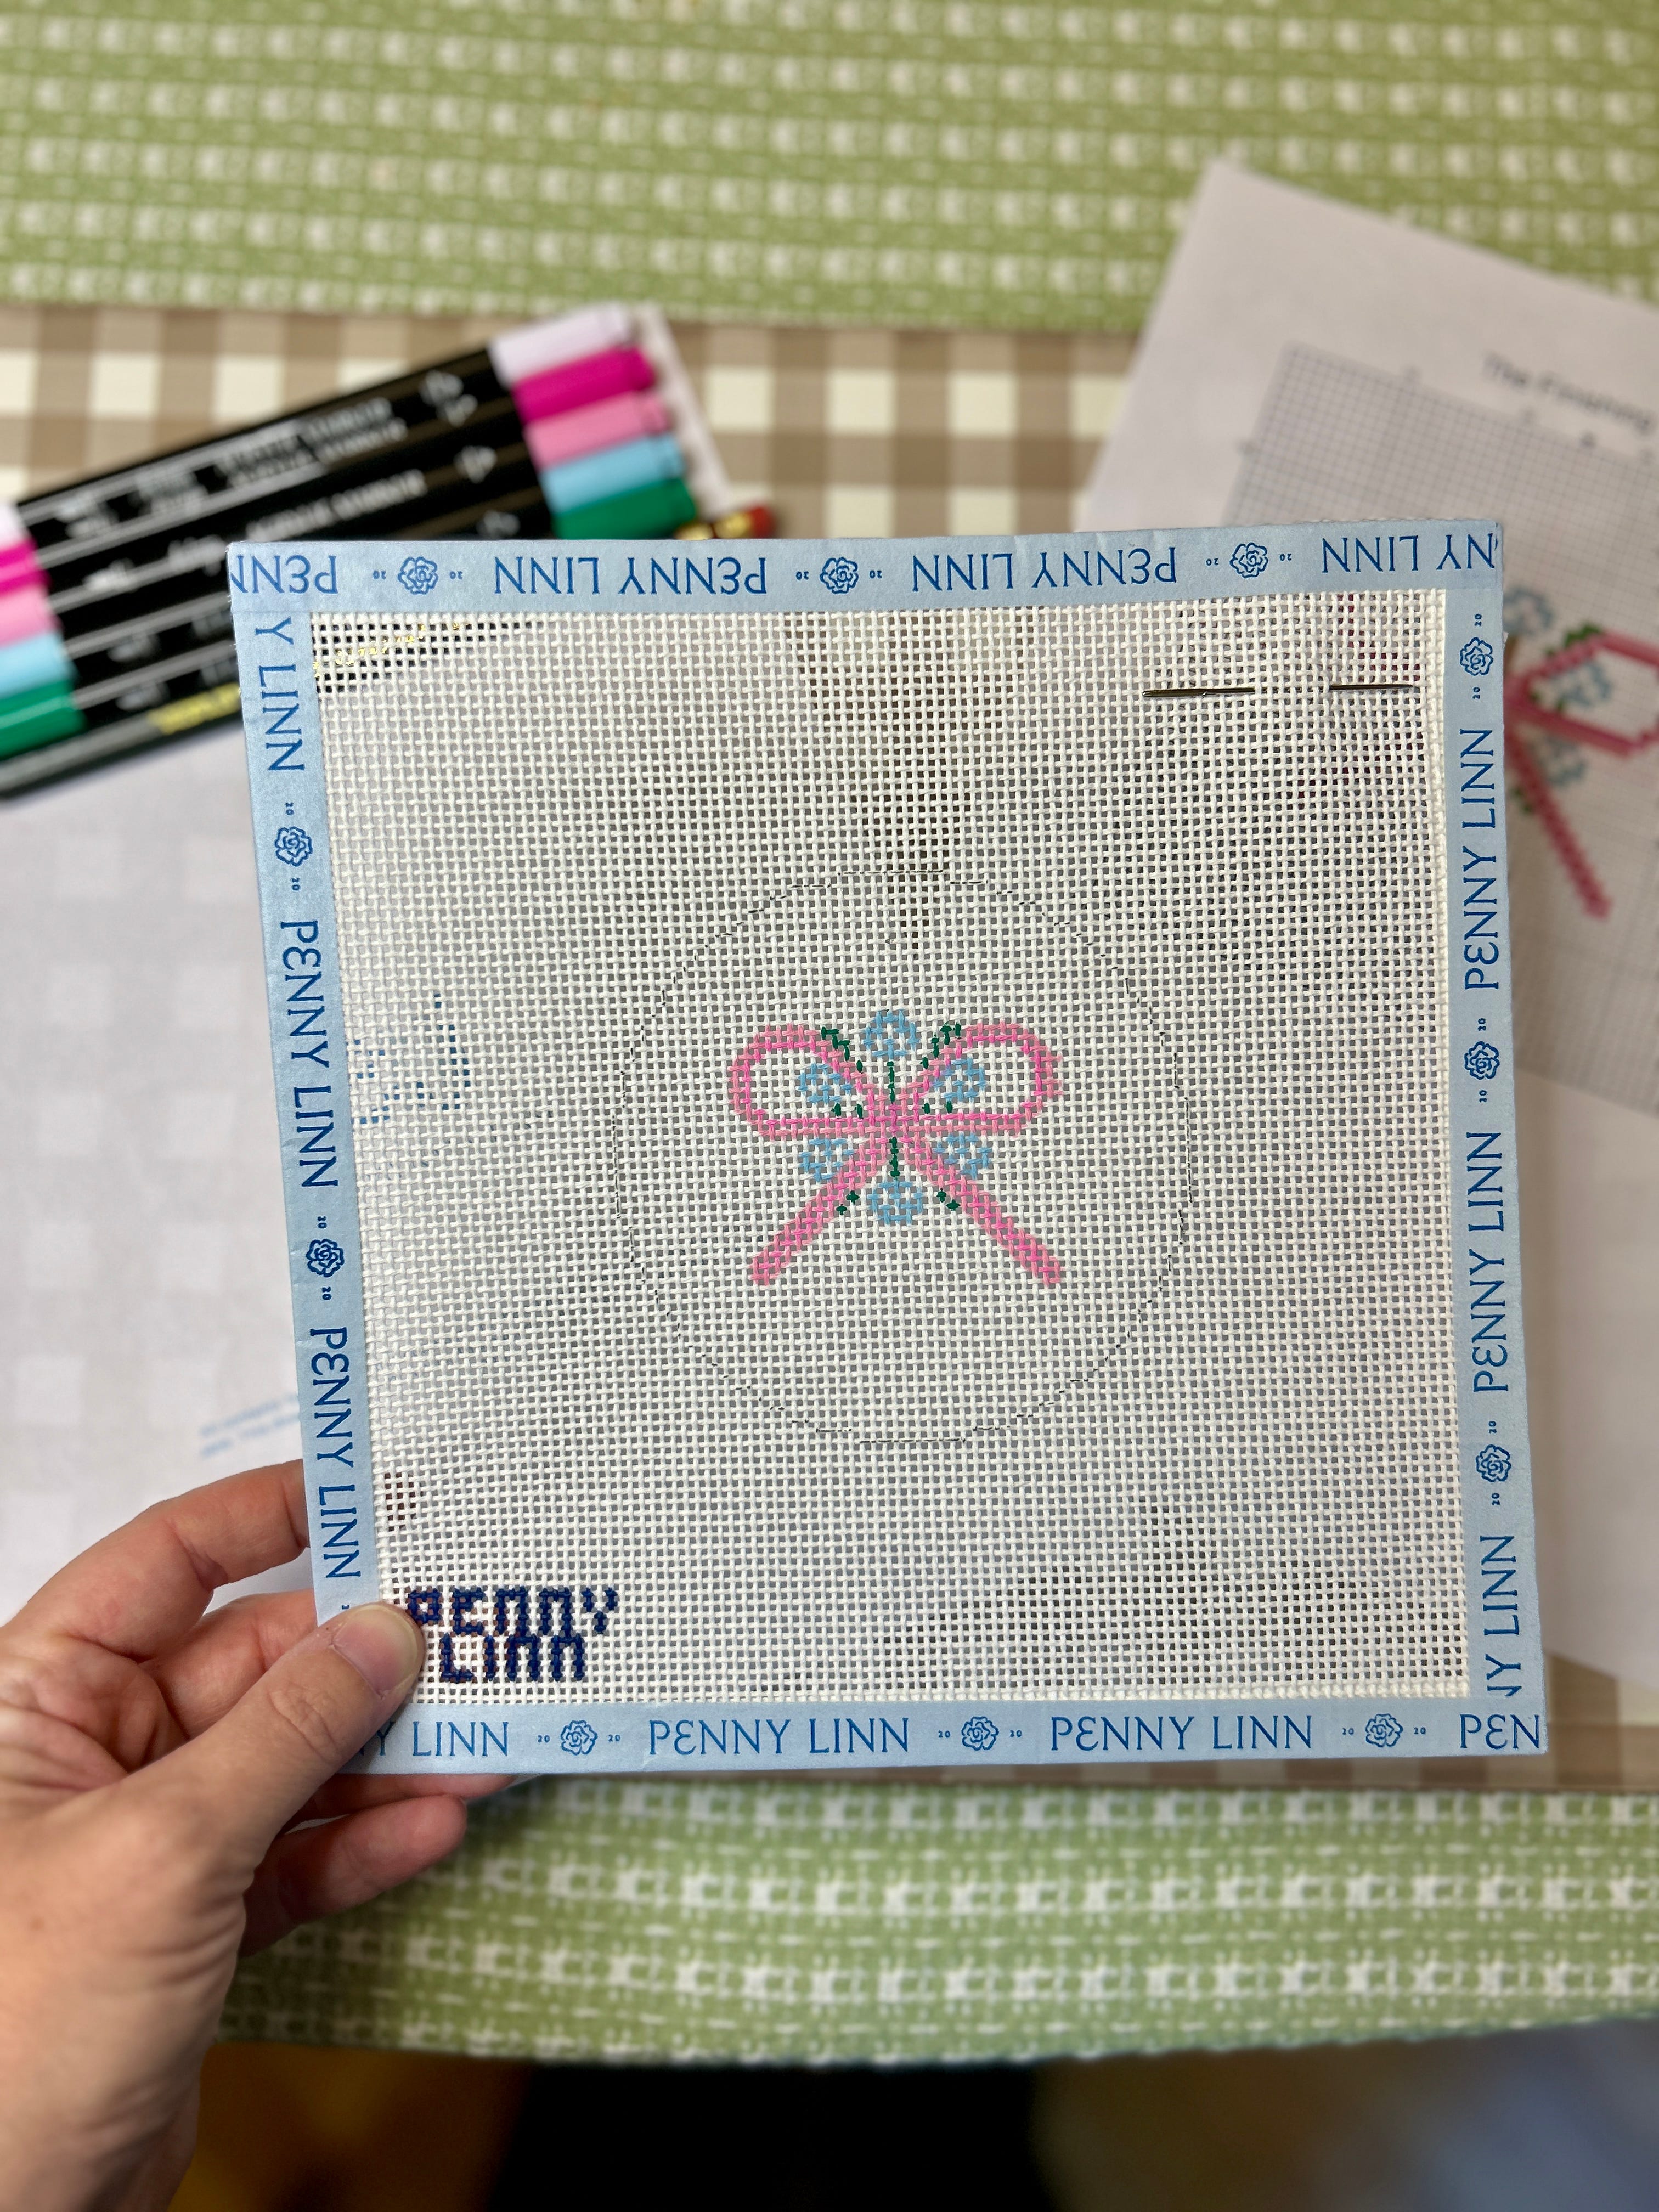
Designed for 13 mesh
4” round design
5 thread colors required (SUPER easy to color swap to your preferred palette)

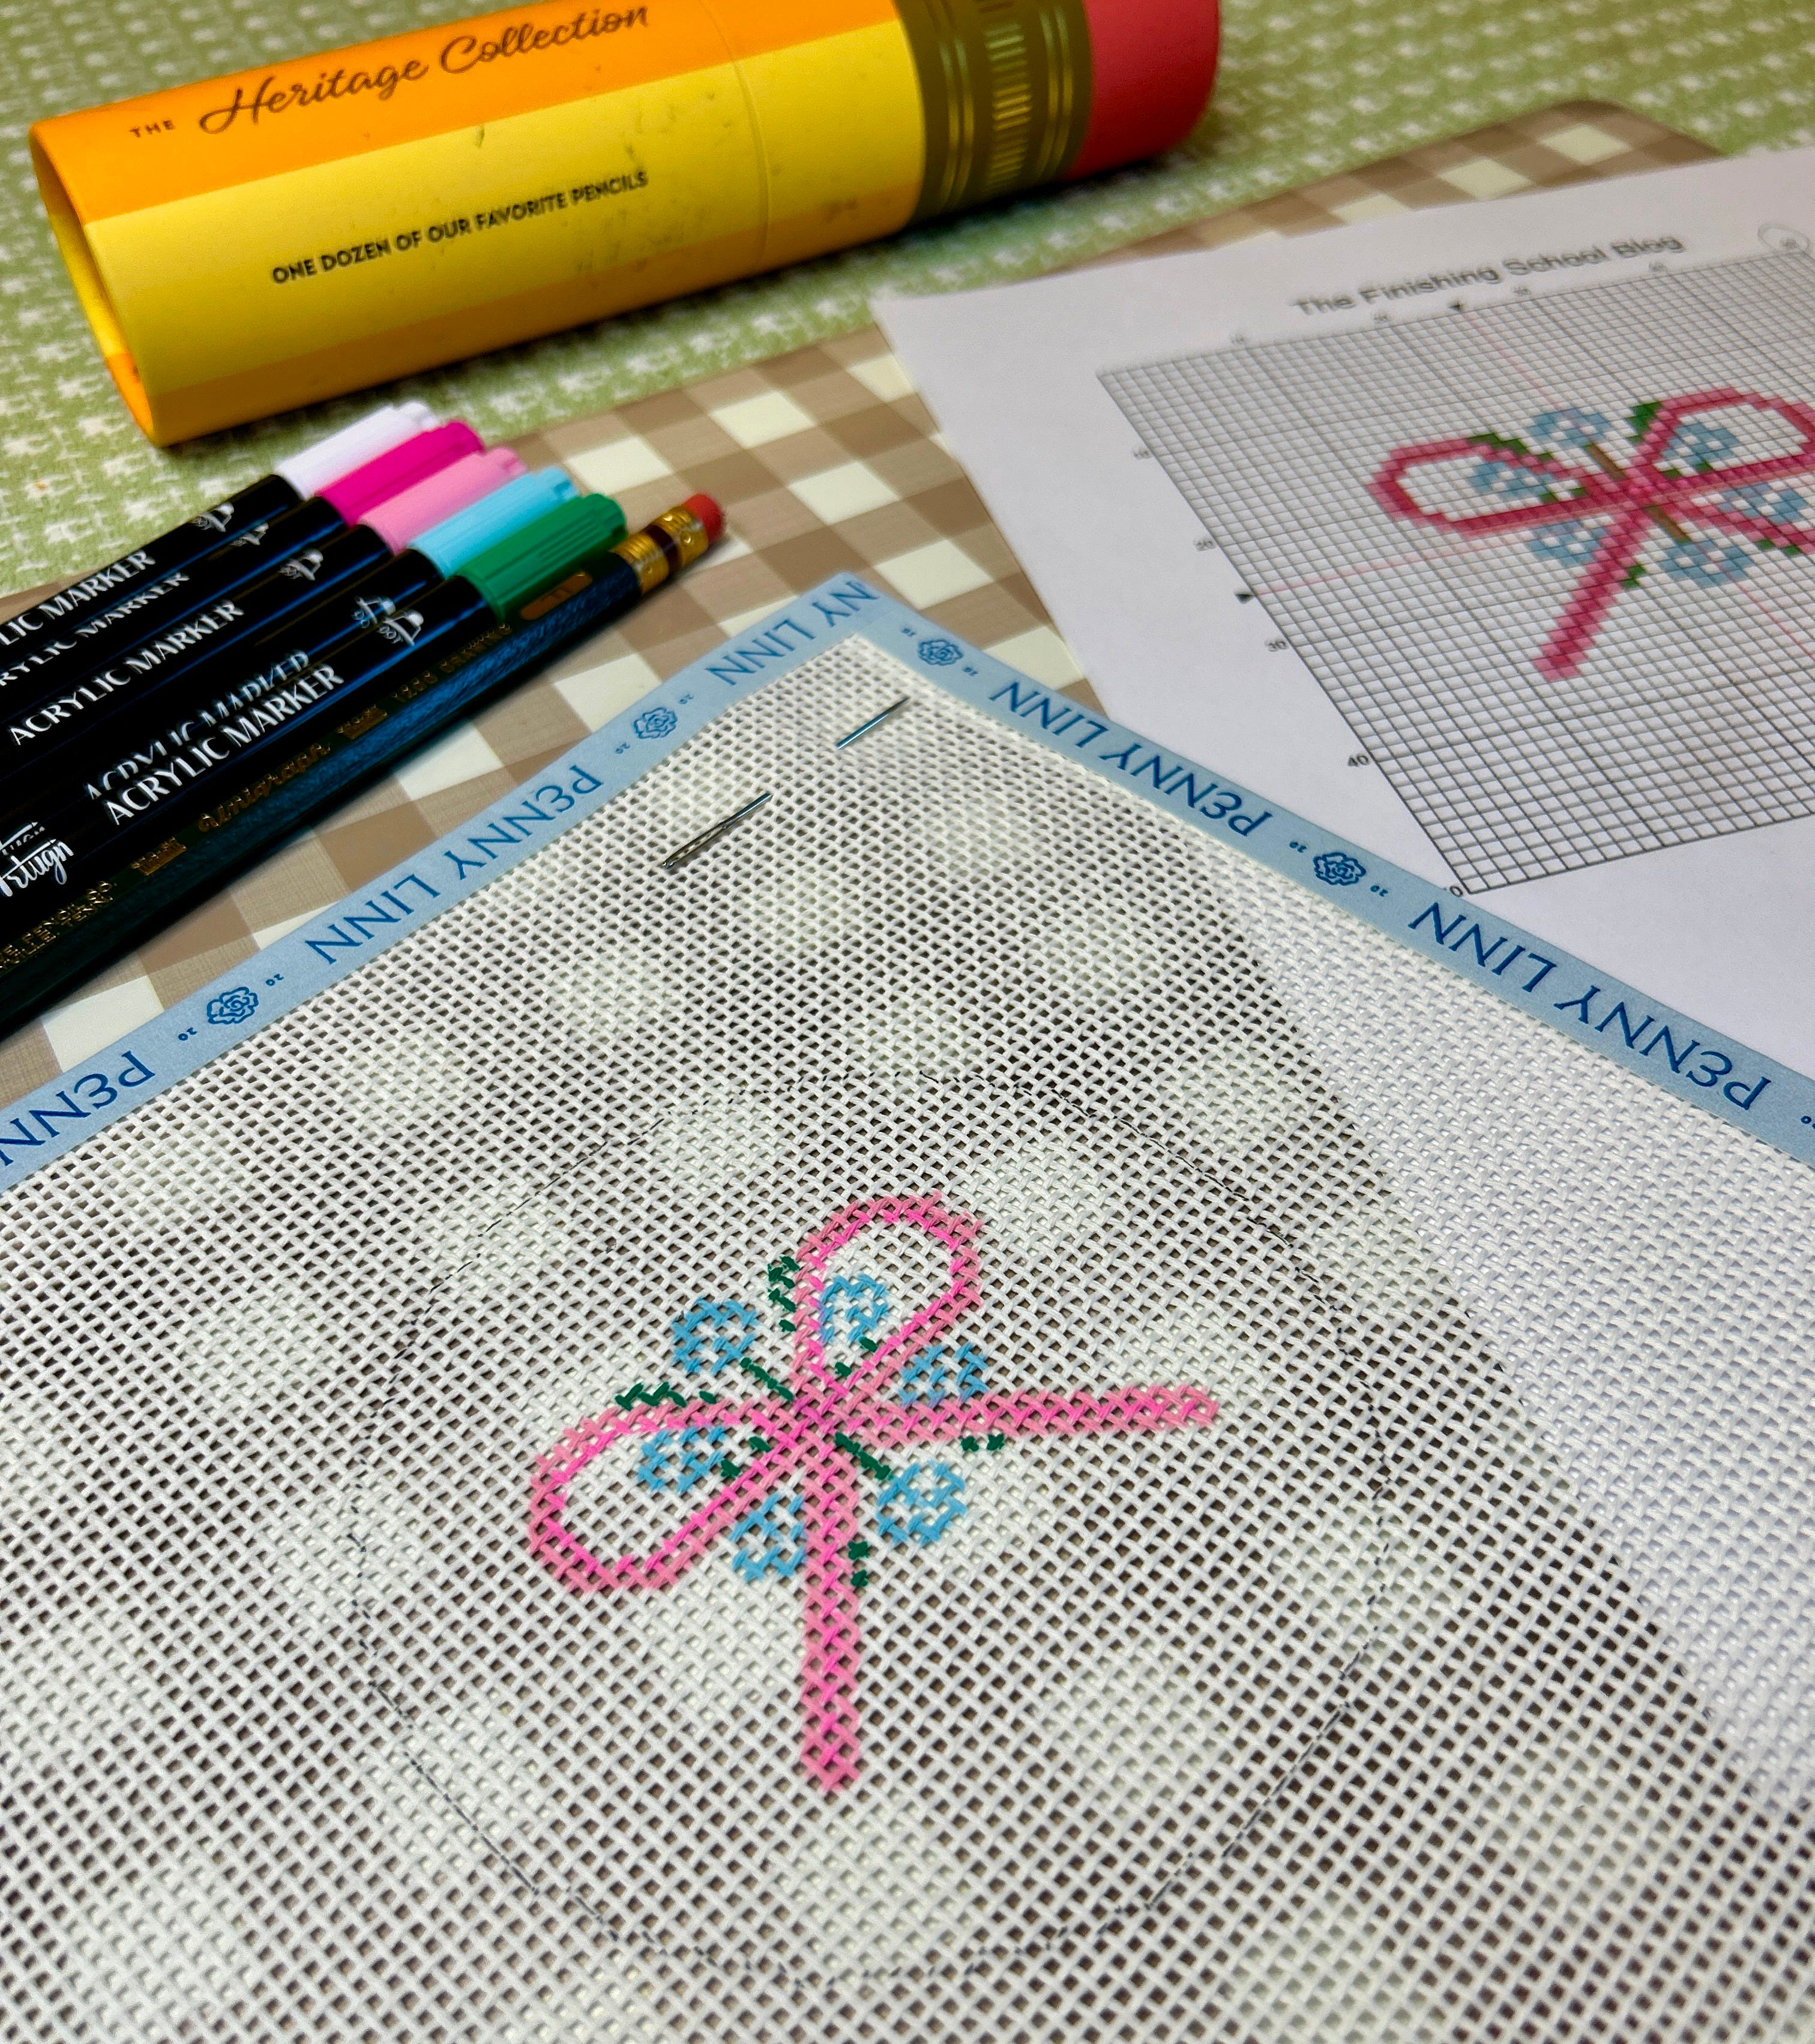
The “block design” of The Finishing School Blog canvas. Each “block” represents one intersection on the needlepoint canvas, where a stitch is made.


Materials Needed:
Charted canvas, printed out in color
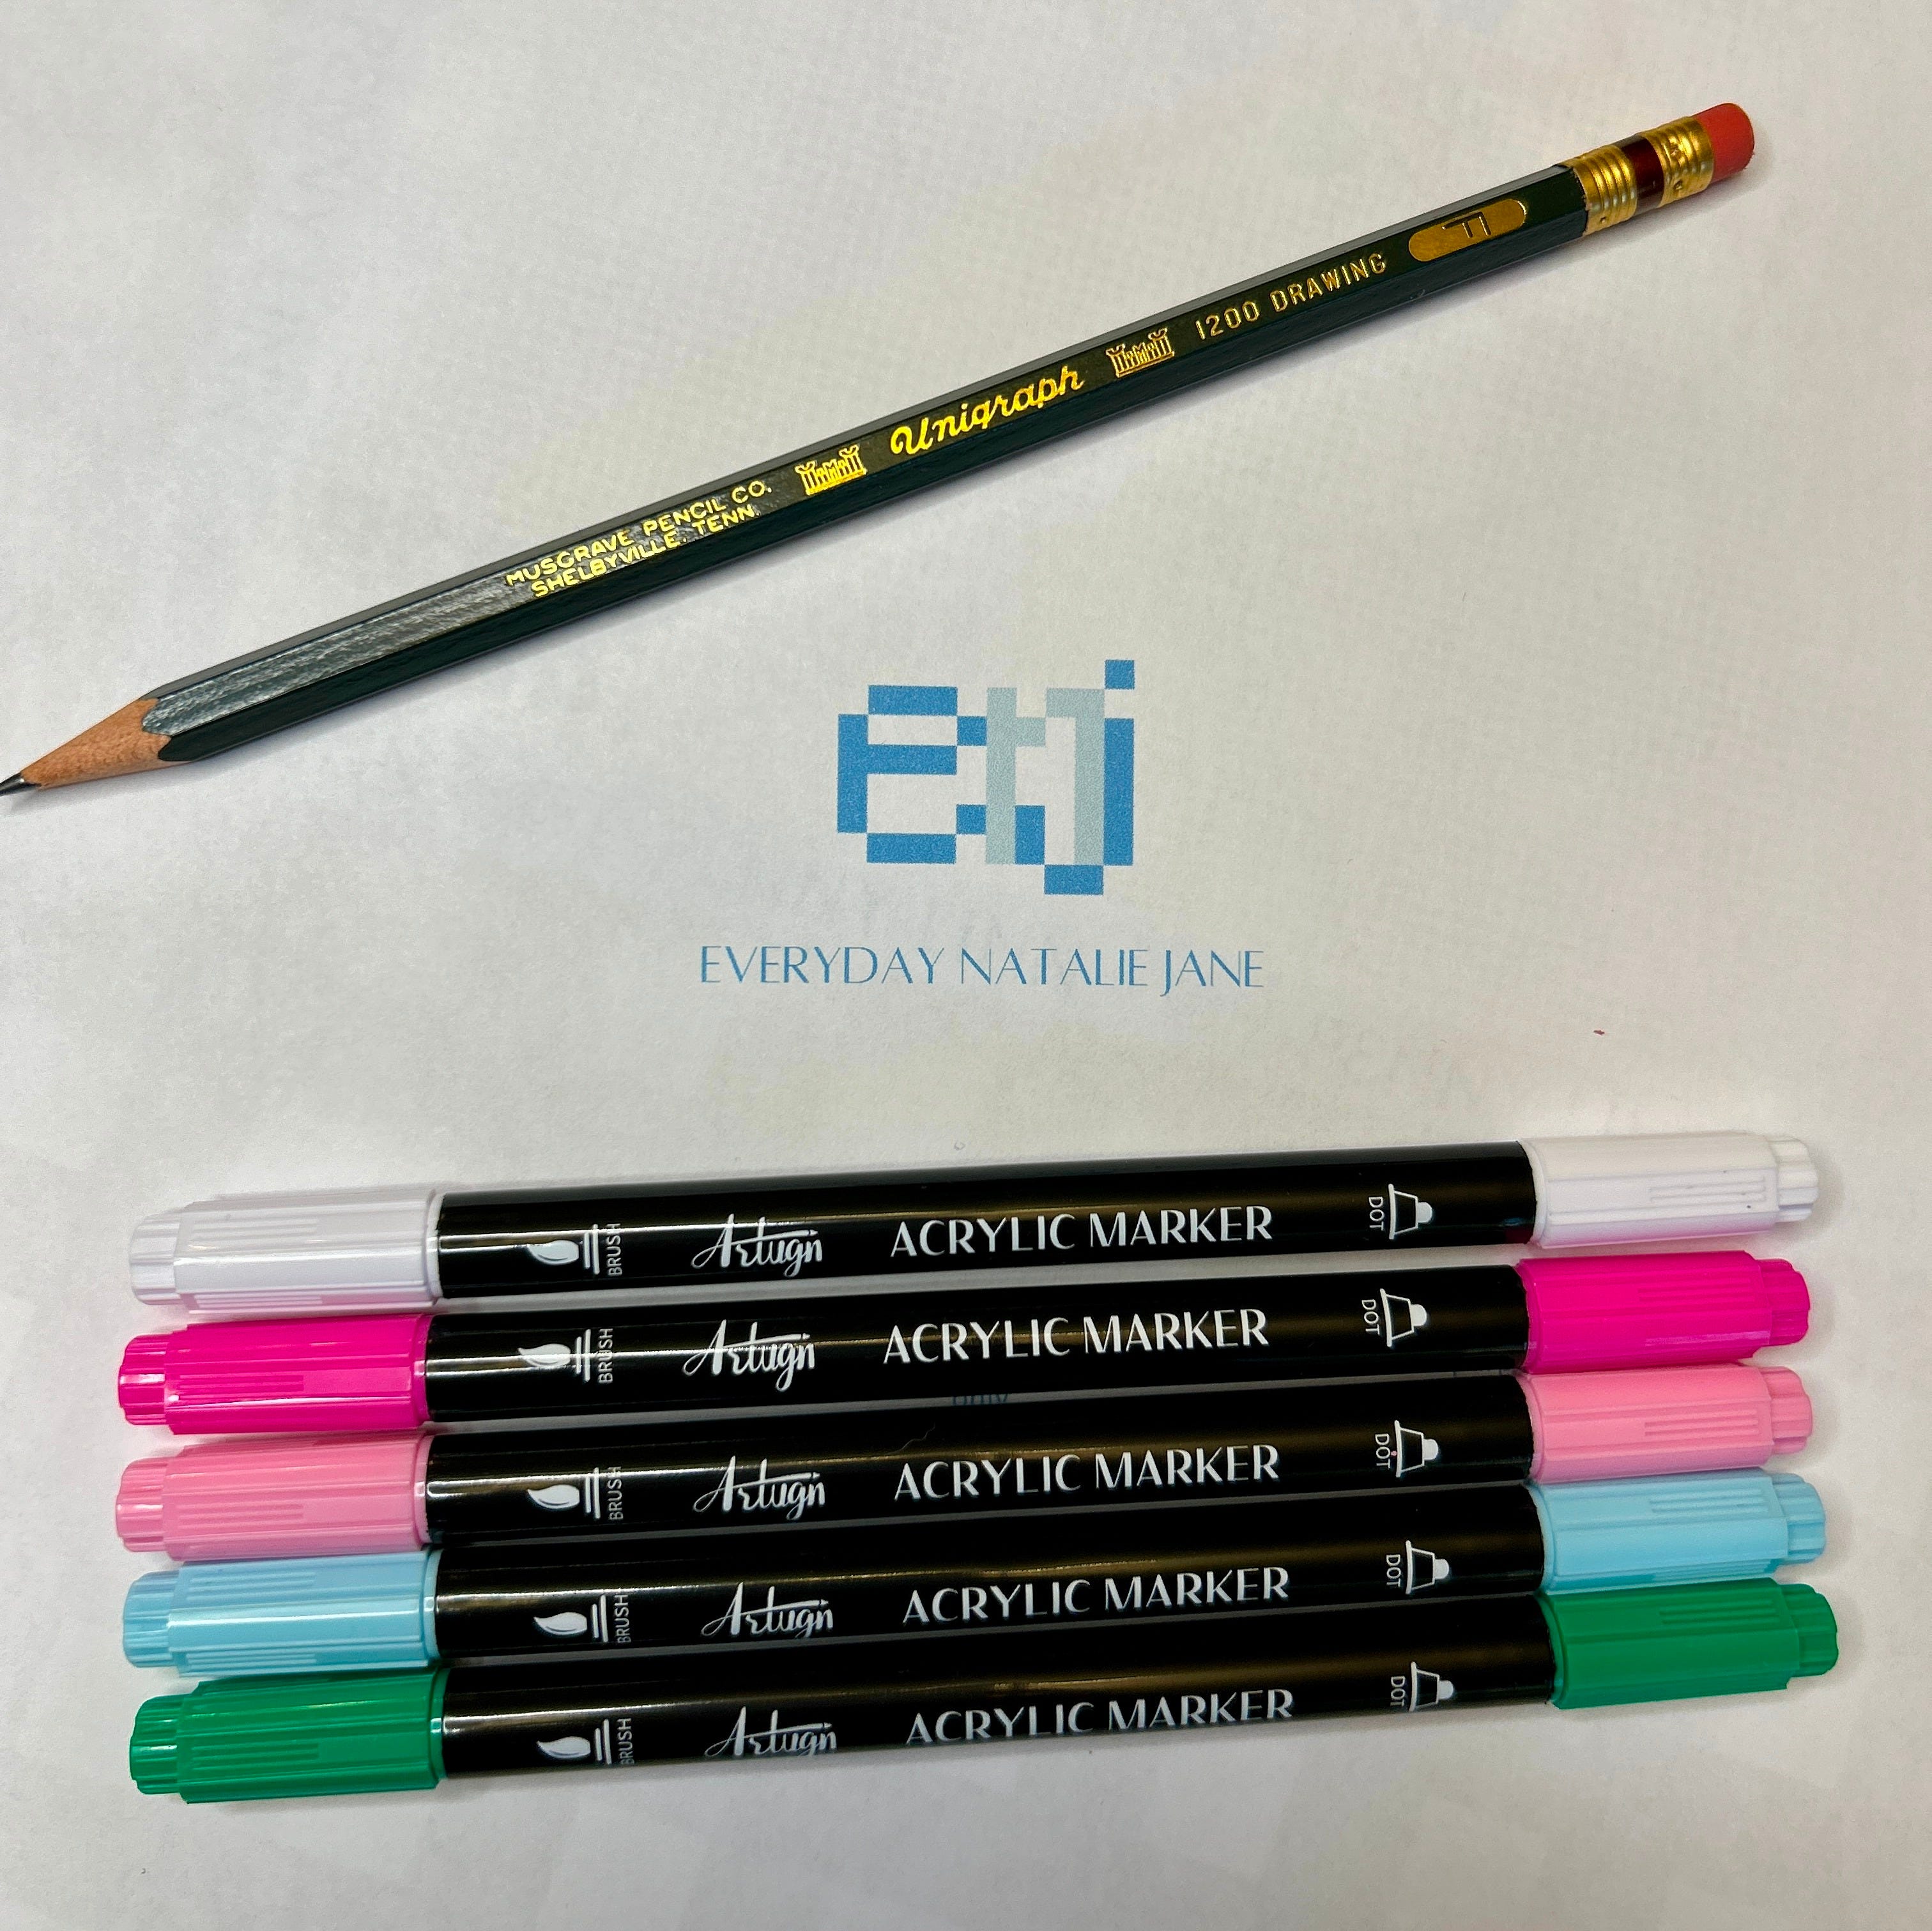
#2 pencil ( I used mine to mark the center of my design; erases easily)
13 or 18 mesh canvas (depending on design specifications and or your preference)
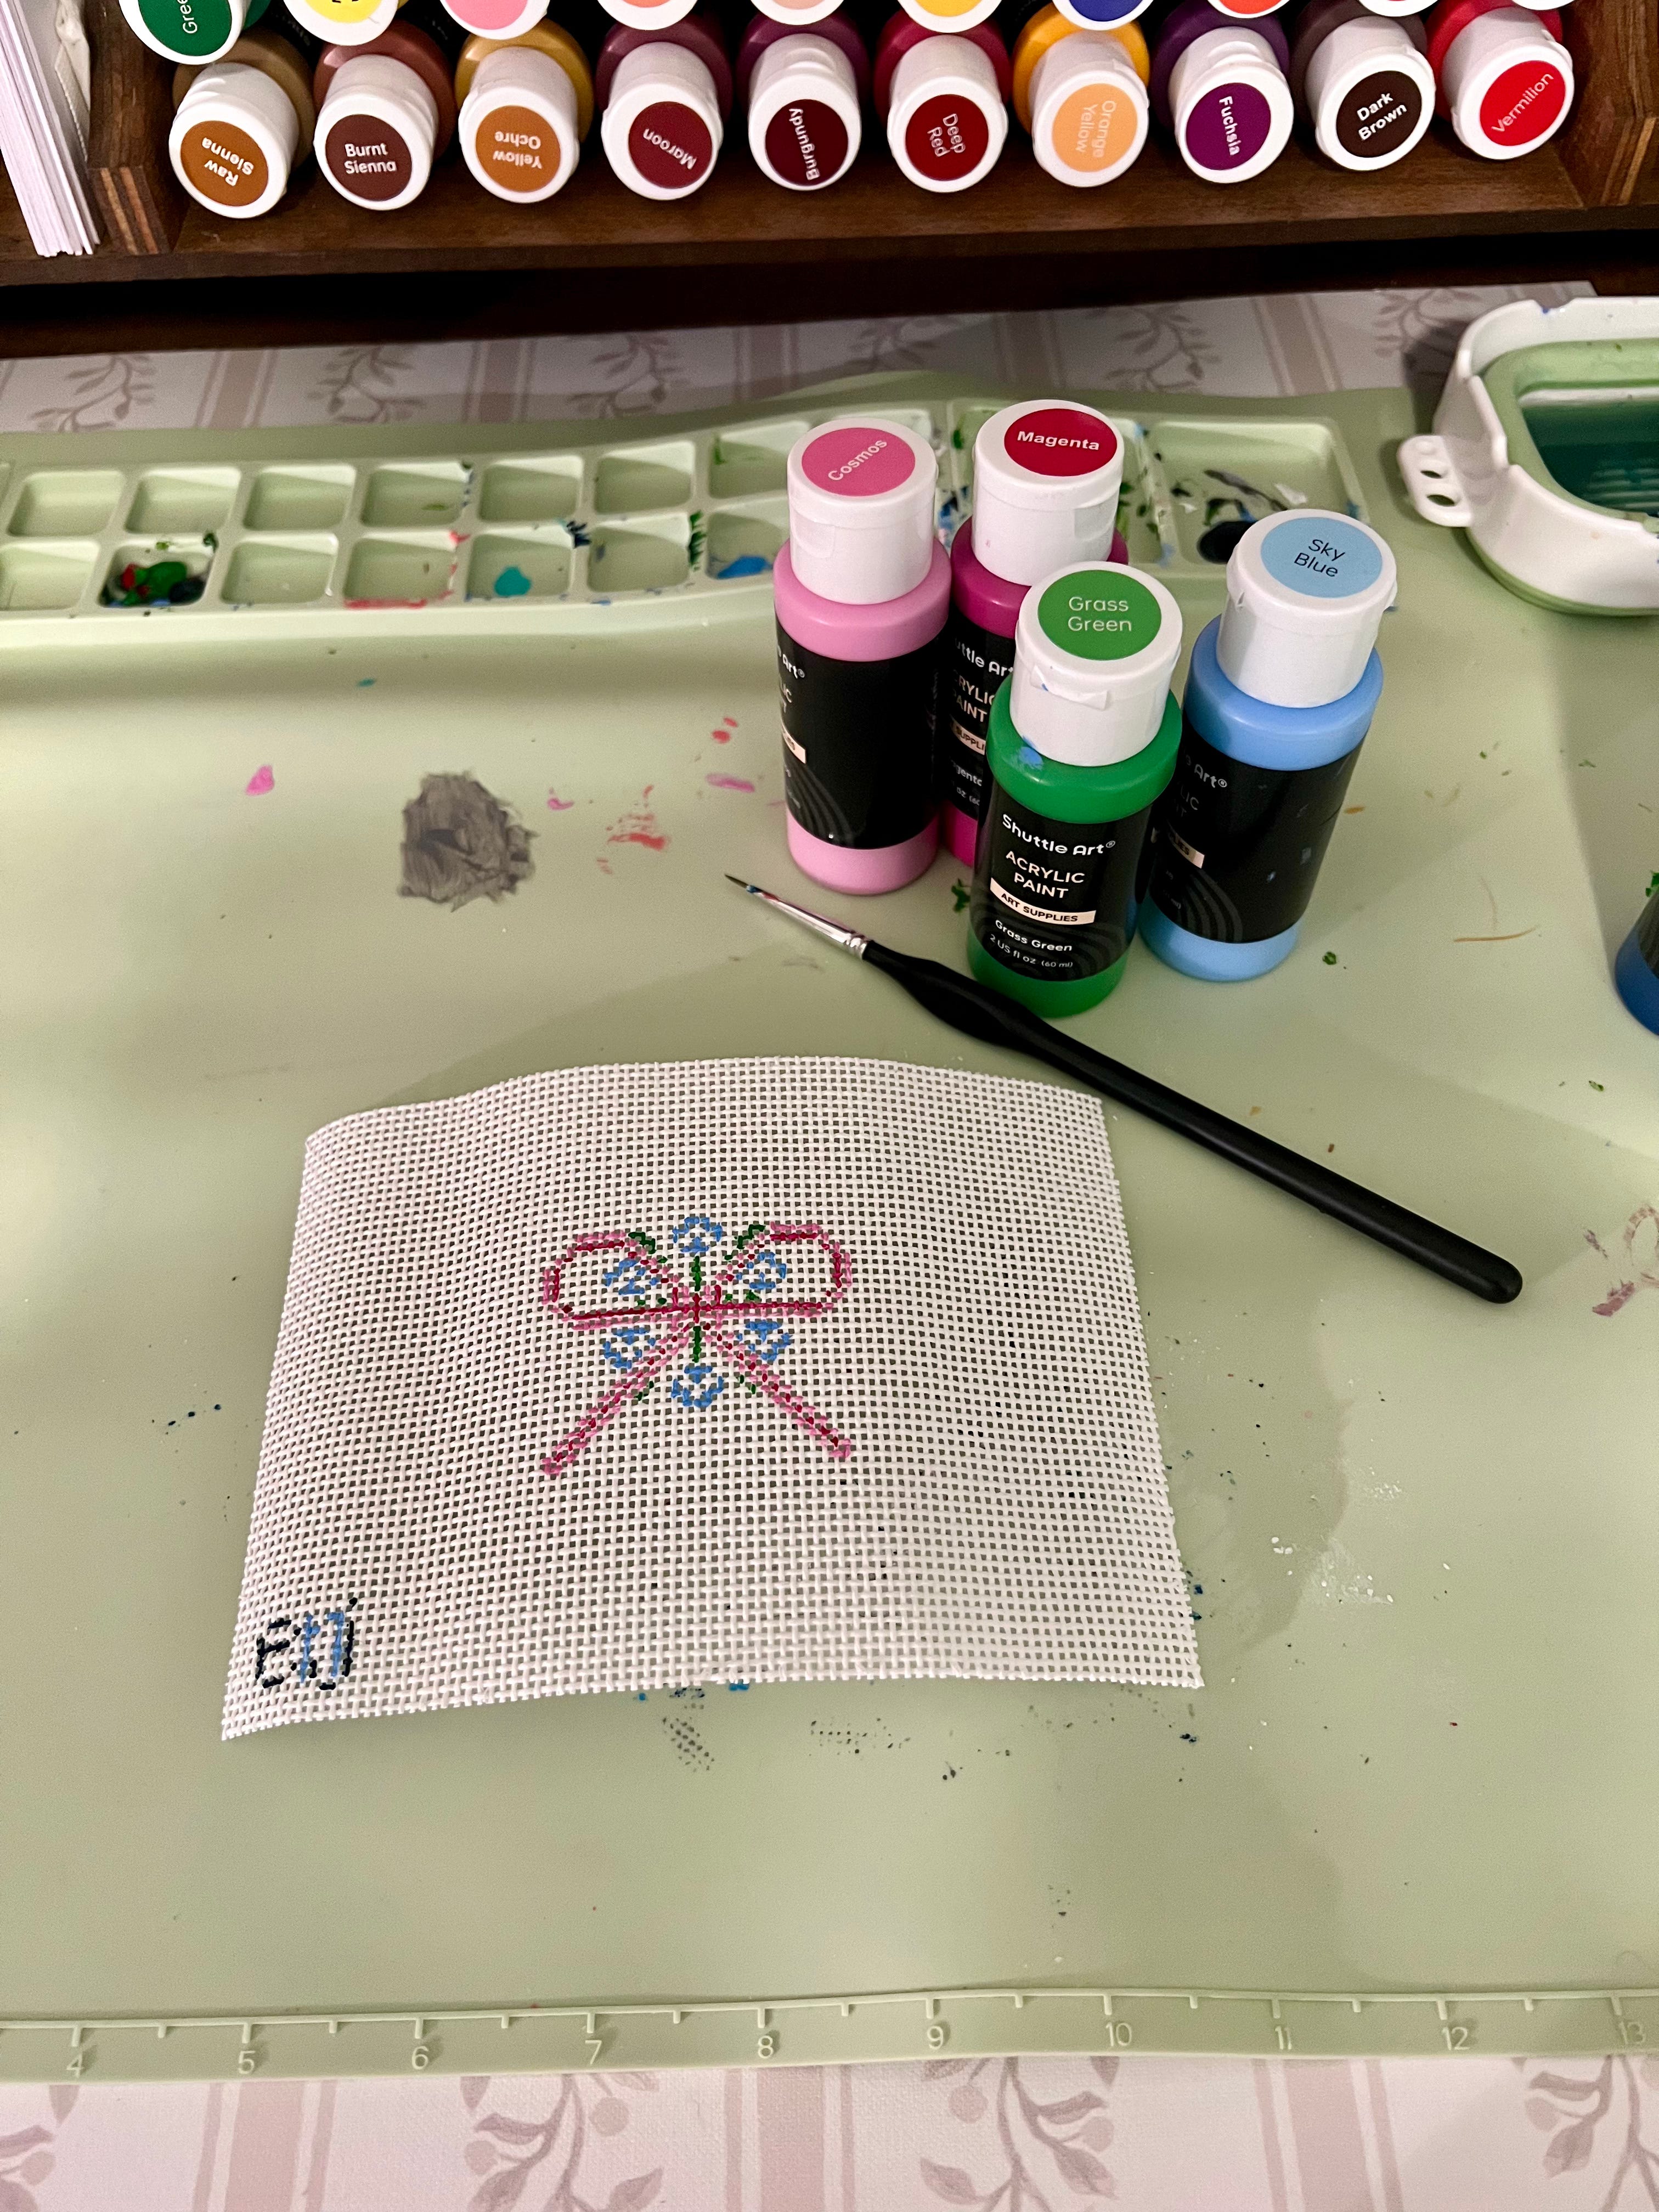
Acrylic paint (I prefer acrylic paint markers - no clean up, easier to store and the same end result)
Threads for stitching (this is such a simple canvas to color swap - have fun with it!)


Super Simple Steps: # DI(tr)Y
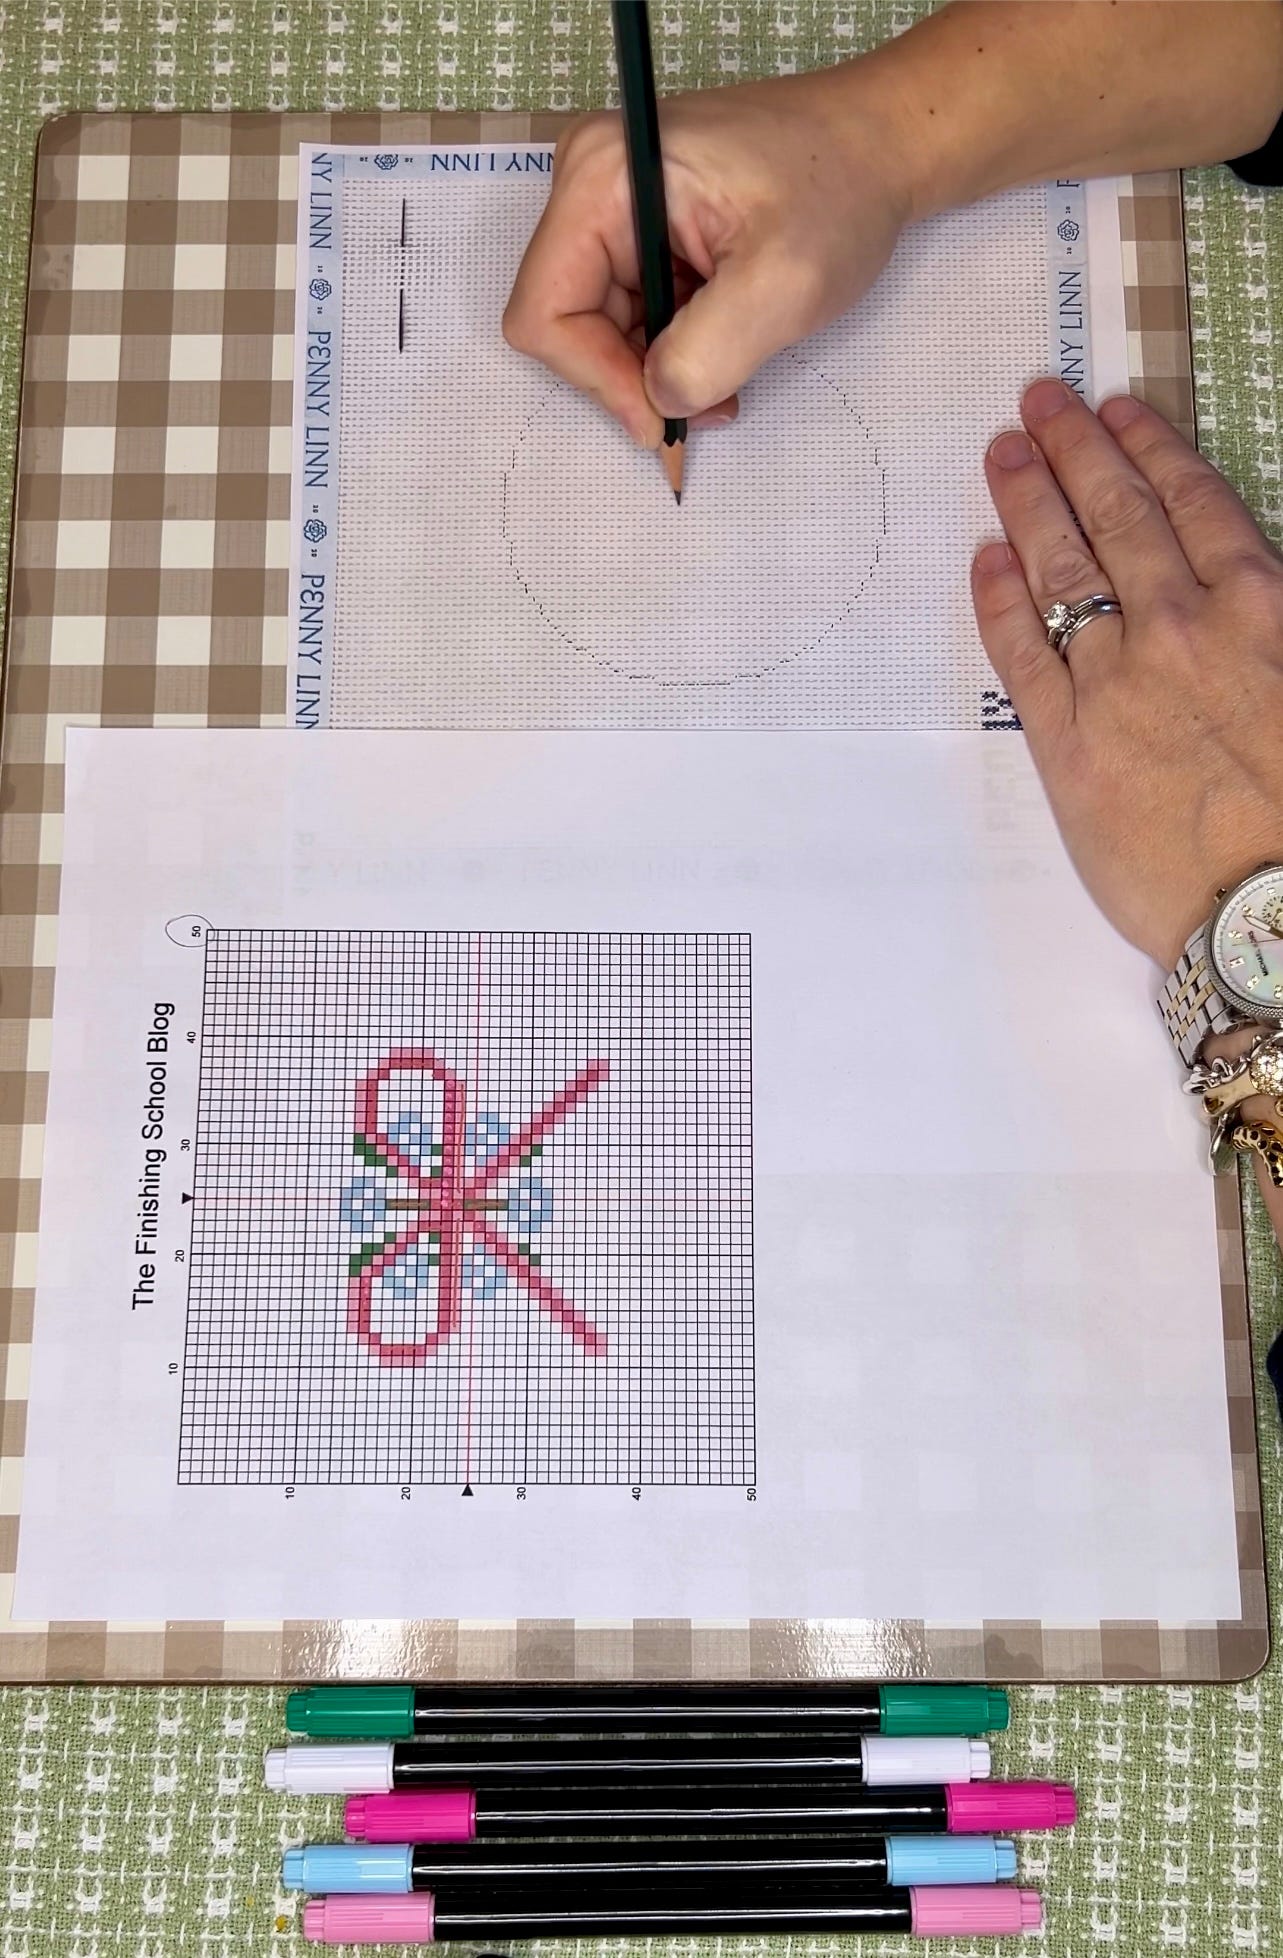
Print Your Design / Chart - Personally, I am old school and prefer to have things printed out for me so I can annotate as I need to. You can also use an iPad or laptop if this works better for you
Select Your Paint Colors- Make sure there is no suspicious leaking and that you have the colors you want and need (including white for any corrections you need to make).

(Optional) Photocopy Your Blank Canvas - I was really nervous to go right in with the acrylic markers on a blank canvas for the first time so I did a dry run on a photocopy of the blank canvas. It helped me feel more comfortable BUT the canvas intersections were a little tough to see
Mark Your Center Starting Point - Starting at the top center, I counted the # of intersections (1 square on the chart = 1 intersection on the canvas) until I got to the center of my design and marked this with my #2 pencil.

Breathe - Reminder: you can totally do this
Pick A Color - One of the best pieces of advice Natalie gave me was to only paint one color in the design at a time.
Example: I started first with all the dark pink points, then moved onto all light pink, green, blue, etc.
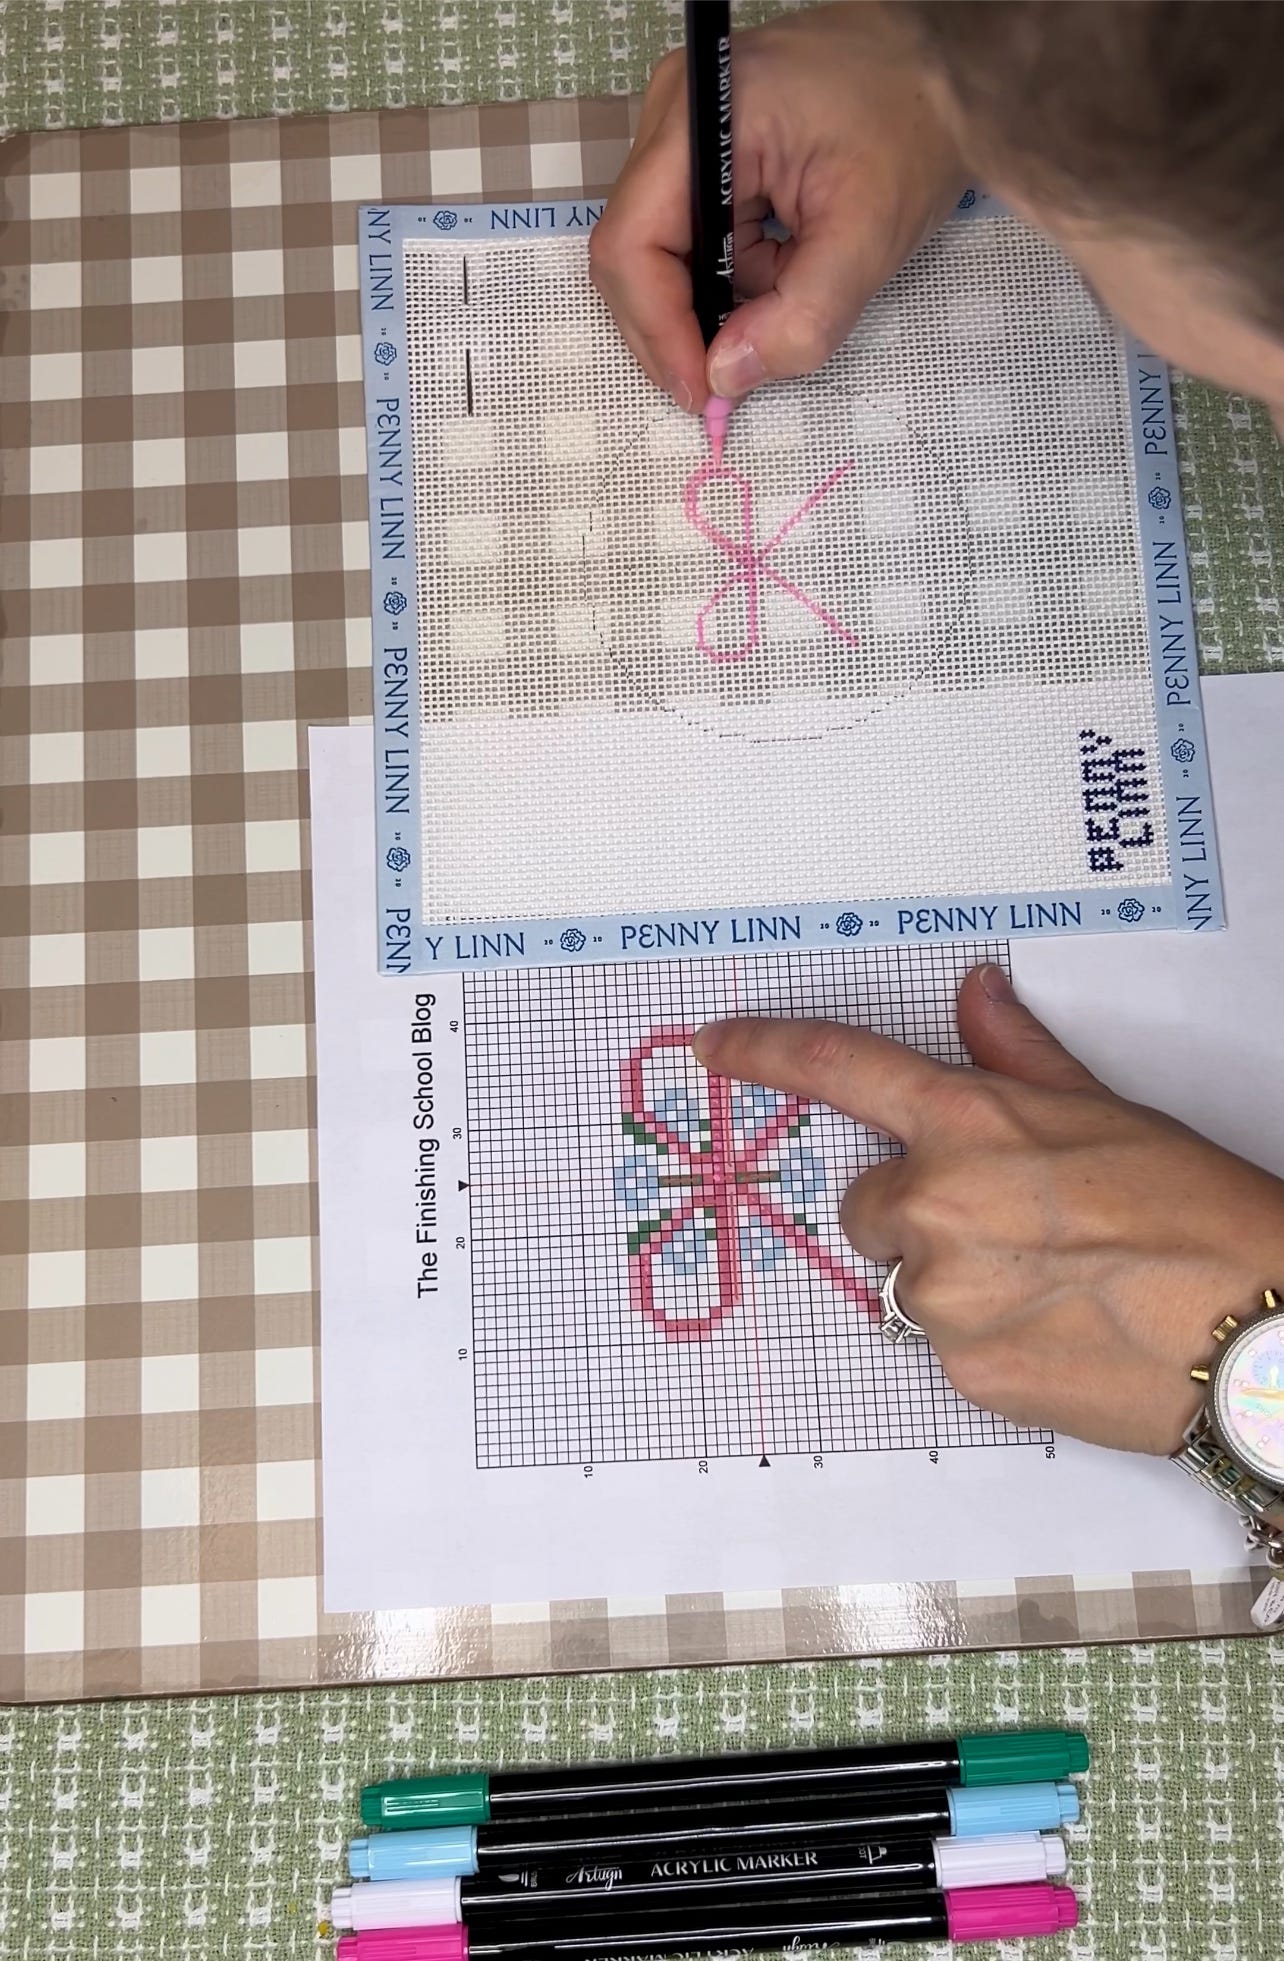
“Pete and Repeat”: Repeat the above step for each color in the design. Natalie gave me great advice saying “just think of it as putting polka dots on the canvas” and this simple shift made a difference as I was charting.
Enjoy! - Remember this should be F-U-N. If you “mess up”, no problemo. Keep white paint on hand and you can simply cover the area you wish to correct with white (make sure this dries before going back over it in color, if needed). I did this several times with my markers and it was a breeze.

🌟 Reminder: When in doubt, phone a friend and ask - we are all here to help and there is no such thing as “dumb” question.
🌟 Watch my quick tutorial here as I chart my own canvas:


We would love to see your charting progress, especially with this canvas! Please be sure to tag us on Instagram (or here) and show us your work. We cannot wait to see what you create.
Questions or comments? We would love to hear from you. You can reach out here on Substack and can of course find us on Instagram: TheFinishingSchoolBlog and EverydayNatalieJane


Thanks Natalie! 🩷