


Lesson 6: The Big ONE 🎀
"Birthdays are nature’s way of telling us to eat more cake." – Joan Rivers

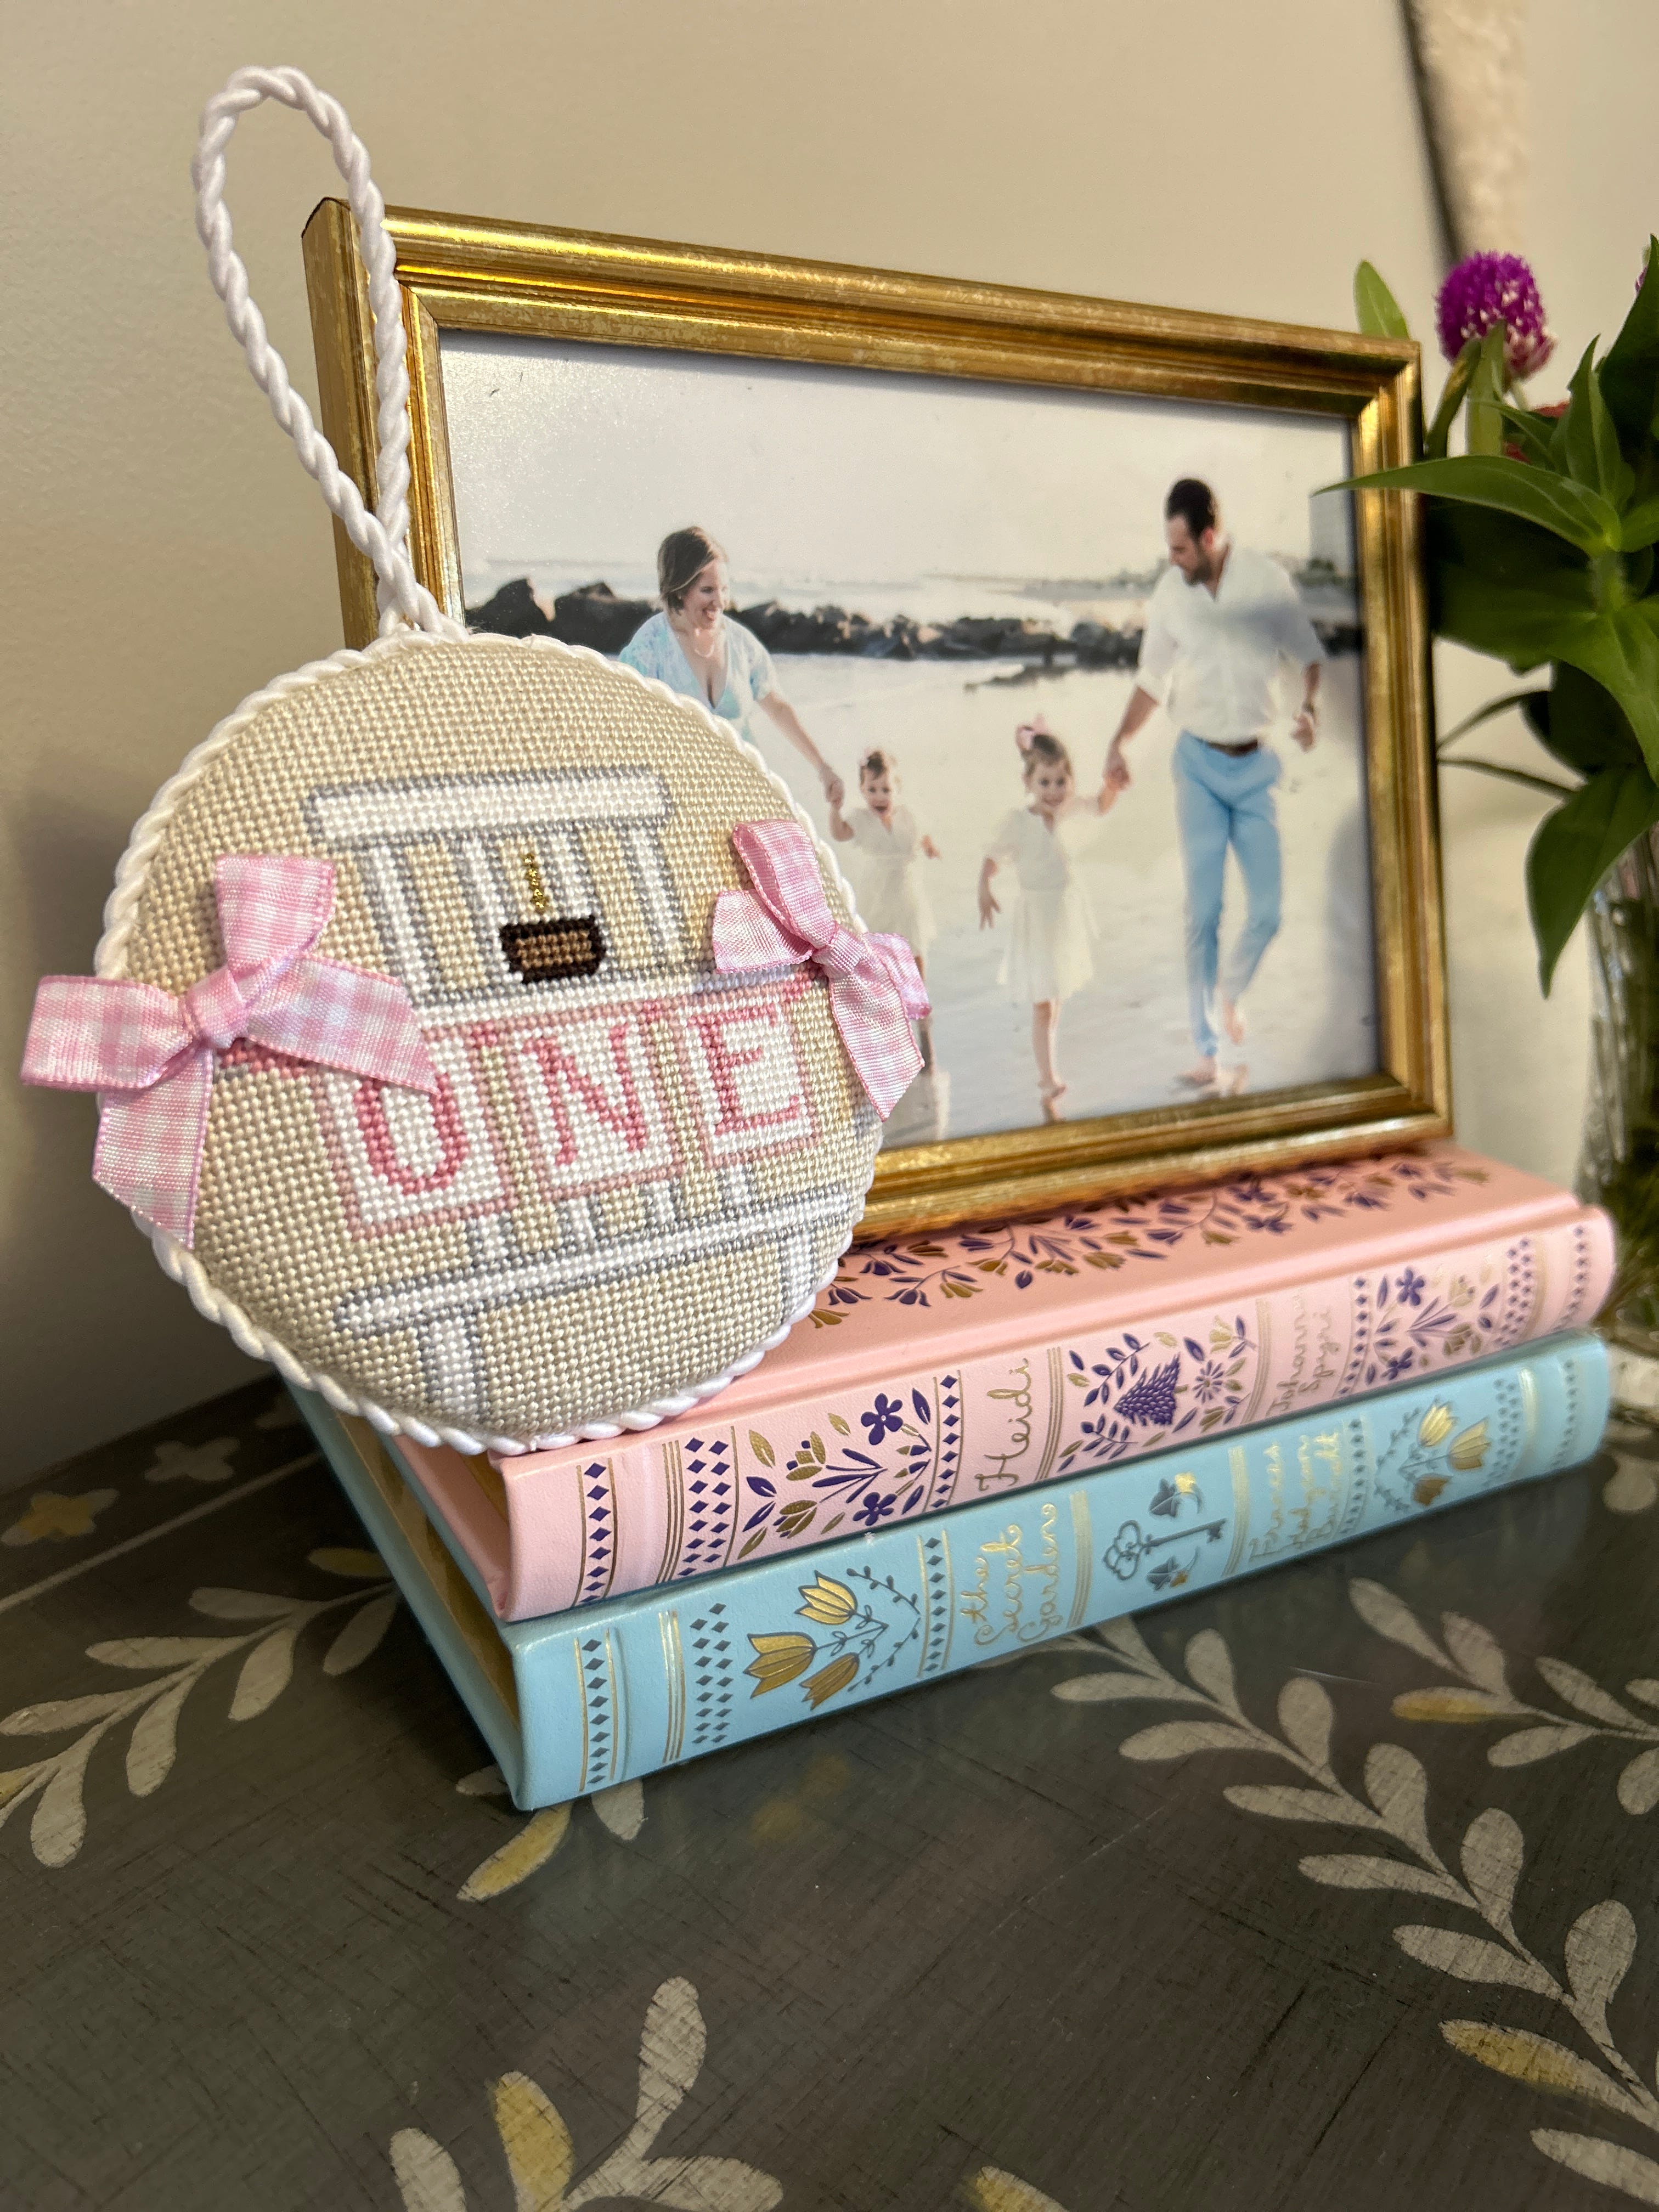
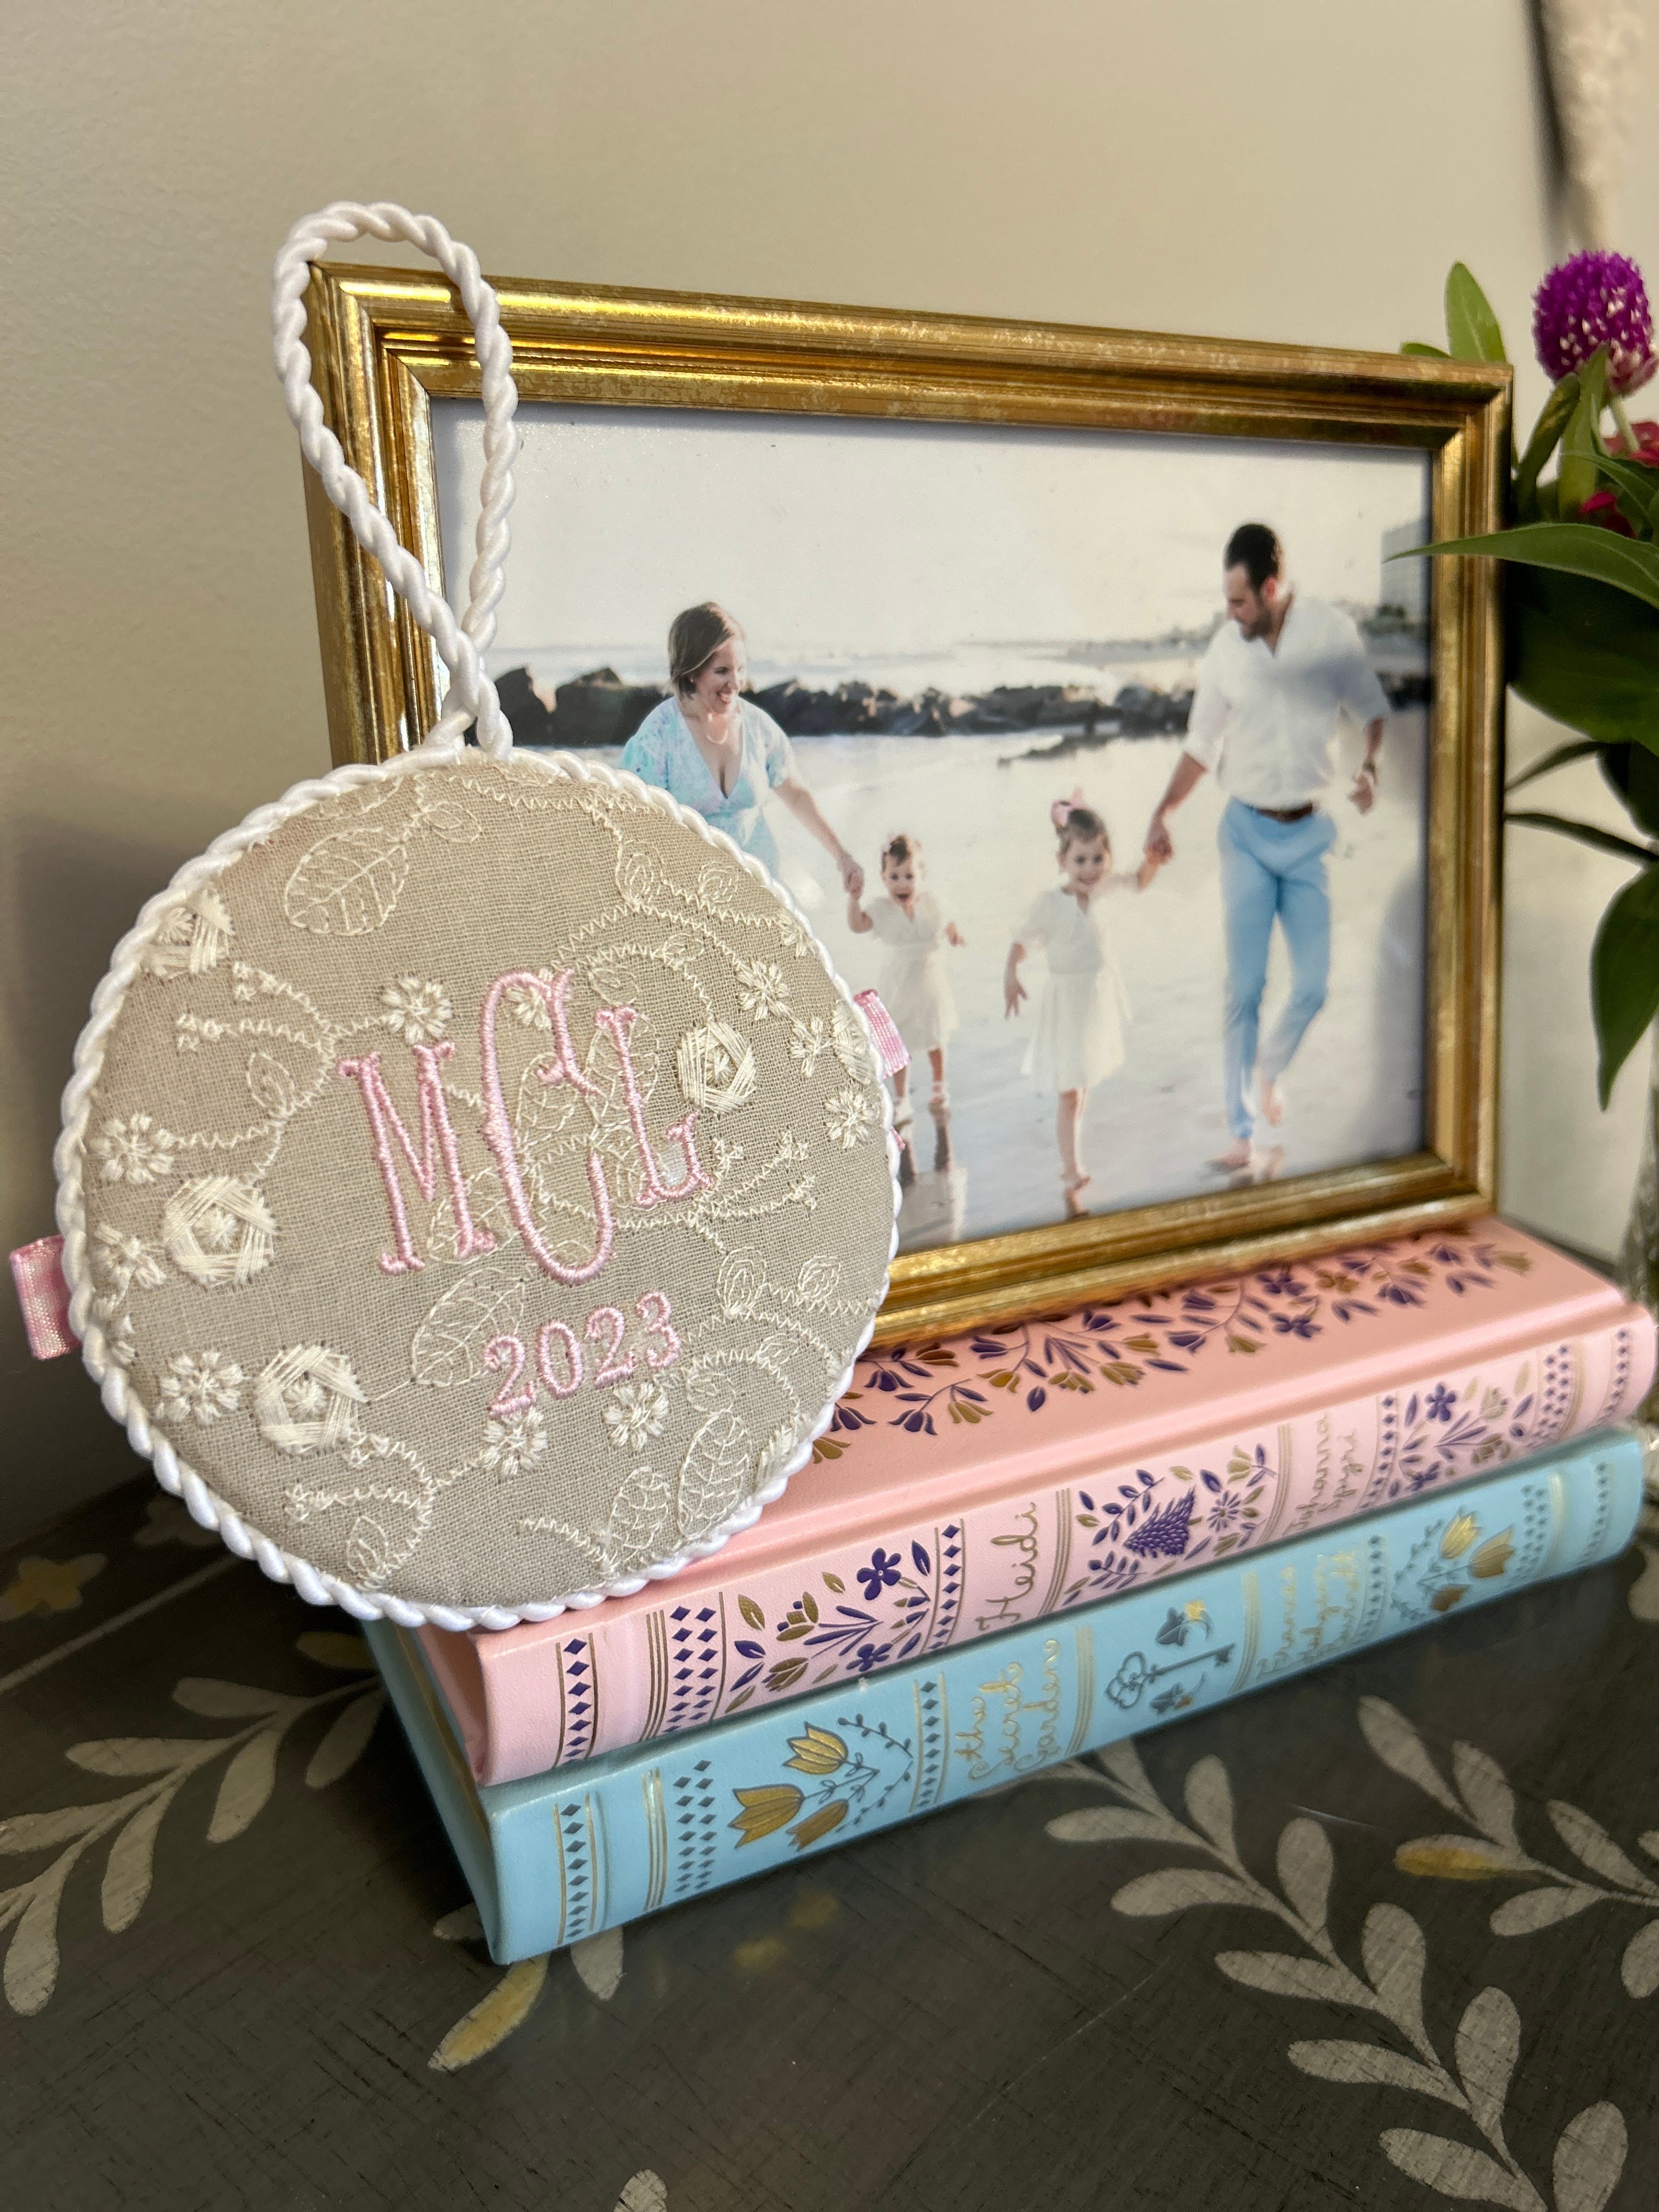
I have never met an heirloom I did not love. So when I had the realization that I could create an “heirloom” for our daughter Mary’s First Birthday I knew I needed and wanted something simple but spectacular. I had seen Stitch Style Needlepoint’s First Birthday Round (linked here) and loved it; but truth be told, it was the gingham bows included with the canvas, that did me in. I adored this sweet way to commemorate such a big year for our little family and our very own #ProudMary.
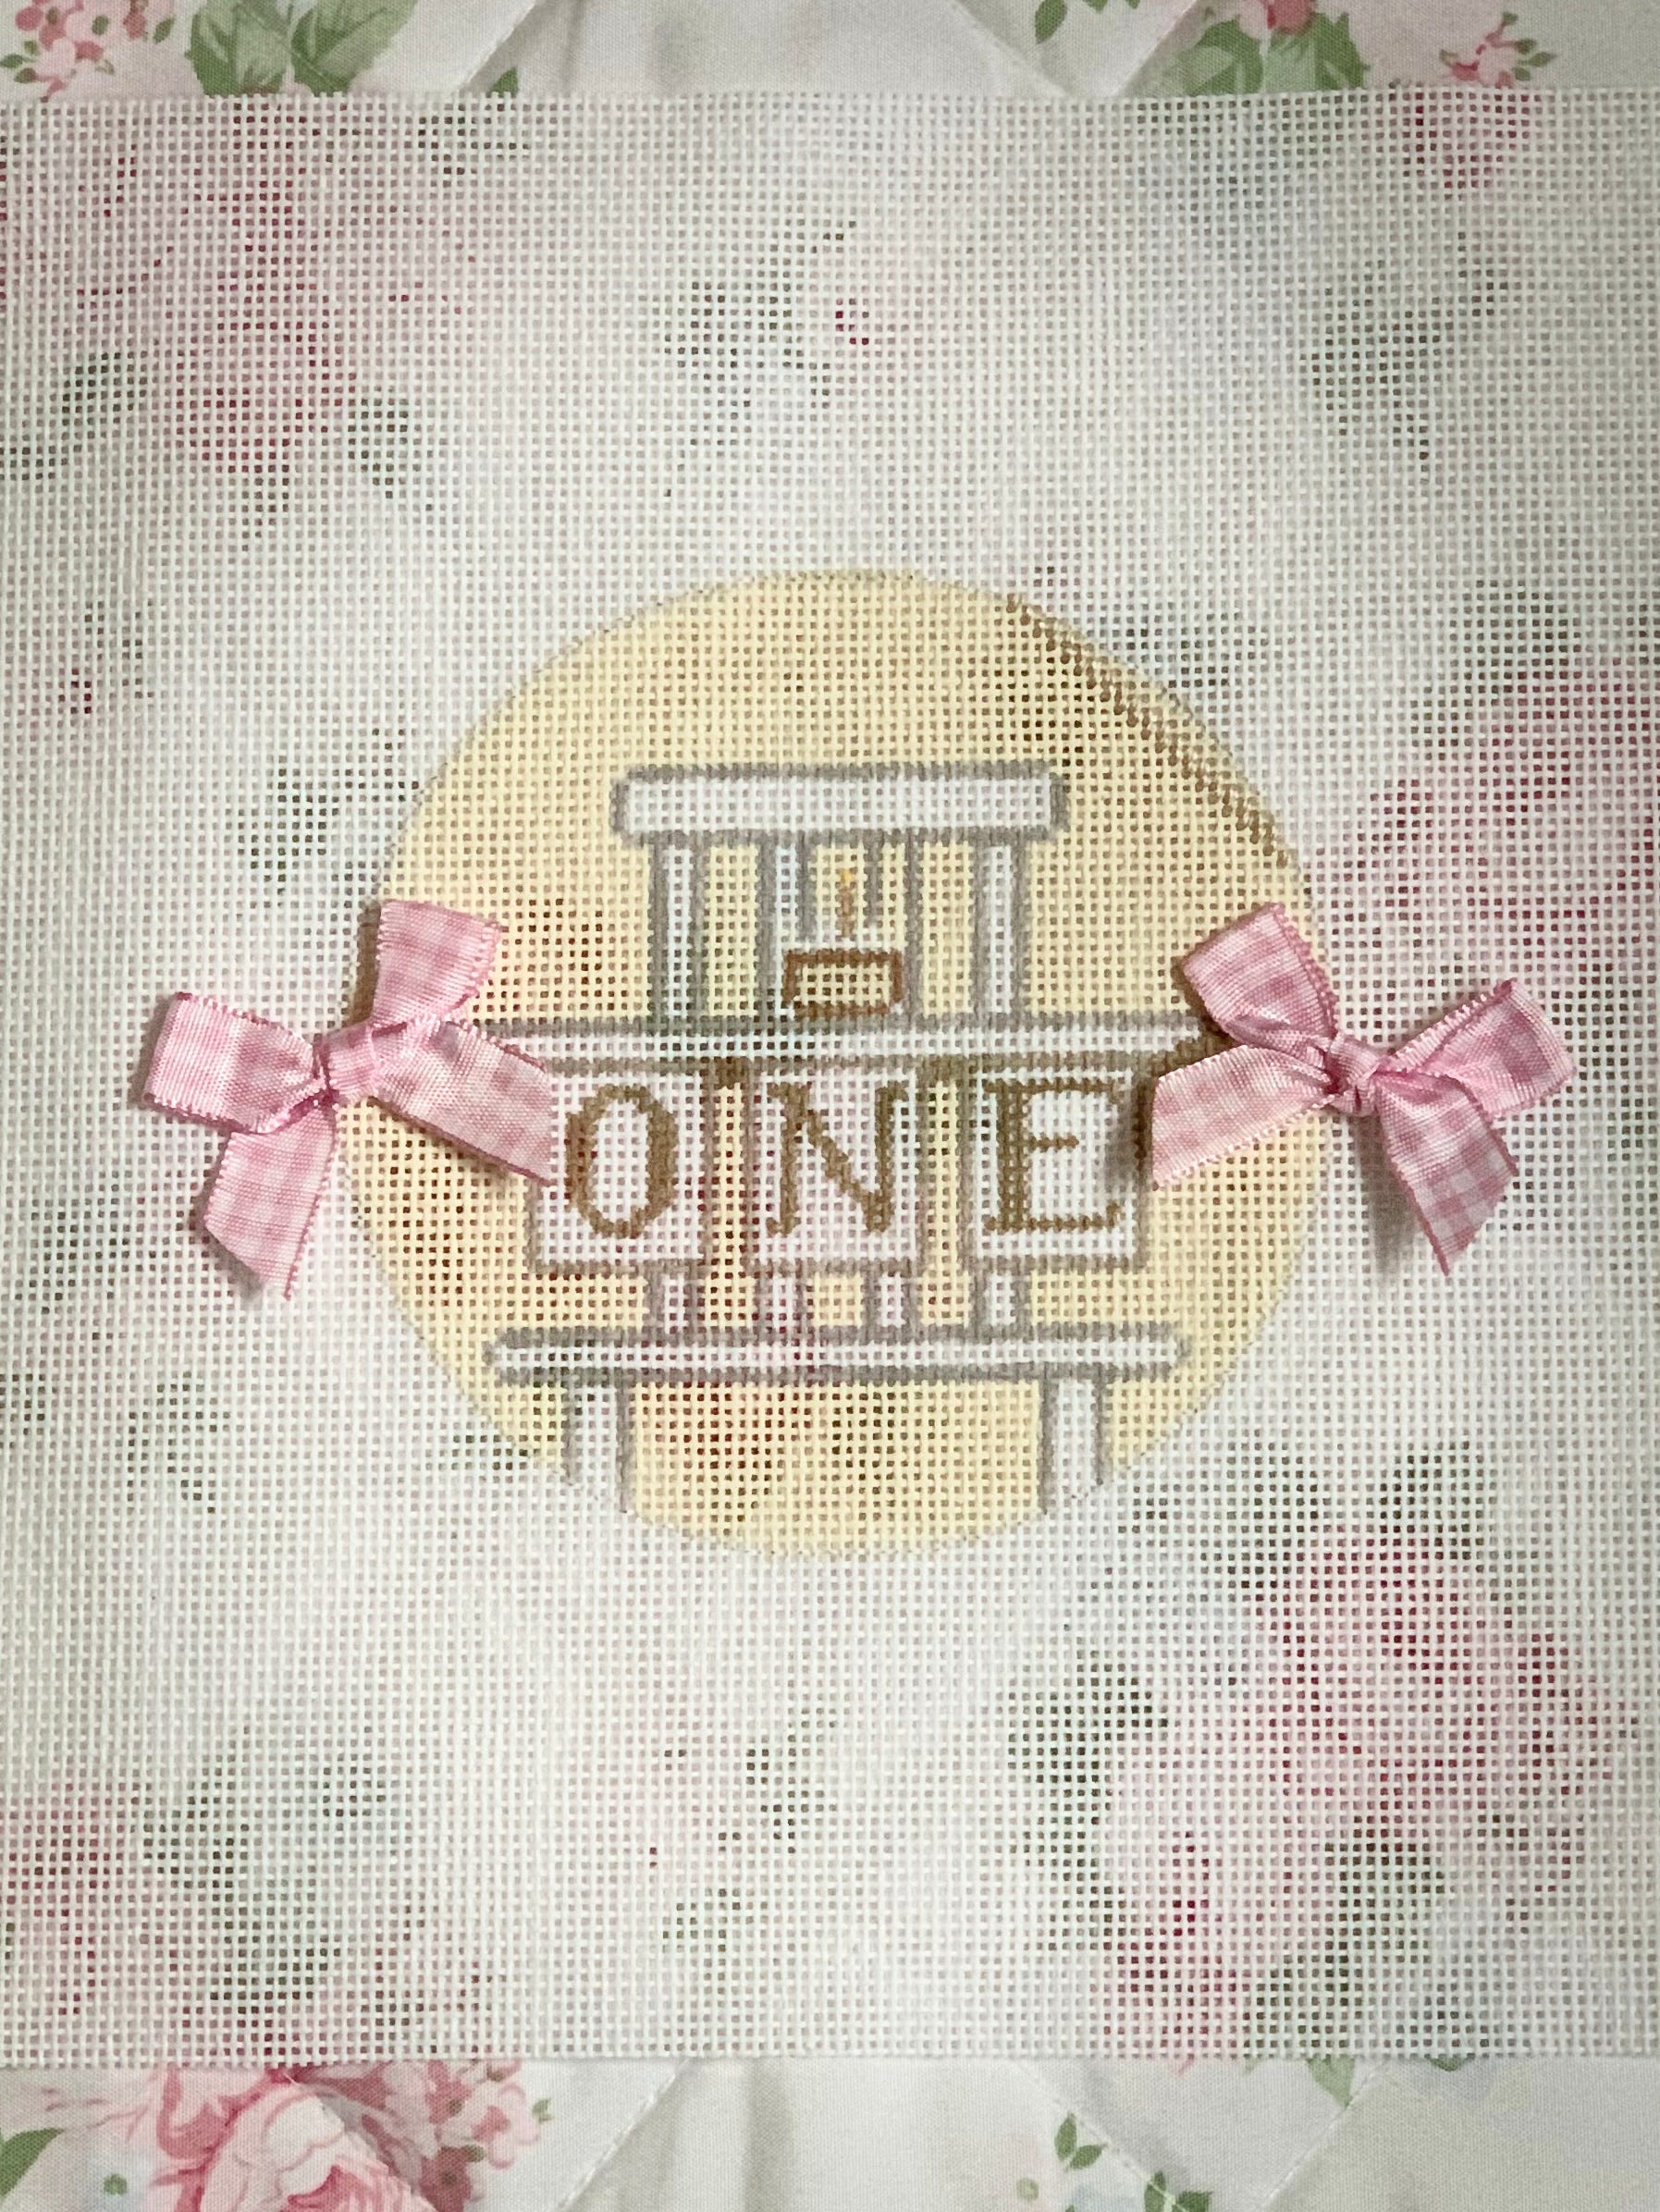
Shannon from Greystone Needlepoint was kind enough to special order this for me and it was more than worth the wait. I will admit when I first opened up the canvas, I was a little intimidated by the Stitch Guide, but was blown away by the extent of every detail it outlined (thread selections, what stitches to use where and how, etc.).


Having now authored a few blog posts where I specifically outline the details of a needlepoint project, WOW do I have a new-found appreciation for Jinny and her team at Stitch Style Blog. The time I know it must take to put something so thought-filled and informative together for a stitcher of any level, is not something to be overlooked.
Jinny, if you or someone from your team is reading this…..BRAVA on not just the work you create, but also on the work you inspire us all to create.
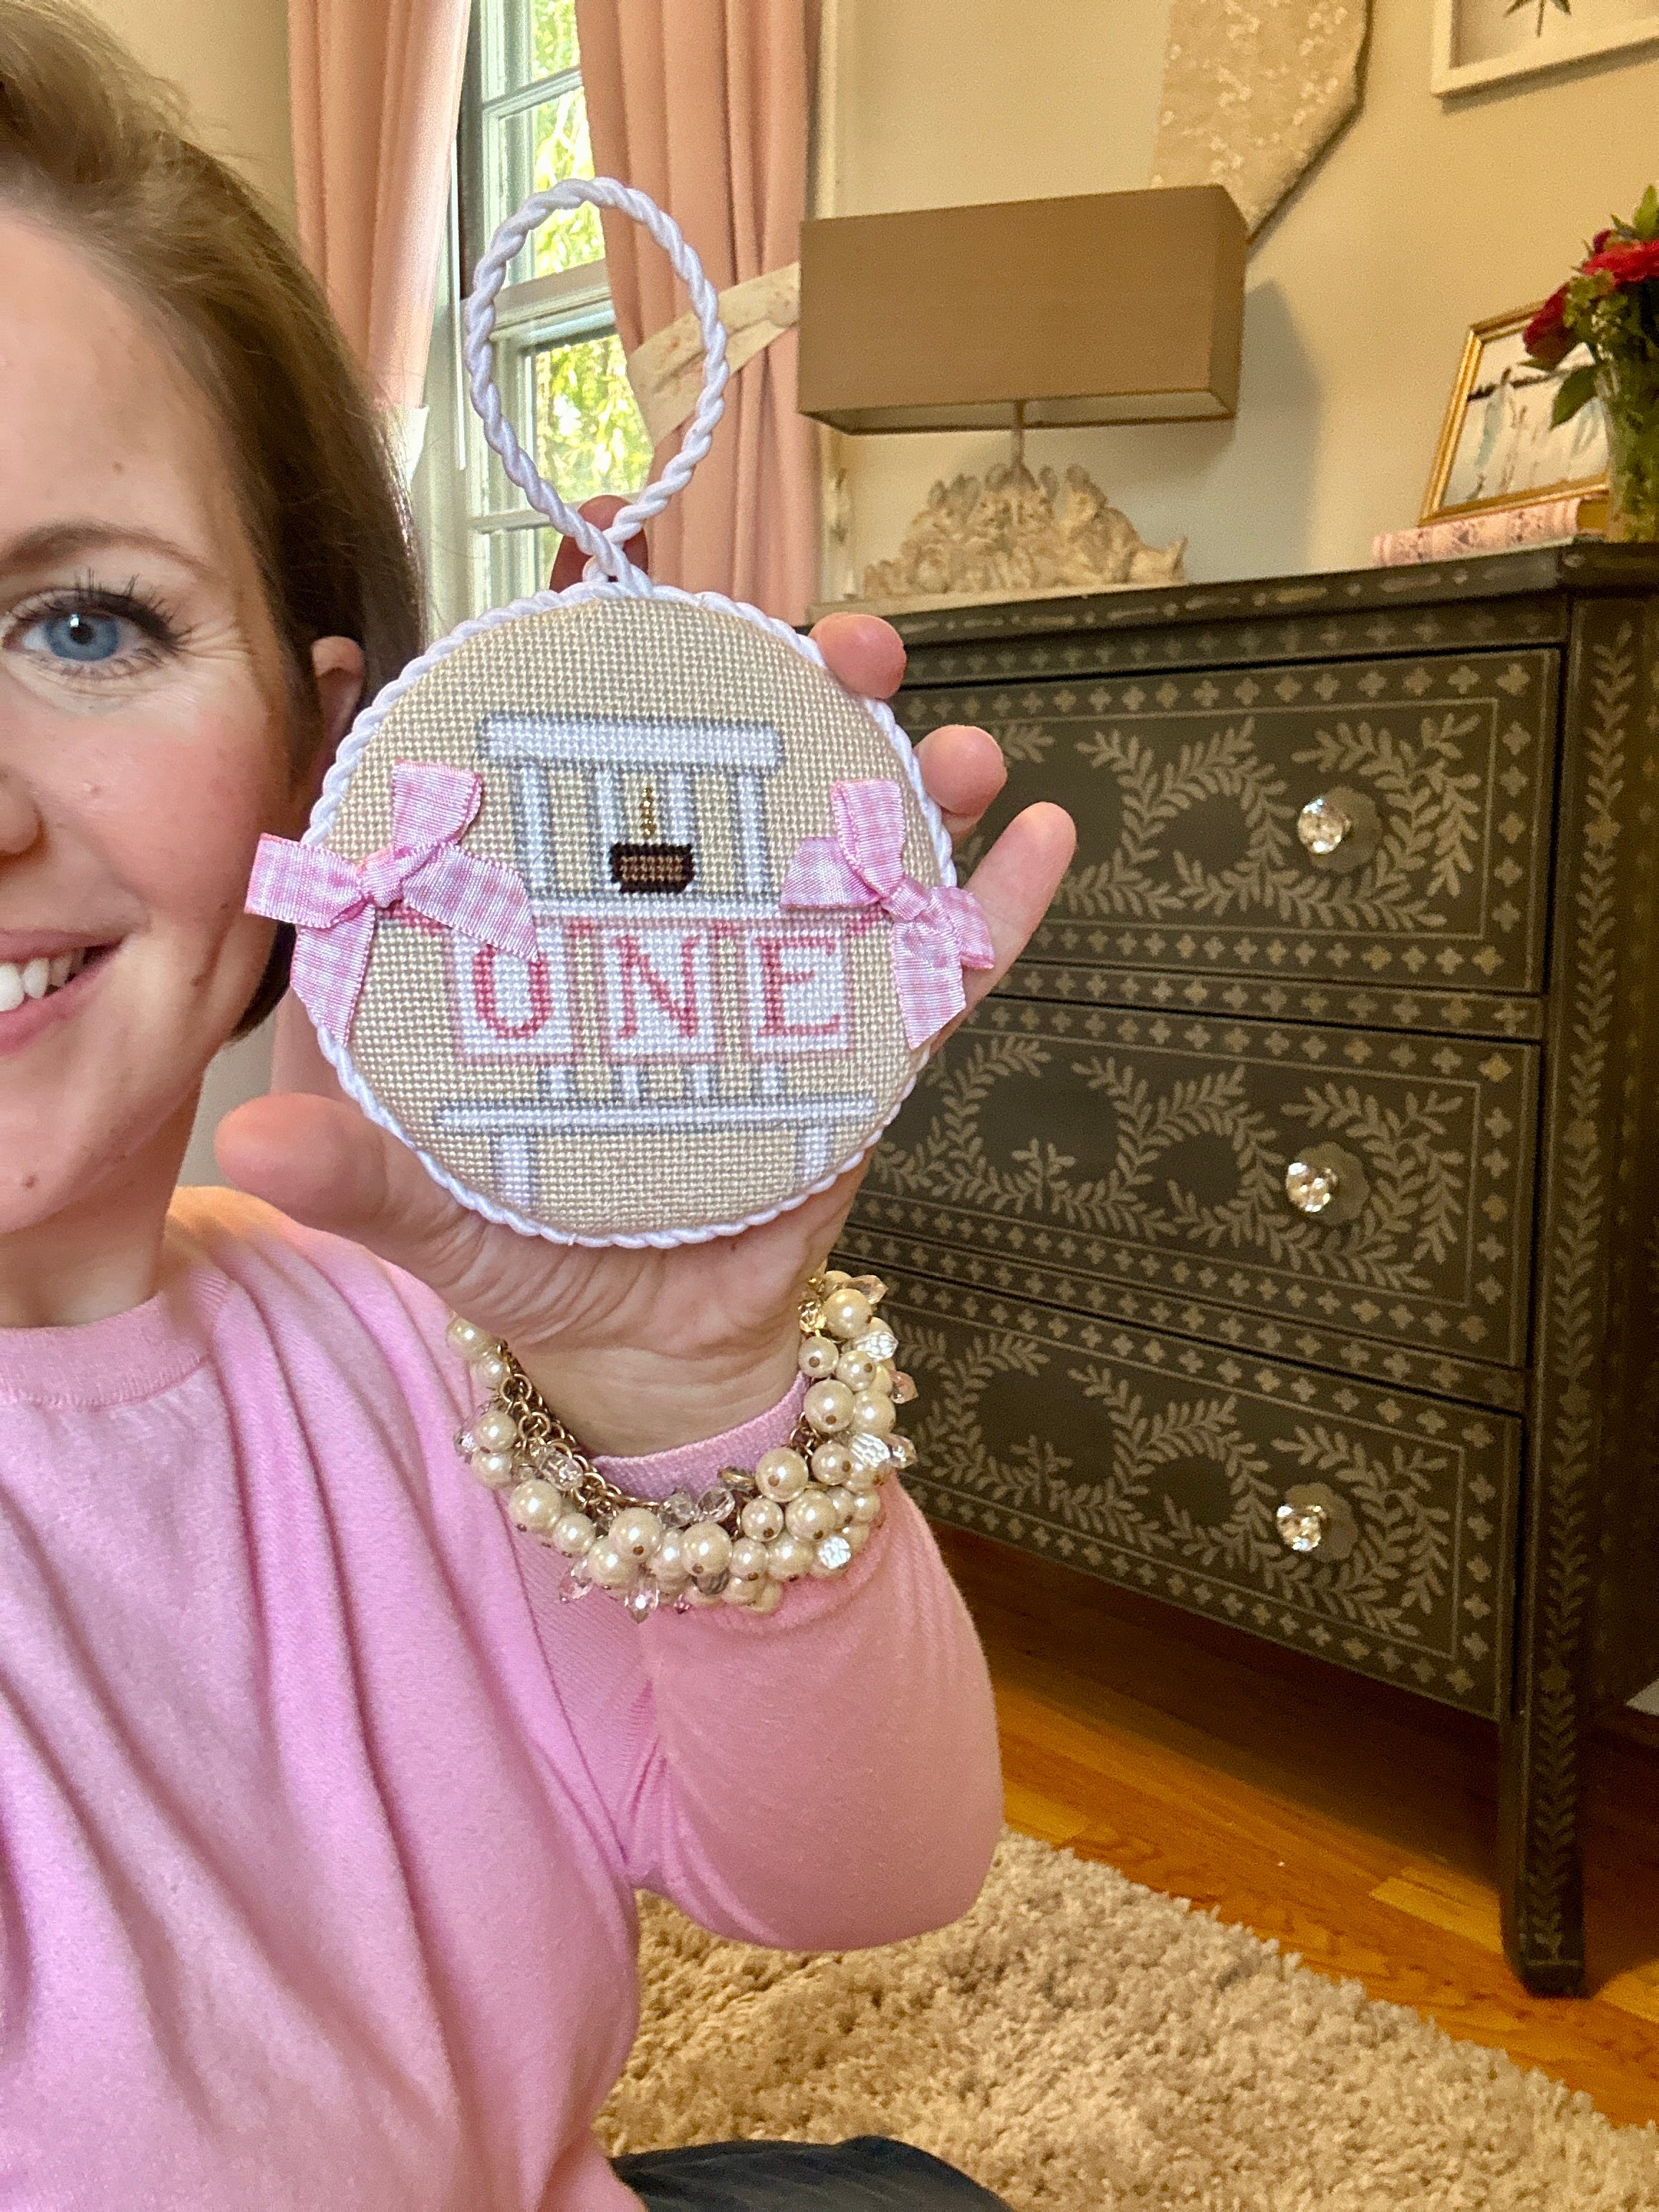
I love how the final piece turned out and when I stitch another one, I do think I will get a little more adventurous and try some of the recommended decorative stitches. #SuperSideNote: One thing I wish I would have done would have been a satin stitch on the high chair.
Another very important thing I learned and want to highlight here is that of the #FallenStitches. I ripped out so many stitches on this as I worked to get juuuust the right shades of pink. I was so frustrated at times, but I am so very glad I did not settle until I found the exact color pairing I wanted. Truth be told, I actually appreciate this little ornament a little bit more knowing how hard I worked to get the detailing just right.
I am sure that as you are reading this, there is a project that comes to your mind. You know…. the one where you ripped out more stitches than you care to admit (ever), in order to get the result you had envisioned. If this is you, know you are not alone. If this is not you, if ever you find yourself in a predicament where you are ripping out your stitches, know that you are not alone AND to stick to your instinct no matter what.


Anytime I look at this finished piece, not only I am instantly transported back in time to Mary’s First Birthday (complete with her sweet, chocolate cake-smudged face); but I am also reminded of all of the grit, grace and beautiful imperfections steeped into that very special first year with our Mary.
To all those out there reading this who are in the thick of “the first year” and/or who are lovingly supporting someone in “the first year”, please know that all the little things you do, do not go unnoticed or unappreciated. I see you and I tip my cap to you. The work you do matters.


Ok – so let’s dive into the details…..
Canvas: Stitch Style Needlepoint “First Birthday Round” (linked here) via Greystone Needlepoint (I love any opportunity to support a L.N.S. AND an artist whose work you admire)
*This canvas is sold out in most places but I found one here through The Stitching Fox. As always, reach out to a L.N.S. and ask them to special order it for you. It is worth the wait!
Threads/Fibers Used: Took forever to get the right shades of pink! #fallenstitches
Pepper Pot Silk: Salt #02 (highchair; linked here)
Pepper Pot Silk: Tapioca #08 (highchair outline; linked here)
Pepper Pot Silk: Grits #220 (background; linked here)
Vineyard Merino Wool: Petal M-1001 (banner outline; linked here) *had this in my stash
Planet Earth Essentials: Bride #531 (“ONE”; linked here)
Planet Earth Essentials: Mahogany #602 (chocolate cake outline; linked here)
Planet Earth Essentials: Chipmunk #627 (chocolate cake; our little Mary’s favorite linked here)
Frye Werks: Gold #F2 (candle; linked here)
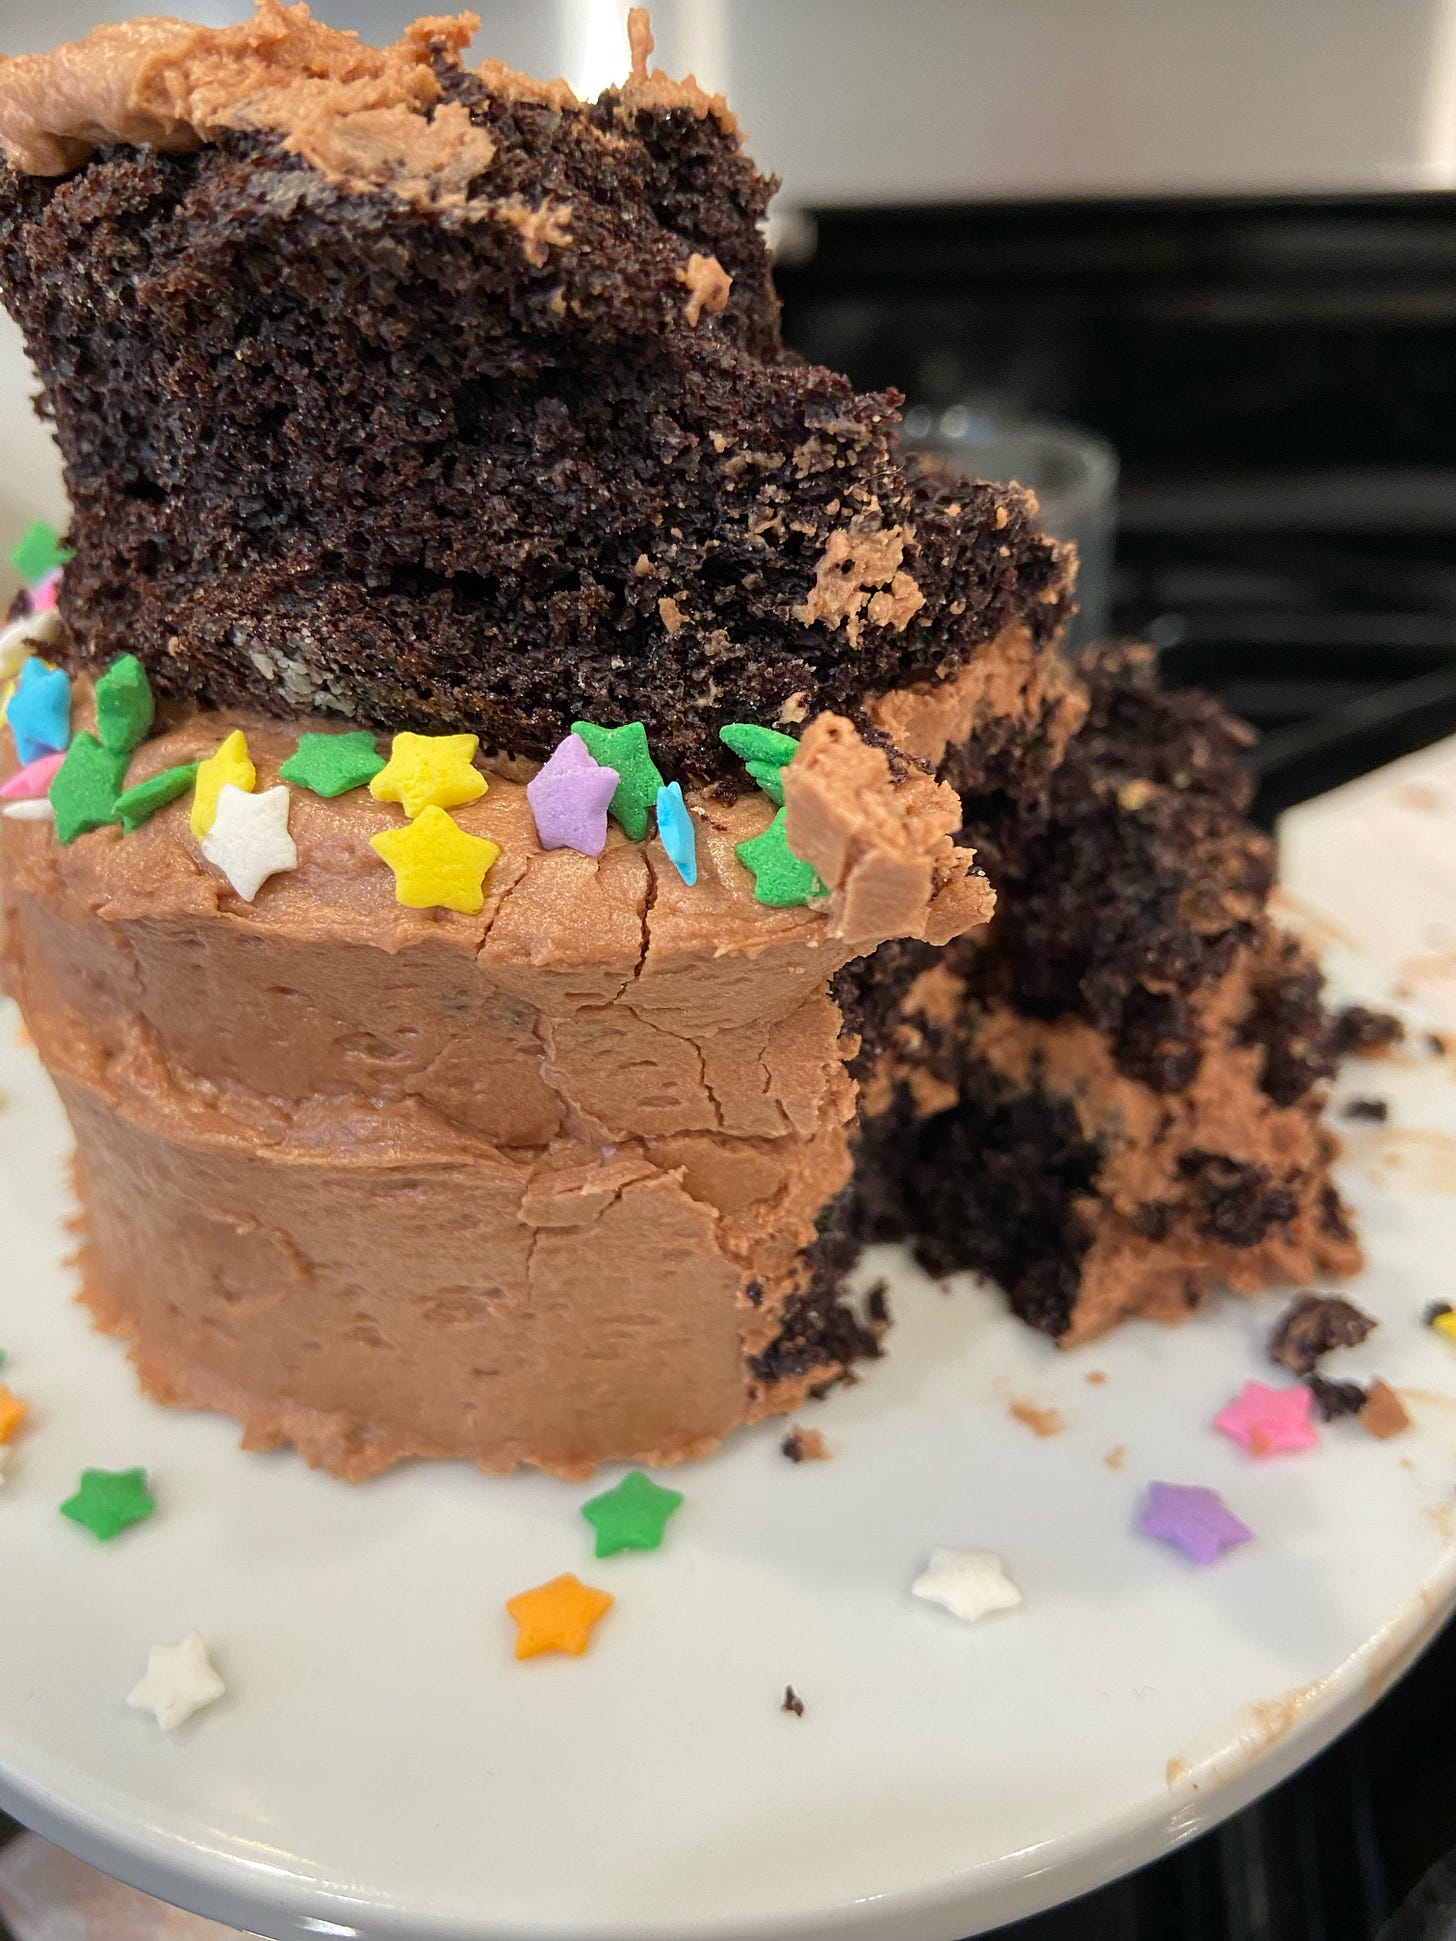
The remnants of Mary’s smash cake

Stitches Used: Basketweave and Continental (really wish I would have used a Satin Stitch on the highchair; totally chickened out with the stitch guide)
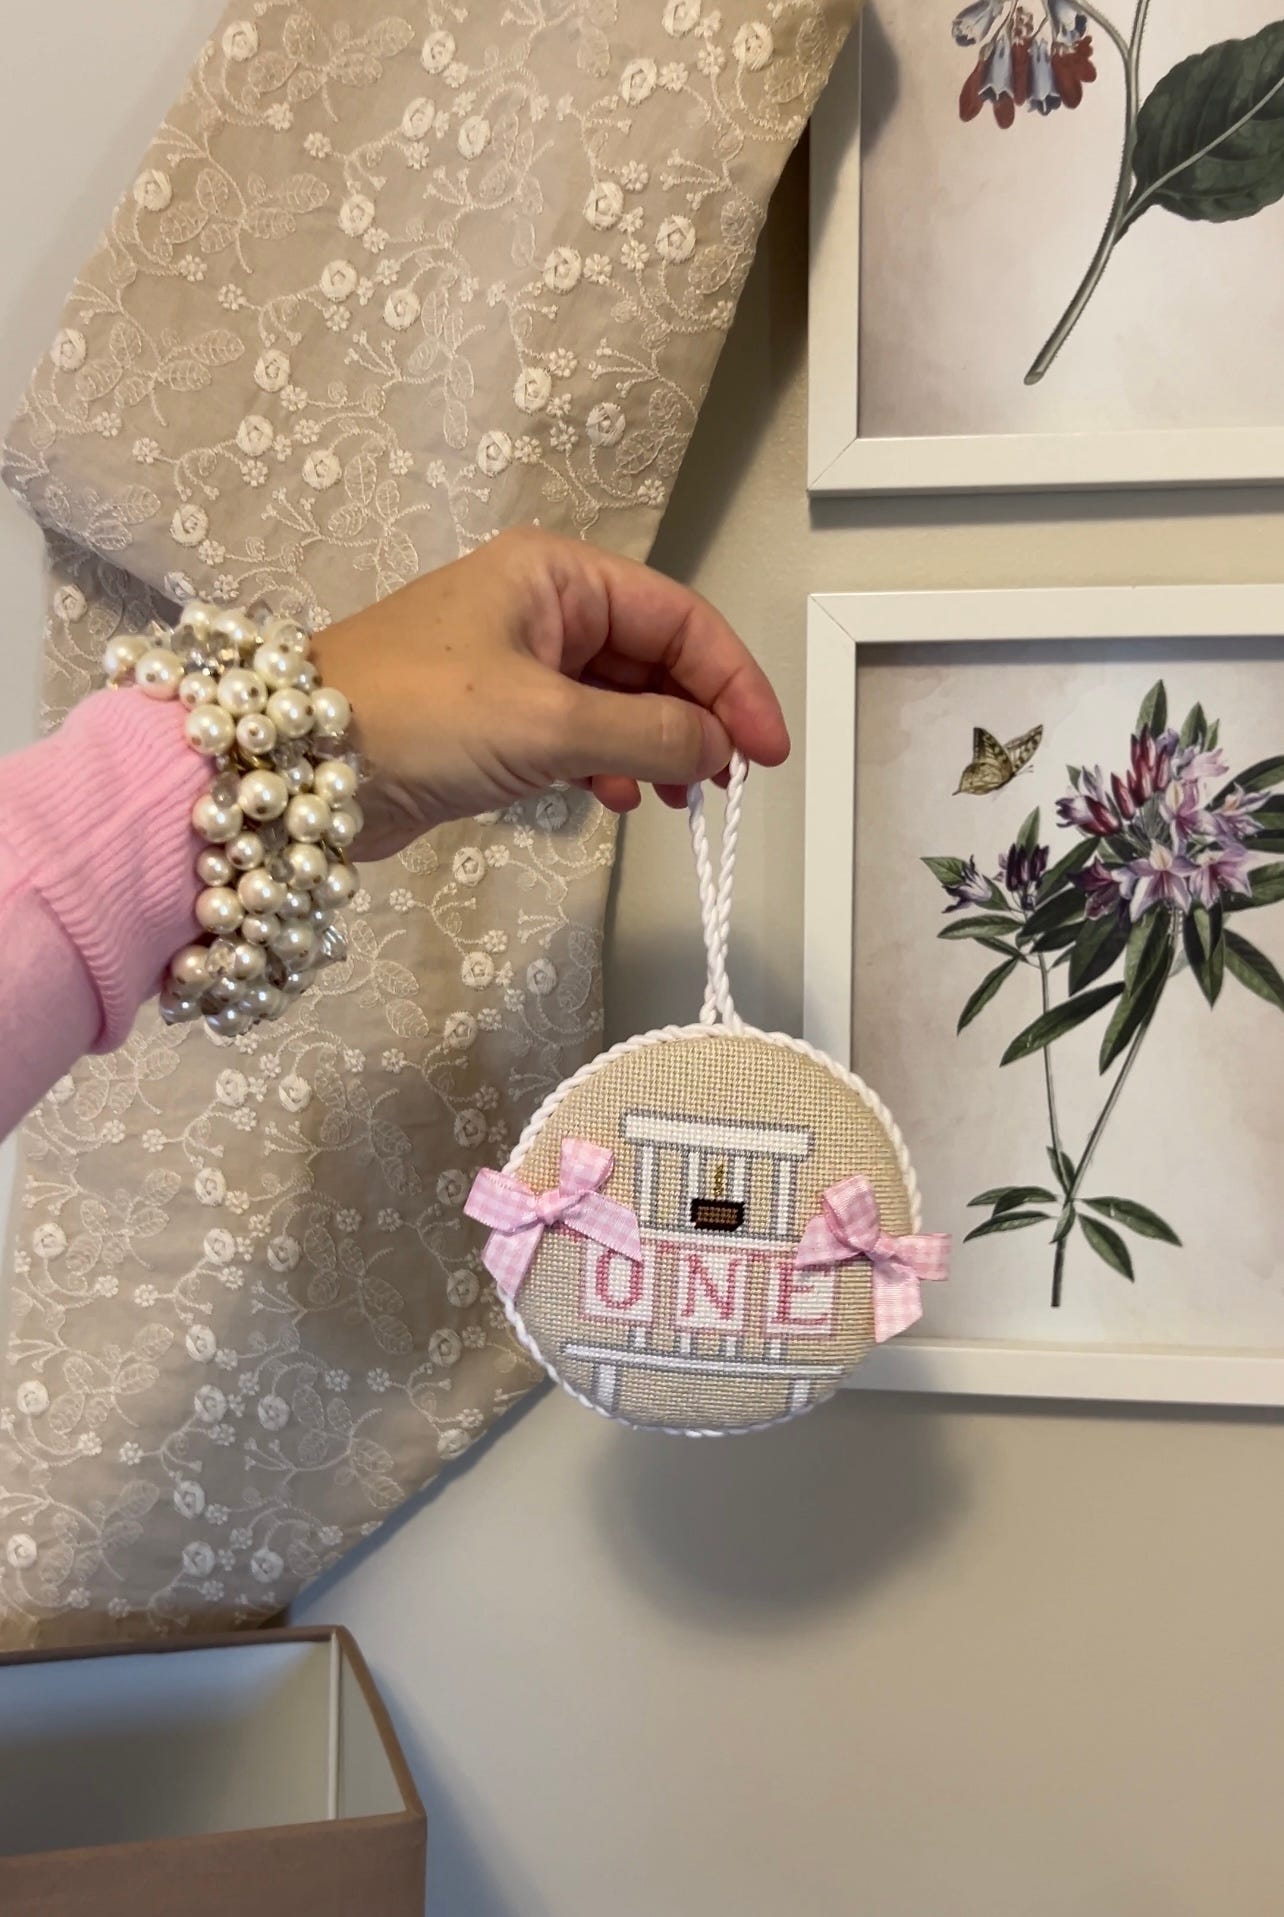
Finish Type: Ornament
Bows included with purchase and were affixed to the ornament with a hot glue gun. Per my finisher (and Mom), LME Redesign , using a glue gun vs. stitching the bows on yielded more control on the placement and ensured a consistent look. She had tried to stitch them on, and they kept moving around (no bueno for me).
Fabric Used: #FabricB4Fiber
Flower Embroidery Cotton Linen Fabric via Etsy (linked here)
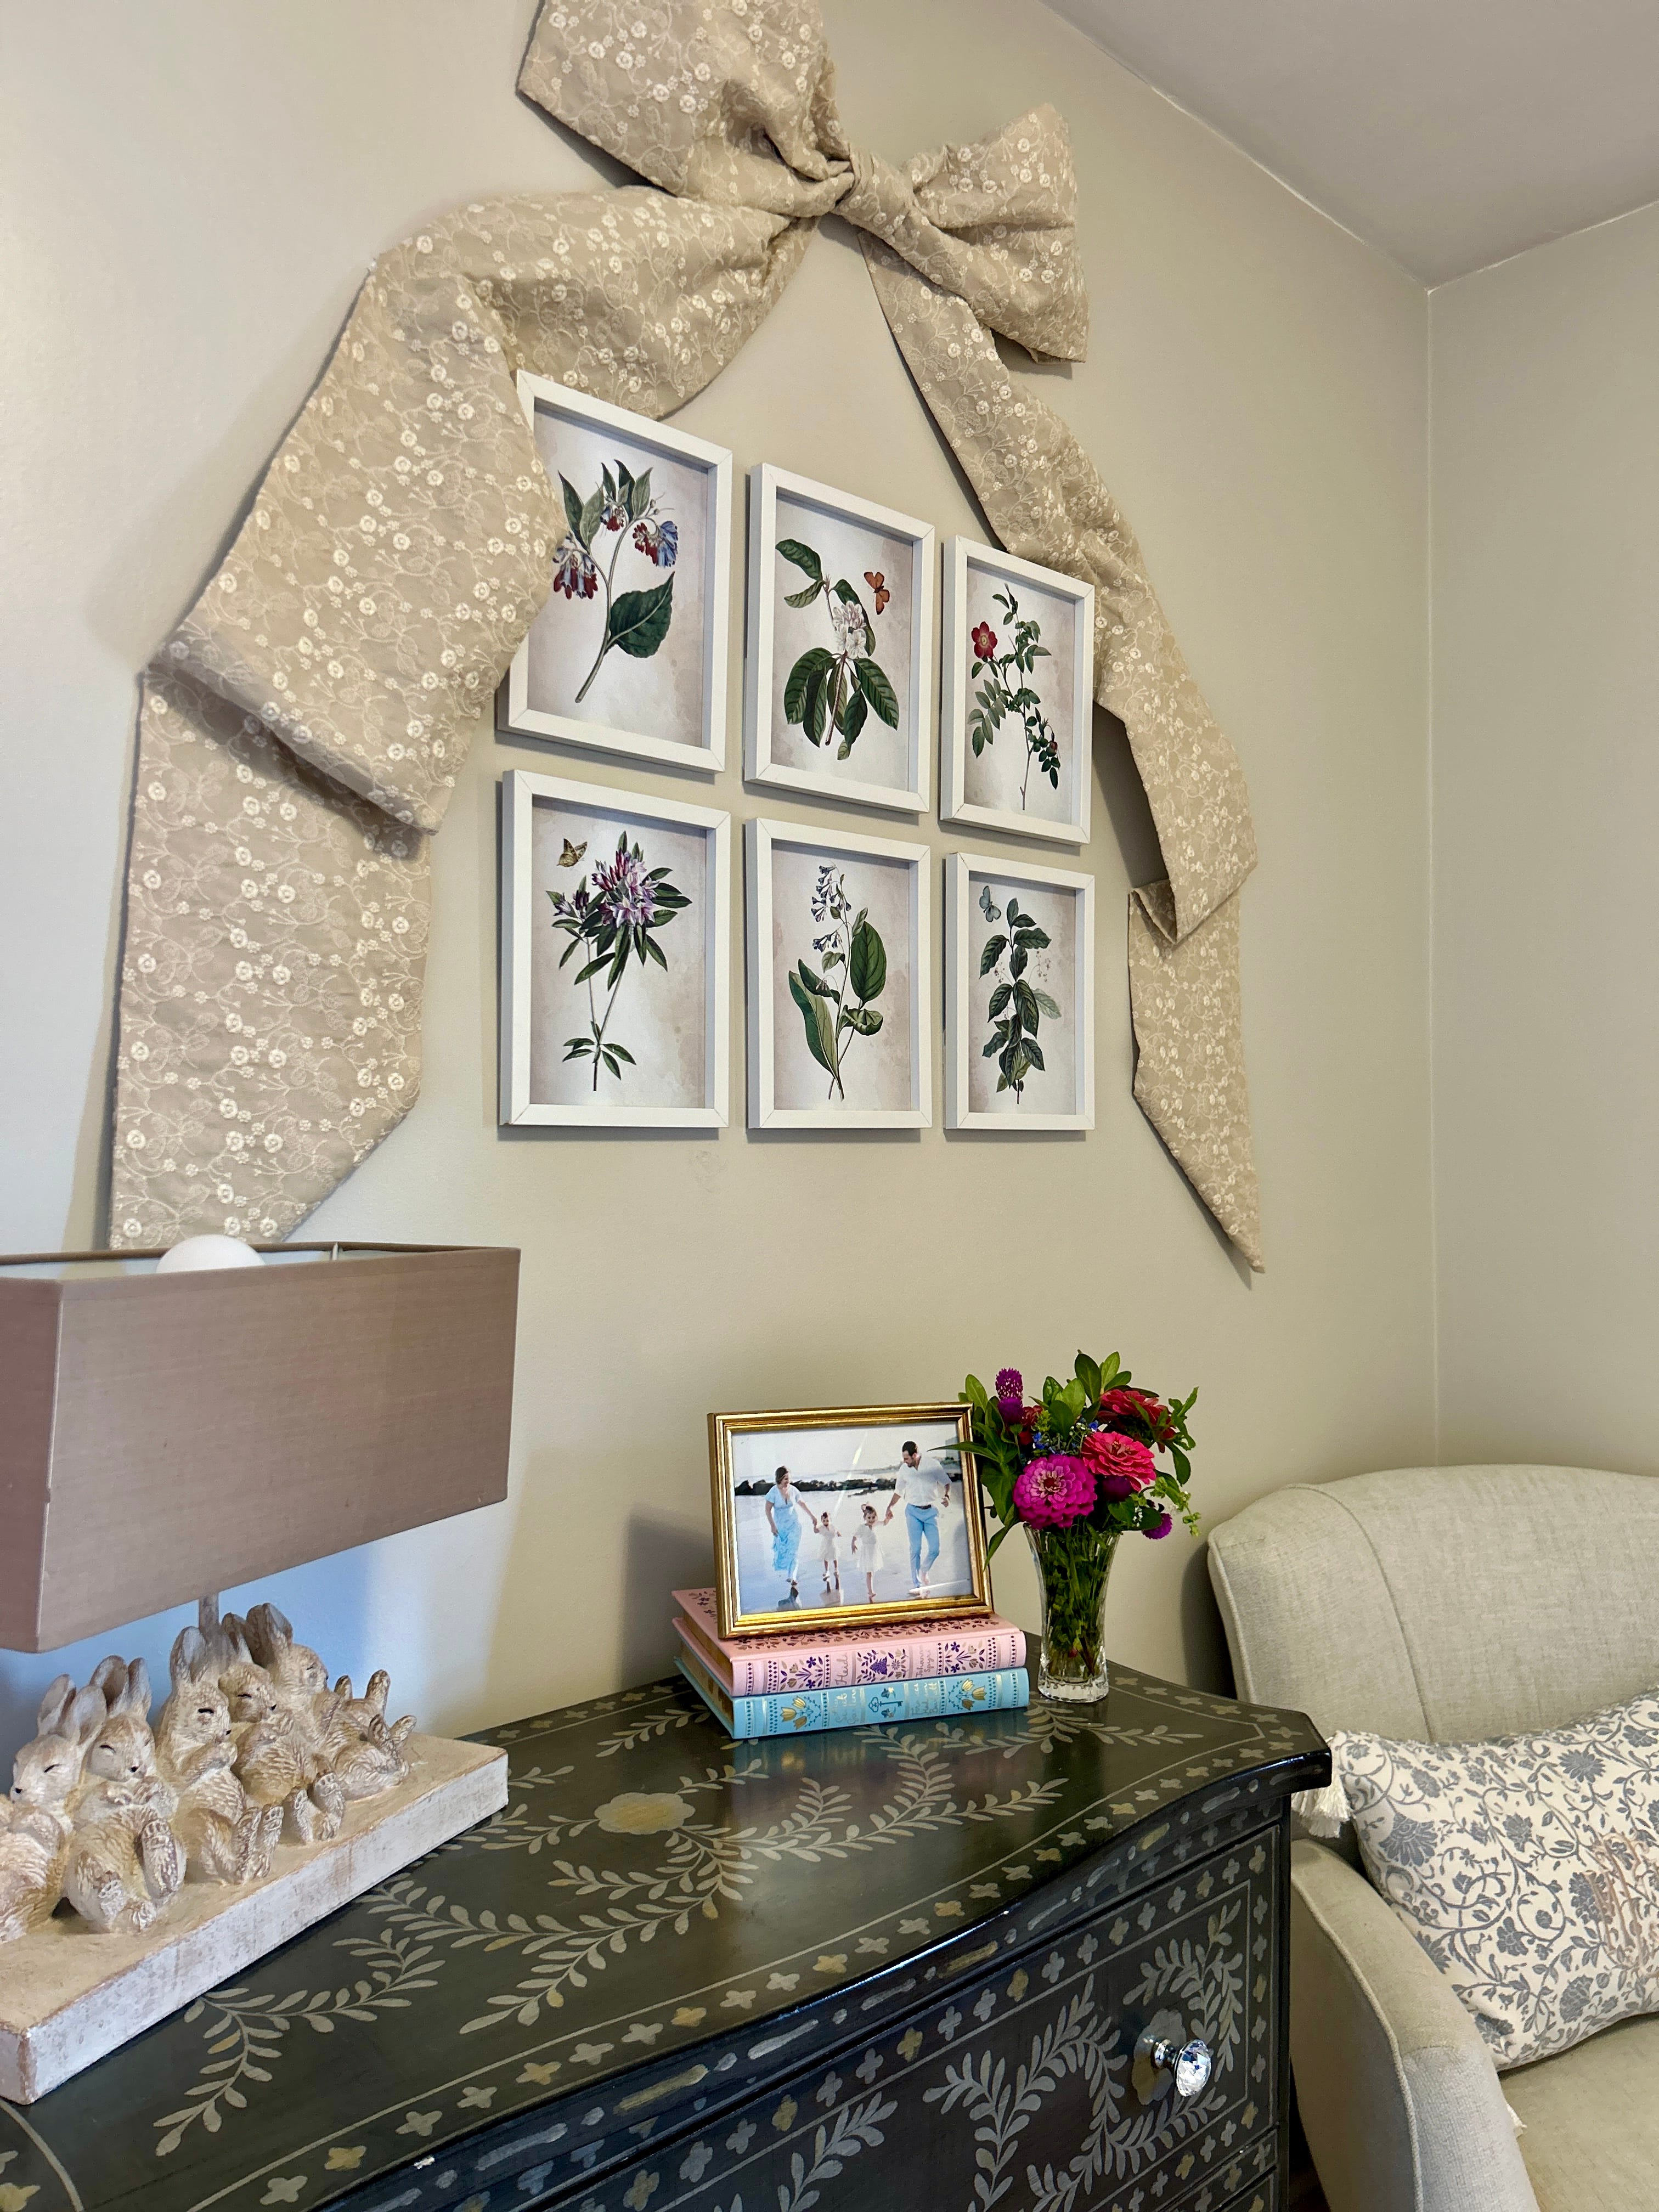
I vividly remember being up in the middle of the night, nursing Mary, and ordering this fabric from Etsy when Mary wasn’t even a month old yet. Since we did not know if we were having a boy or girl, the nursery at our old home was very gender neutral. I had seen this fabulous bow installation from one of my favorite bloggers, Emily from Born on Fifth and wanted to recreate it in Mary’s room. My Mom designed the bow with the Etsy fabric and it instantly became my favorite corner in our home! I adored it. Fast forward almost a year later, when I began to stitch this ornament, I knew I wanted to use the same bow fabric for the finishing fabric as a way to always remember Mary’s sweet little nursery. The fabrication is absolutely beautiful and has a gorgeous weight to it.
Note: The fabric did take a little longer to get to me since it was shipped from overseas, but it was so worth the wait.
Finishing: LME Redesign
Monogramming: Anni B Monogramming (*see Notes to Self)
Stitching Started: January 2023
Stitching Completed: February 2023 (just in time for Mary’s 1st Birthday)
Notes to Self:
My biggest takeaways for this project were: the monogram placement and the value of a stitch guide (even though I chickened out and did all basketweave/continental).
I love to add a layer of meaning to my needlepoint pieces and monogramming is my favorite way to do it. Here is how I get the exact monogram I want for my finished ornaments:
1.) Make a photocopy of the stitched ornament and bring it with you to your monogrammer, along with the fabric, for him/her to visually reference (and keep) throughout the monogramming process.
This way, when the ornament is ready to be finished, the monogramming is already complete. Doing so allows for much more control on the look of the monogram before it is incorporated into the final, finished design.

2.) ALWAYS buy and bring a bit more fabric than you think you will need, to your monogrammer. This gives both your monogrammer and your finisher plenty of “wiggle” room to do what they need to do. It is much easier to trim excess fabric than trying to figure out a way to add more on a final design.
Tip: I have my monogrammer add the monogram/embroidery to the middle of the fabric swatch to ensure ample space all around.
3.) Be as specific as possible! Communicate with your monogrammer the exact size, shape, spacing and color you want the monogram to be.


I will admit, I am extremely particular when it comes to any monogram of mine, but I always appreciate and take heed to the insightful suggestions my monogrammer has to offer (she’s the expert after all).
As a matter of fact, for this project in particular, my monogrammer actually took the liberty of doing the monogram twice to ensure everything I wanted was clearly visible and not lost in the fabric pattern. I am so glad she did because her instinct was spot on as you can see here. If you are working with a monogrammer, I cannot stress the value of working with someone you absolutely trust.
Have you stitched this canvas? How do you add a layer of meaning to your projects? I would love to hear your insight and your story in the comments section below or you can send me a message on Instagram.
As always I so appreciate you supporting my work by just being here. If you know someone who you think may enjoy reading this as well, I would be so honored if you would pass it along to them.

Xoxo,
Emily 🎀
What a special ornament for Little Mary! I know it will be such a treasured heirloom for her as she grows up. 🩷
The ornament is absolutely beautiful!